Add product categories
Help your customers quickly find what they need in your store by creating product categories and sub-categories.
- Go to your GoDaddy product page.
- Scroll to Websites + Marketing and select Manage next to your site.
- On your Dashboard, expand Commerce, and then select Products.
- Choose Categories.
- On the Categories page, select Add.
- Enter a Category name and Description. You also have the option to edit the Category link. Your category link provides a direct URL to products in this category and should closely match your Category name.
- When you're done, select Save to close the window. The category is added to the Categories page.
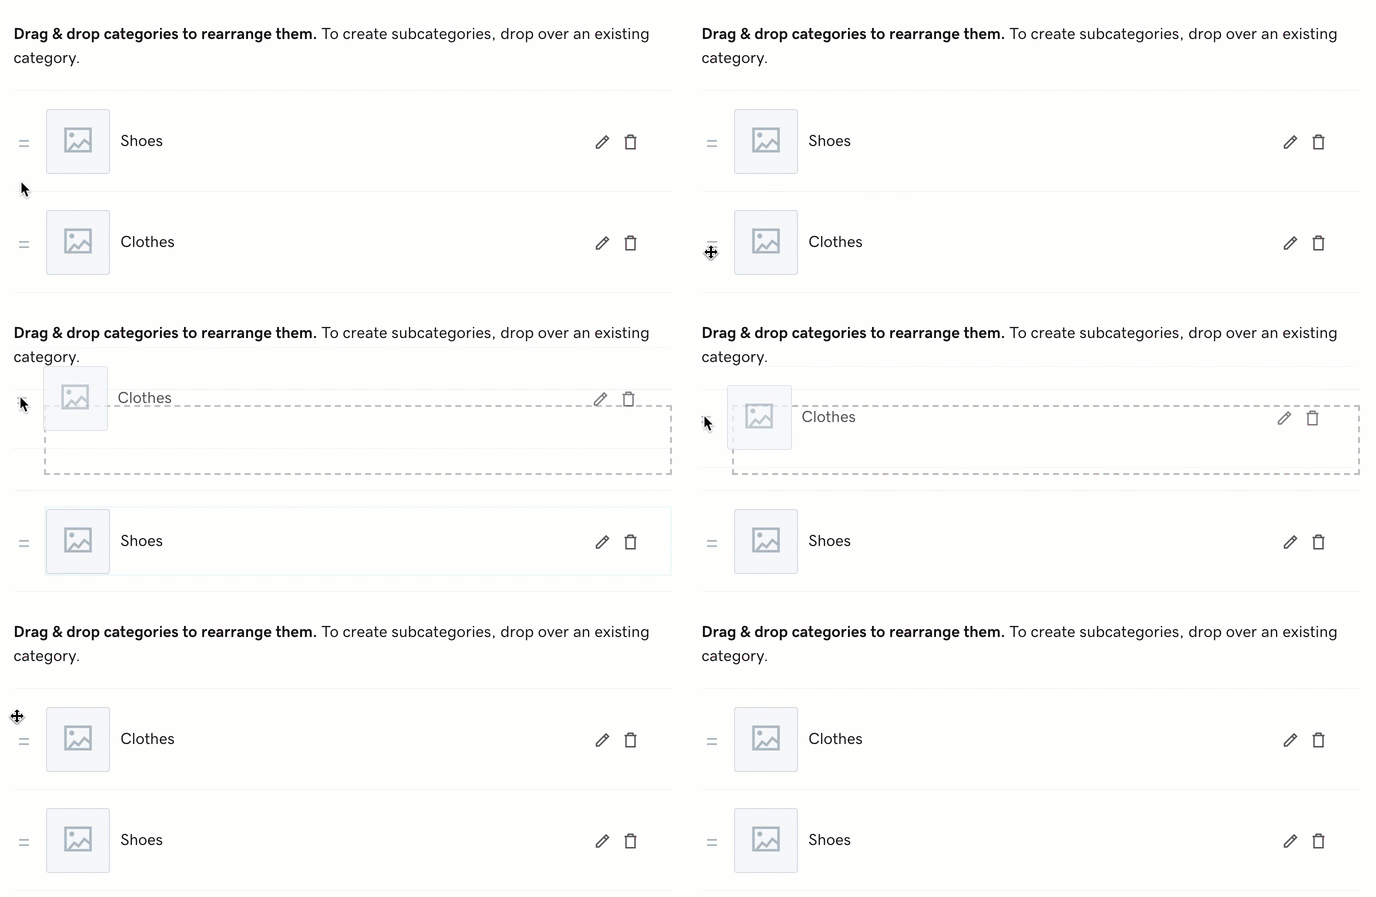
- Rearrange the categories by clicking and dragging to change the order.

- Click and drag a category below or on top of another to make it a sub-category. Main categories can have two levels of subcategories. So "Clothes, then Shirts, and then Women" would work but "Clothes, then Shirts, then Womens, and then Blouses" wouldn’t.

- Once you've created a category, remember to create a product or edit existing products.
- To make your changes live, publish your site.
Note: While not required, adding keywords in the name and description fields helps customers find you.
Tips and Best Practices
- Use the pencil icon to change and edit existing categories, and the trash icon to delete categories you no longer want.
- To see how your site looks to customers, select Website On your Dashboard.