Add my Microsoft 365 email to Apple Mail on Mac
Step 3 of the Set up my Microsoft 365 account series.
Add your Microsoft 365 email to the Apple Mail app. Then you can send and receive business email from your Mac.
- Open Apple Mail.

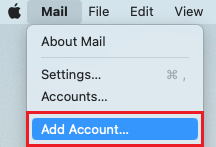
- If you're a new user, skip to step 3. Otherwise, select Mail, and then Add Account.
- Select Exchange, and then Continue.

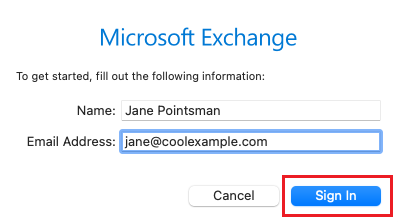
- Enter your name and email address, and select Sign In.
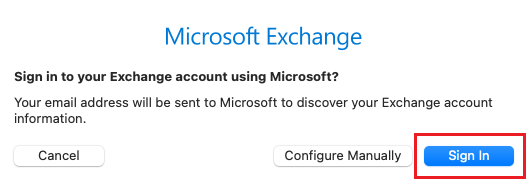
- Select Sign In.
- If you see a prompt that says your email is used with more than one account with Microsoft, select Work or school account (not Personal account).
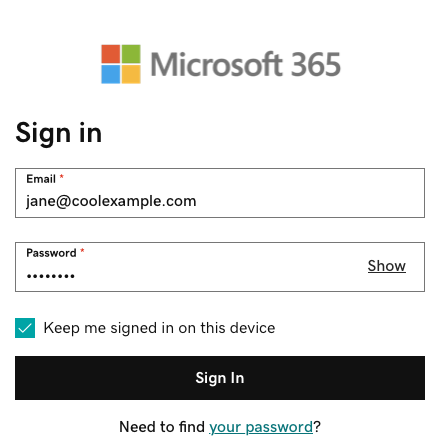
- Enter your email password, and then select Sign In.
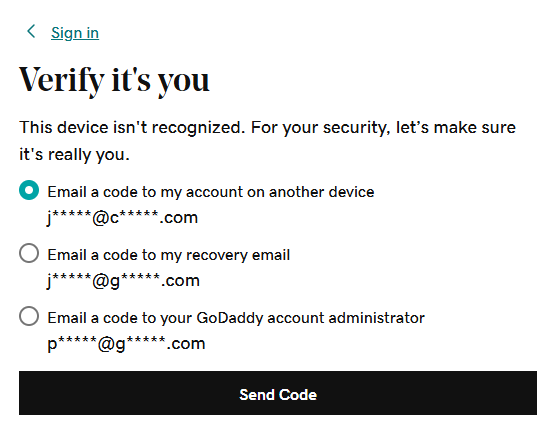
- If you're signing in from a new device or location, you'll see a prompt to Verify it's you and confirm your identity through a one-time code.
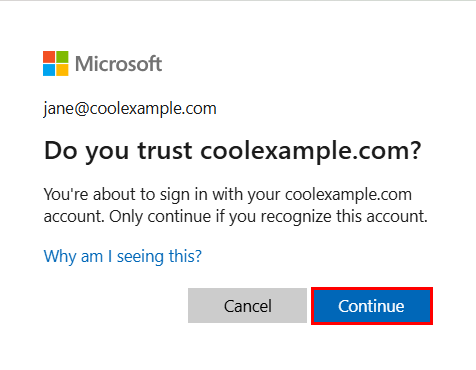
- If you're asked to trust your domain, select Continue.
- If it's your first time signing in and multi-factor authentication (MFA) is enabled, you'll see a prompt to set up your authentication method. (If you have trouble following the on-screen instructions, trying setting up MFA using these steps instead.)
- If you already have MFA set up, verify your identity using your authentication method.
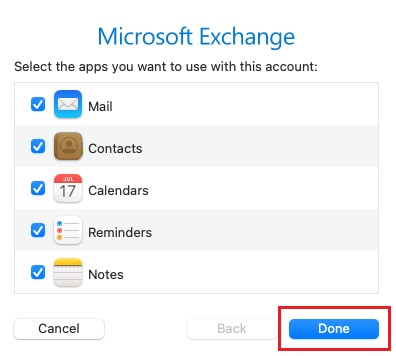
- You might get a request for permission to access your account, select Accept.
- Select Done. You can come back and edit these settings at any point.
Your Microsoft 365 email is now set up on your Apple Mail.