เพิ่มบัญชี Microsoft 365 ของคุณใน Apple Mail บน Mac
ขั้นตอนที่ 3 ในการตั้งค่าบัญชี Microsoft 365
เพิ่มบัญชี Microsoft 365 ของคุณในแอป Apple Mail จากนั้นคุณก็จะสามารถส่งและรับอีเมลธุรกิจจากเครื่อง Mac ของคุณได้
- เปิด Apple Mail

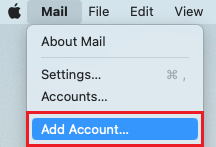
- หากคุณเป็นผู้ใช้ใหม่ ให้ข้ามไปยังขั้นตอนที่ 3 หากเป็นผู้ใช้เก่า ให้เลือก Mail (เมล) แล้วเลือก Add Account (เพิ่มบัญชี)
- เลือก Exchange และจากนั้นเลือก Continue (ดำเนินการต่อ)

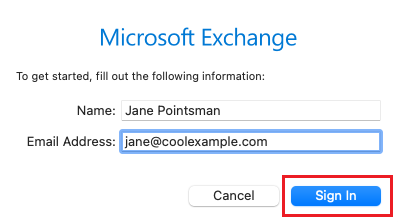
- ป้อนชื่อและที่อยู่อีเมลของคุณ แล้วเลือก Sign In (ลงชื่อเข้าใช้)
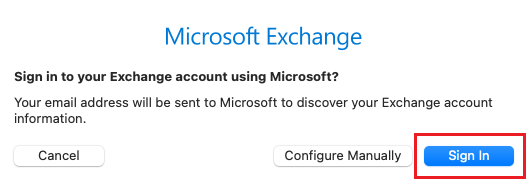
- เลือก Sign In (ลงชื่อเข้าใช้)
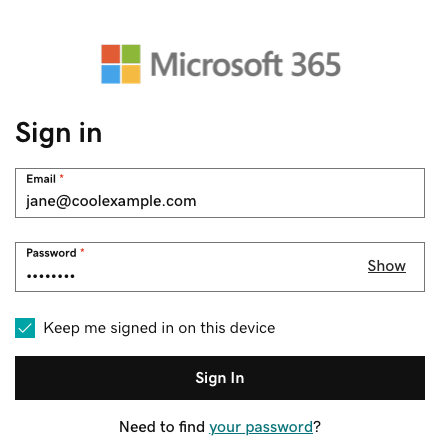
- Enter your email password, and then select Sign In.
- If you see a prompt that says your email is used with more than one account with Microsoft, select Work or school account (not Personal account).
- Enter your email password, and then select Sign In.
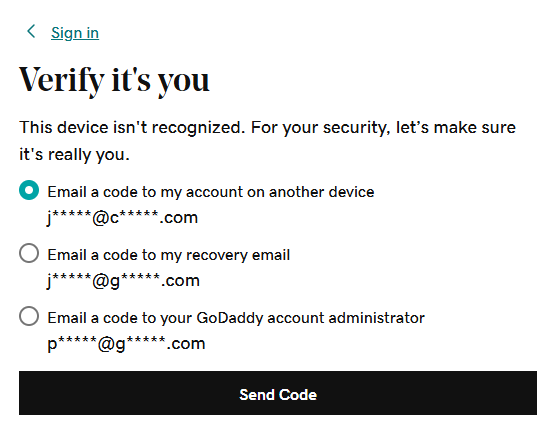
- If you're signing in from a new device or location, you'll see a prompt to Verify it's you and confirm your identity through a one-time code.
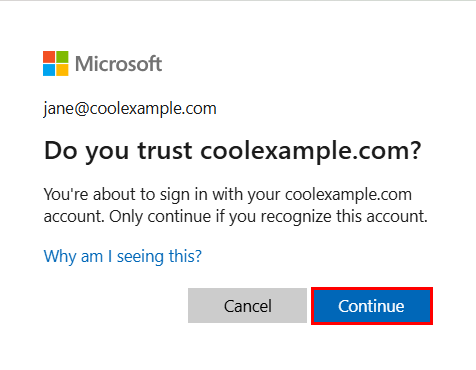
- If you're asked to trust your domain, select Continue.
- If it's your first time signing in and multi-factor authentication (MFA) is enabled, you'll see a prompt to set up your authentication method. (If you have trouble following the on-screen instructions, trying setting up MFA using these steps instead.) If you already have MFA set up, verify your identity using your authentication method.
- คุณอาจได้รับคำขอให้มอบสิทธิ์เข้าถึงบัญชีของคุณเอง ให้เลือก Accept (ยอมรับ)
- หากผู้ดูแลระบบของคุณเปิดใช้งานการรับรองความถูกต้องแบบหลายปัจจัย (MFA), ให้ยืนยันบัญชีของคุณหรือติดตั้งแอปตัวรับรองความถูกต้อง
- คุณอาจได้รับคำขอให้มอบสิทธิ์เข้าถึงบัญชีของคุณเอง ให้เลือก Accept (ยอมรับ)
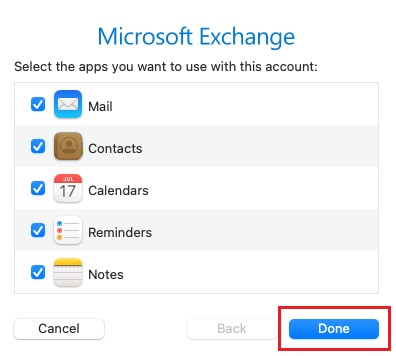
- เลือก เสร็จสิ้น คุณสามารถกลับมาแก้ไขการตั้งค่าเหล่านี้ได้ตลอดเวลา
ตอนนี้อีเมล Microsoft 365 ของคุณก็ตั้งค่าเสร็จเรียบร้อยใน Apple Mail แล้ว