Manage GoDaddy Smart Terminal accessory preferences
Use the Accessory Manager on your GoDaddy Smart Terminal to manage your printers and external accessories. You can add, remove, test and enable/disable connected accessories and adjust related receipt settings.
For GoDaddy Smart Terminal Duo and GoDaddy Smart Terminal Flex, the internal printer is the default printer. This can be switched by updating your printer preferences.
- Tap Accessories on the first page of the Smart Terminal home menu to open the Accessory Manager.
- Perform any of the following actions:
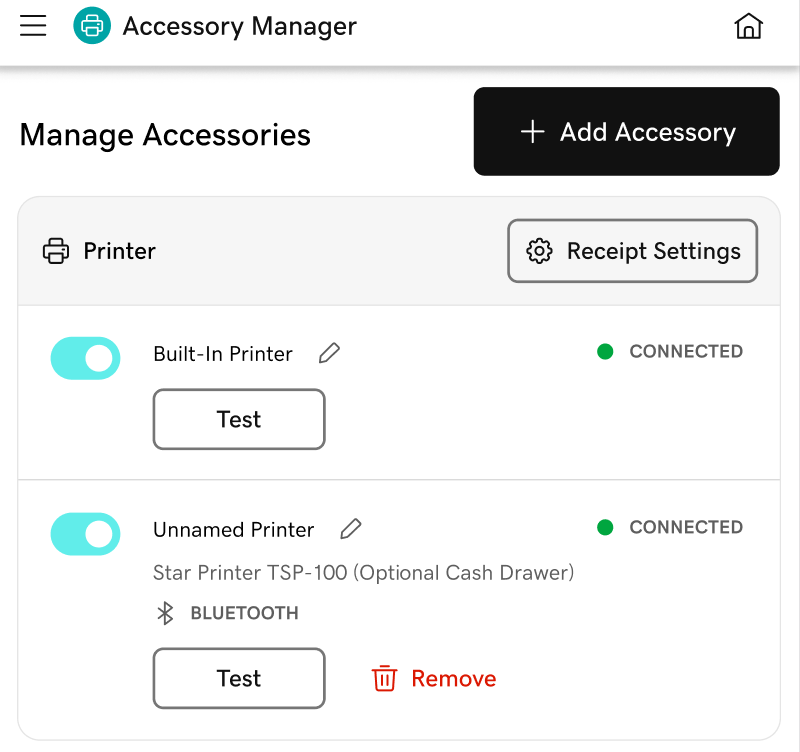
- Connect an external accessory: Tap Add Accessory for a step-by-step guide to connect an external printer, cash drawer or barcode scanner.
- Add an accessory nickname: Tap
 Edit next to an accessory to assign a nickname (like “Bar” or “Kitchen”). This is especially useful if you have multiple accessories connected to your Smart Terminal.
 - Enable or disable accessories: Tap the toggle next to an accessory to enable or disable the accessory. Disabling an accessory lets you stop using it without disconnecting it. Tap the toggle again to enable the accessory when you’re ready to resume using it.
- Remove an accessory: Tap Remove to disconnect an accessory from the Smart Terminal. To use the accessory again in the future, you will need to go through the full accessory connection process.
- Test an accessory: Tap Test below a printer or cash drawer to print a test receipt or open the cash drawer.
- Adjust receipt settings: Tap Receipt Settings to adjust your receipt settings. You can customize your receipt appearance, choose when to print receipts and assign specific receipt types (like an order or customer receipt) to print from each connected printer.
More info
- Connect or troubleshoot an external accessory, like a printer, cash drawer or barcode scanner.
- Customize the settings on your Smart Terminal, including receipt, business, order and register settings.