Create a task with Professional Email powered by Titan
Create tasks with Professional Email powered by Titan to help you keep track of your to-dos. Tasks can be created on their own or directly from an email, so you never lose track of important action items. Right now, Tasks can only be managed with webmail. They aren't available on the Titan mobile app yet.
Create a task from an email
- Sign in to webmail. Use your Professional Email powered by Titan address and password (your GoDaddy username and password won't work here).
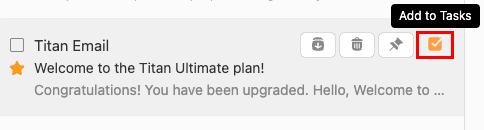
- Hover over an email in your message list. When the Quick Actions display, select Add to Tasks. Tasks will open on the rightmost side, and a new task will be created with the subject line as the title and a link to the original email thread.
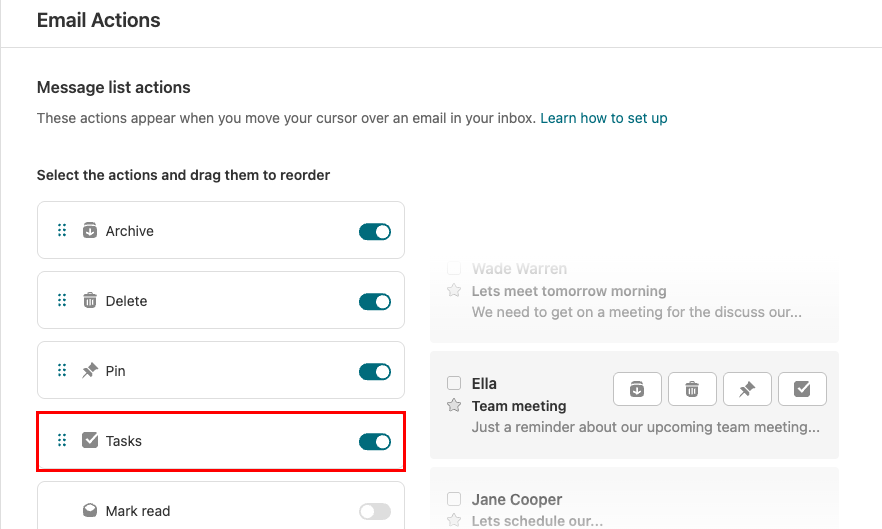
- If you don't see Add to Tasks in your Quick Actions, you can add it. In the upper-right corner of your inbox, select
 Settings, Preferences, and then Email Actions. Turn on the Tasks toggle, and then select Save.
- If you don't see Add to Tasks in your Quick Actions, you can add it. In the upper-right corner of your inbox, select
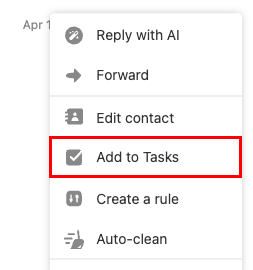
- When an email is selected: Select a message. In the upper-right corner of the message, select
 More actions, and then Add to Tasks. Tasks will open on the rightmost side, and a new task will be created with the subject line as the title and a link to the original email thread.
- (Optional) Edit the task title and enter a due date or additional details.
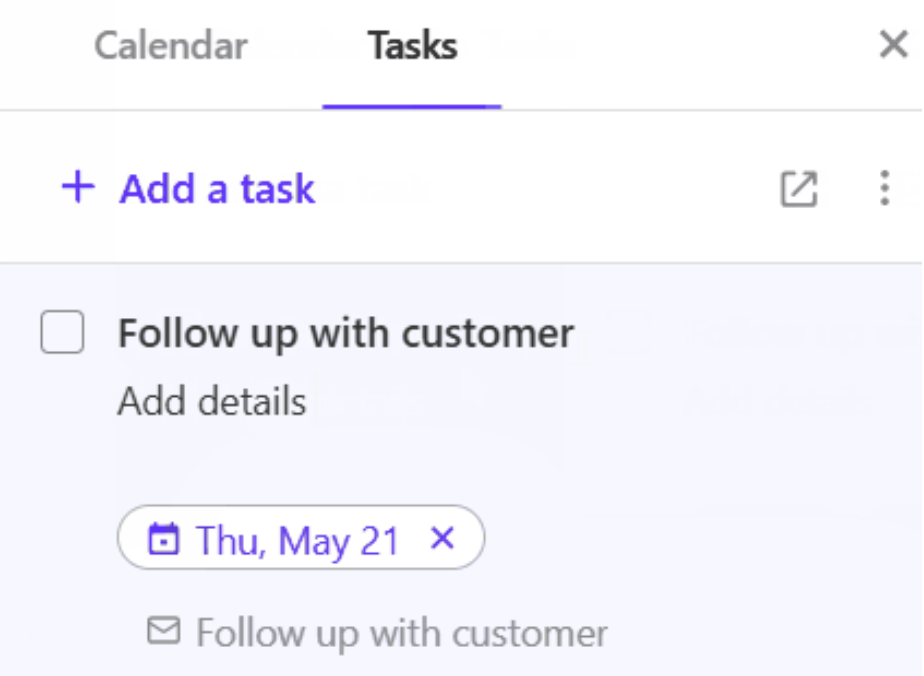
- To save the task, select anywhere outside the task, or select Enter on your keyboard.
The task will be linked to the original email, so you can refer back to it. To view, edit, mark as complete or delete your tasks, return to the Tasks page. In the upper-left corner, select ![]() Switch apps, and then Tasks. Tasks will open in a new tab.
Switch apps, and then Tasks. Tasks will open in a new tab.
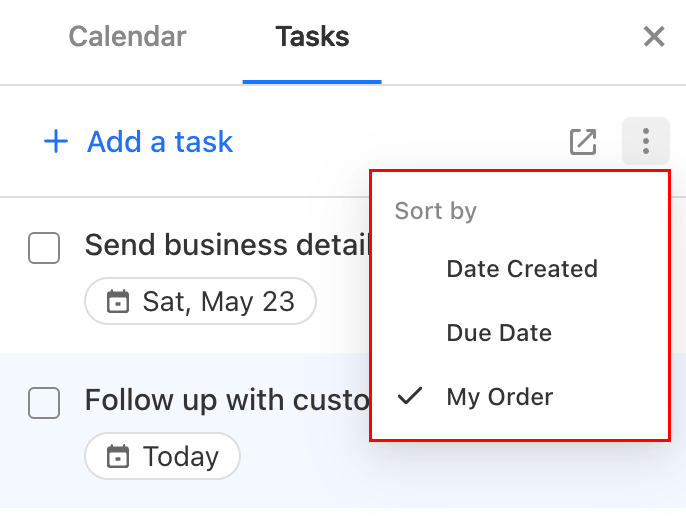
To sort your tasks by date created, due date, or your own custom order, on the Tasks page, select ![]() Sort, and then a sort option.
Sort, and then a sort option.
Create a standalone task
- Sign in to webmail. Use your Professional Email powered by Titan address and password (your GoDaddy username and password won't work here).
- Open Tasks:
- Open Tasks in a new tab: In the upper-left corner, select
 Switch apps, and then Tasks. Tasks will open in a new tab.
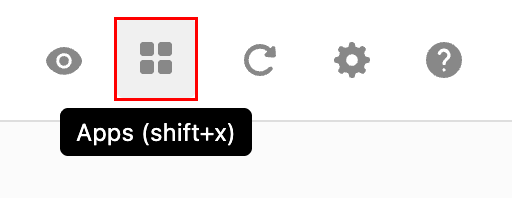
- Open Tasks in the same tab: In the upper-right corner, select
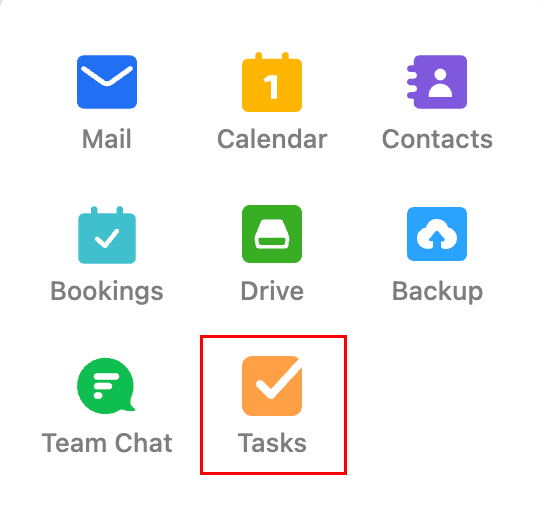
 Apps. The Apps menu will open on the rightmost side. Select Tasks.
- Open Tasks in a new tab: In the upper-left corner, select
- Select + Add a task.

- Enter a title for your task.
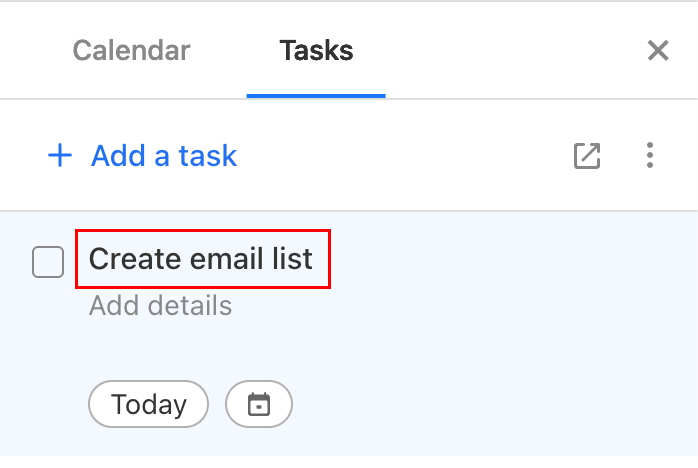
- (Optional) Add a due date and any additional details.
- To save the task, select anywhere outside the task, or select Enter on your keyboard.
Return to the Tasks page to view, edit, mark as complete or delete your tasks.
To sort your tasks by date created, due date, or your own custom order, on the Tasks page, select ![]() Sort, and then a sort option.
Sort, and then a sort option.