Selling Locations
Step 2 of the Set up WooCommerce Using the Onboarding Wizard series.

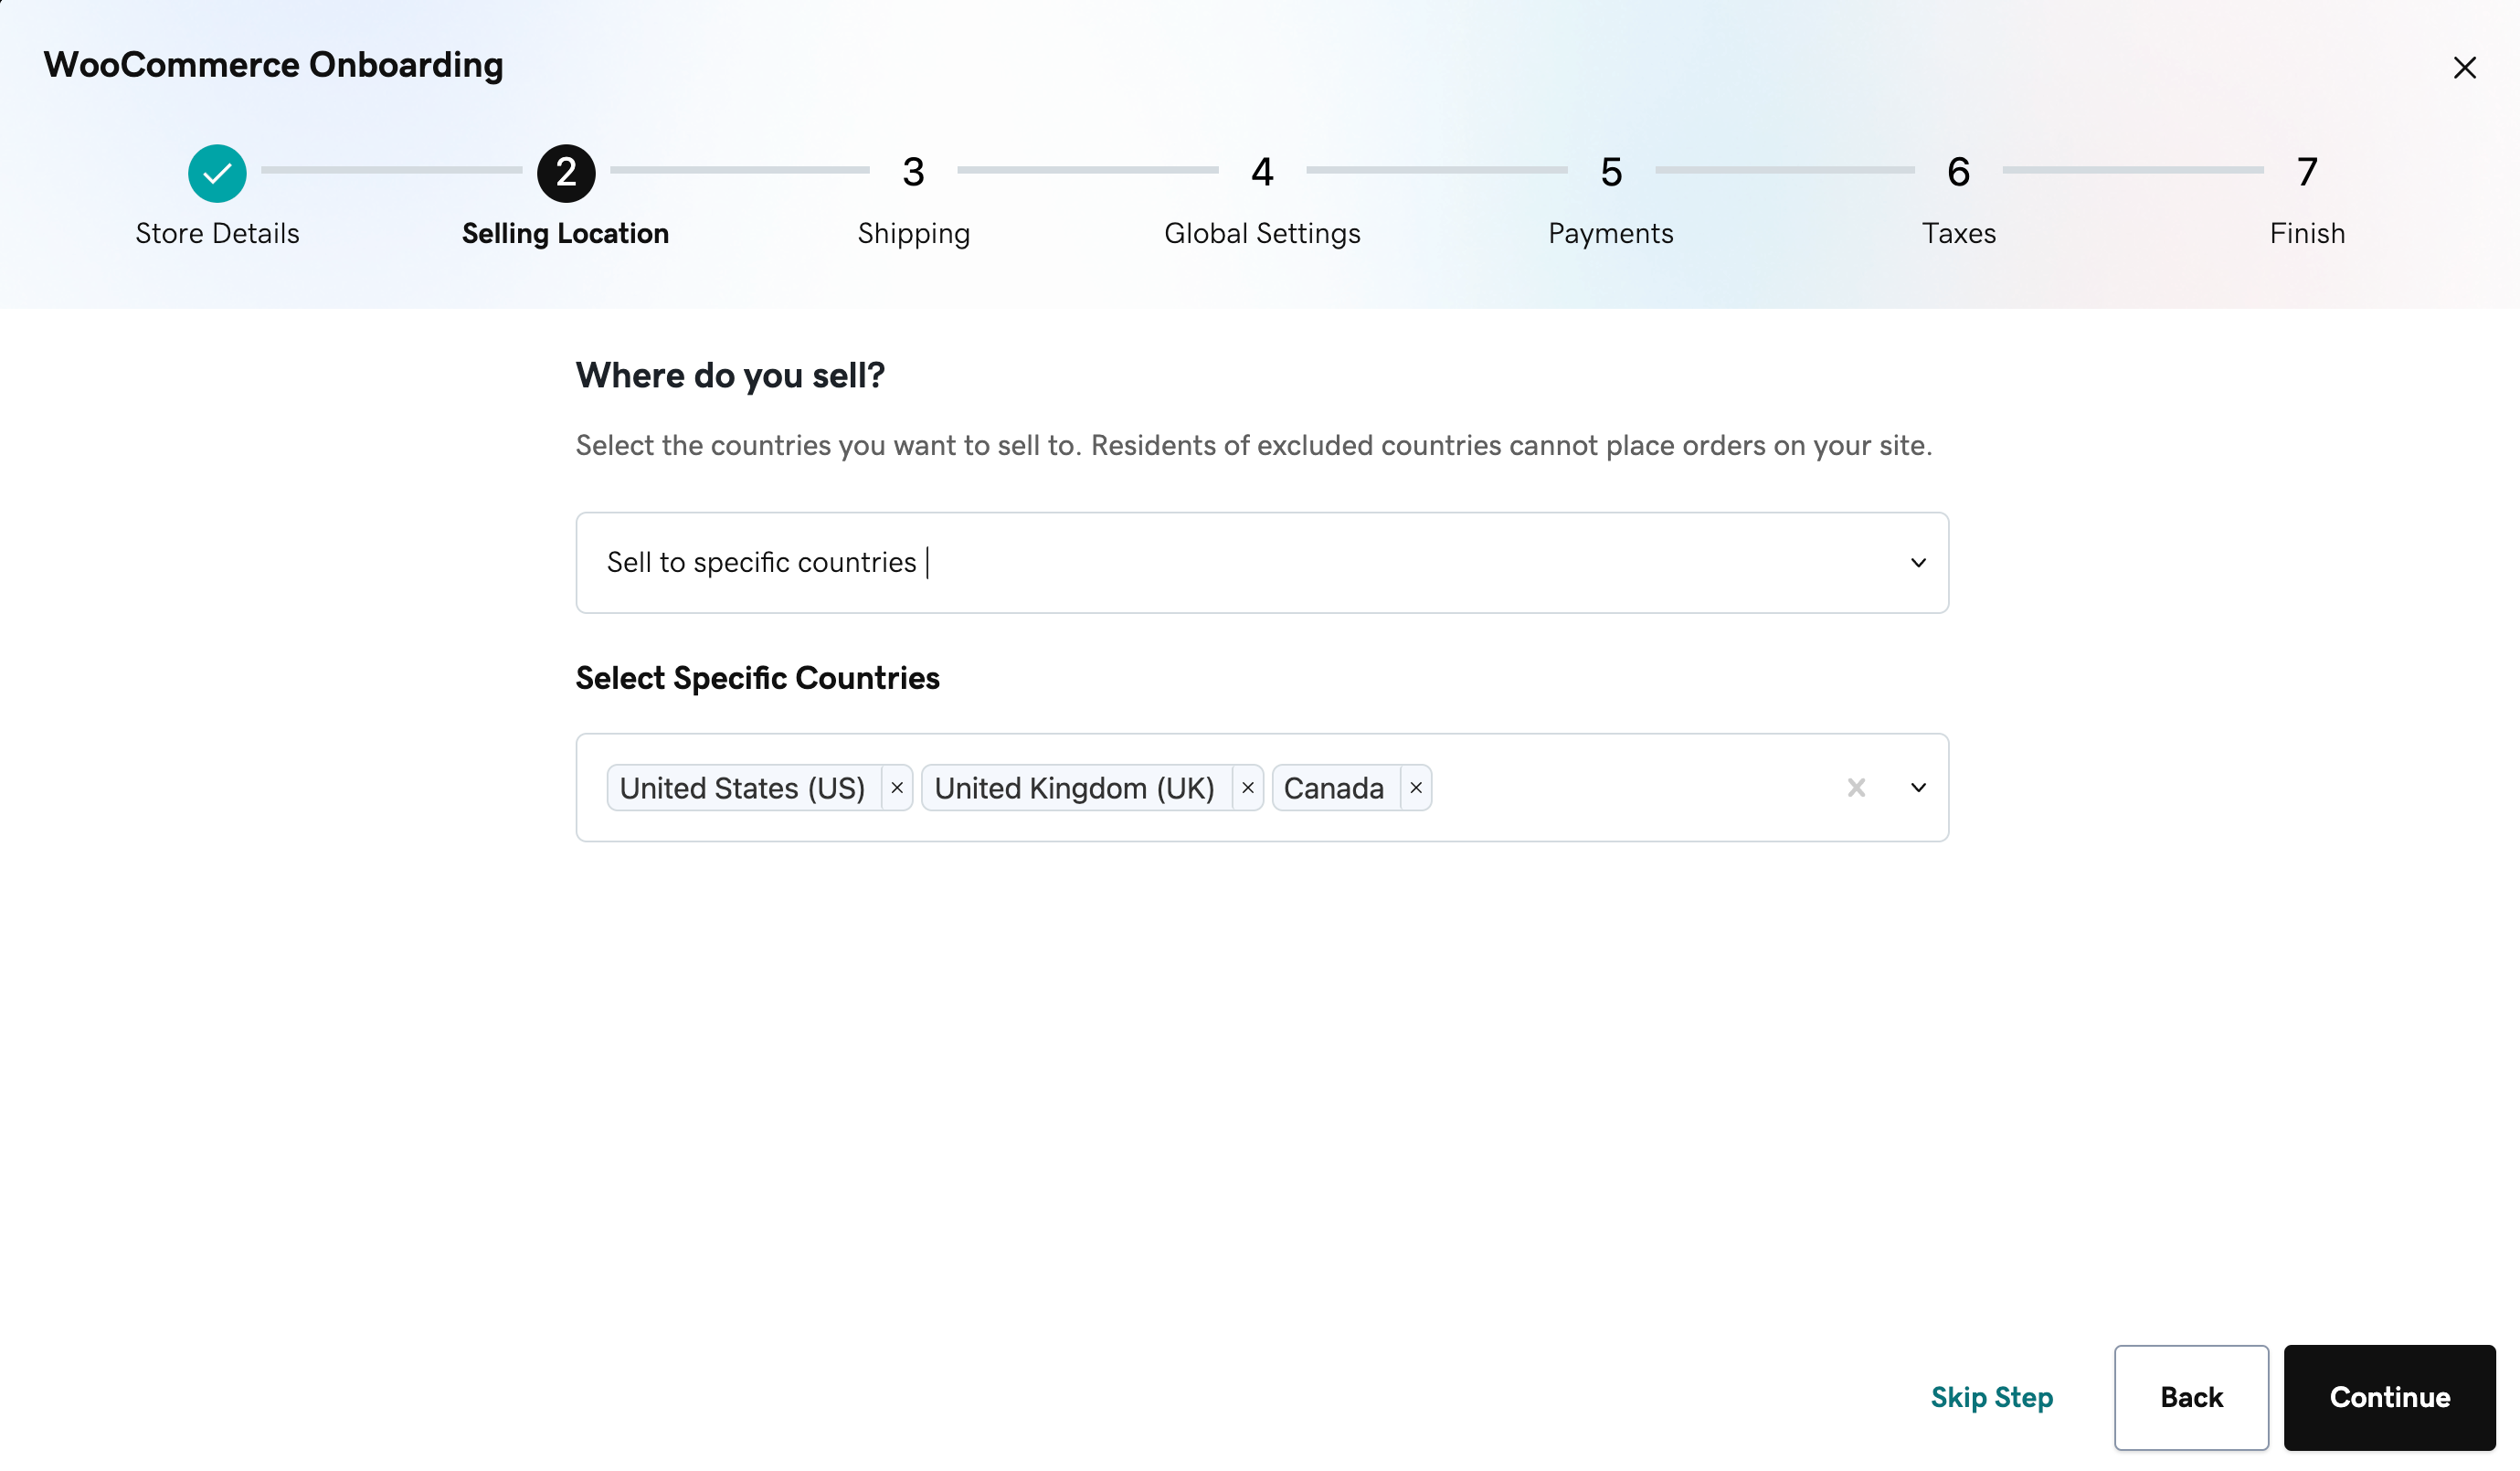
Now that you've added some basic store details, let's continue with adding the selling location(s) for your products. Here, you should
add the country (or countries) that you're planning to sell your products in. This is an important step as customers that are
residing in one of the excluded countries won't be able to place an order in your shop.
Note: If you exit the onboarding wizard before completing it (e.g. browser tab or window closed, clicking on the X button on the upper right corner of the pop-up window, etc), you can continue from where you've stopped by clicking on the Resume onboarding button on the top of your page whenever you're ready.
In this step, you can choose either all countries (international customers) or specific countries/regions. If you choose the latter, make sure that you specify which countries/regions you're interested in selling products in. Before choosing selling locations, it's important to consider the shipping needs and costs of international customers.
If you're not ready to set your selling locations yet, you can skip this step and fill out this information later by navigating to the WooCommerce > Settings > General page in your site's admin dashboard.
When you're ready, feel free to click on the Continue button to proceed or on the Back button to make changes.
More info
- Find out more about the general settings of WooCommerce