Editar minhas listas de remetentes seguros e bloqueados
Controle qual email é enviado para a quarentena adicionando um endereço de email, domínio ou endereço IP específico à sua Lista de Permissões ou Lista de Bloqueios. Emails de remetentes permitidos não irão para a quarentena, enquanto emails de remetentes bloqueados irão.
- Faça login na sua página Segurança Avançada de Email da GoDaddy (use seu nome de usuário e senha da GoDaddy).
- Selecione Entrar na Segurança Avançada de Email . A página de login será aberta.
- Insira seu endereço de email, selecione Entrar e, em seguida, Entrar com a Microsoft .
- Siga as instruções na tela para fazer login com seu endereço de email e senha do Microsoft 365. O portal da Segurança Avançada de Email será aberto.
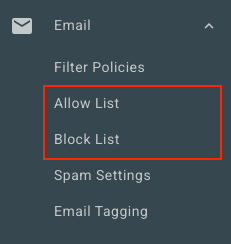
- No lado esquerdo, selecione Email . Dependendo se você deseja adicionar um remetente à sua Lista de Permissão ou Lista de Bloqueio, selecione uma opção:
- Lista de permissões : Selecione Lista de permissões . No canto superior direito, selecione Adicionar Permitir entrada .
- Lista de bloqueio : Selecione Lista de bloqueio . No canto superior direito, selecione Adicionar entrada de bloqueio .
- Em Permitir ou bloquear o seguinte , insira um endereço de email, domínio ou endereço IP. Separe cada remetente com uma vírgula ou ponto-e-vírgula, ou inserindo-os em uma nova linha.
- Selecione Salvar.
Editar listas de permissão e bloqueio para todos os usuários
Se você é um administrador, pode visualizar e editar as listas de permissões e bloqueios para todos os usuários da organização.
- No lado esquerdo, selecione Gerenciamento de usuários e, em seguida, Usuários .
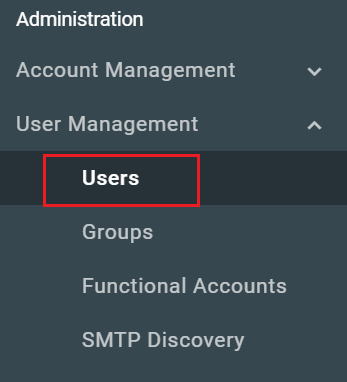
- Selecione o Nome / Endereço de email do usuário que deseja editar.
- Na parte superior da página, selecione Lista de permissões ou Lista de bloqueios , dependendo de qual lista você deseja editar.
Você pode ver e editar a lista de cada usuário, repetindo essas etapas.