Choosing photos for your website may feel like just another task, but it isn’t something to rush through. High-quality website photography makes your site more click-worthy. It also keeps people on your page longer and helps show customers what your business is all about.
Professional website photos increase the chances people will click your calls to action.
The longer they stay on your page, the more interested they tend to be. Website photography can make the difference to getting that sale or not.
Customers expect high-quality photos that show off your product’s features. But they won’t spend their money for something that doesn’t look professional or polished. You need to wow them with clear, high-resolution images that capture the spirit of your business and brand.
When to use DIY website photography
Professional photography is a big investment and it’s best to leave it until you have a defined business voice and style (you can learn how this is done here). Until you have some clarity around how you want your business to be perceived, stick with do-it-yourself (DIY) and stock photos.

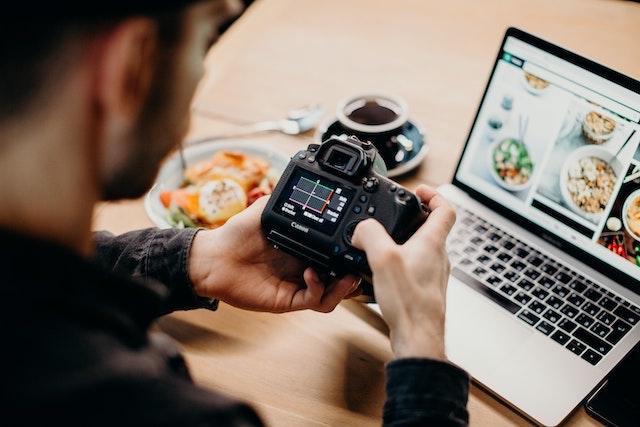
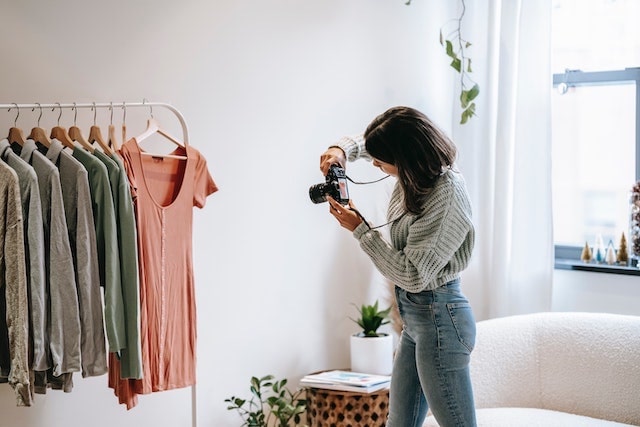
Using DIY images for socials is an easy and affordable way to create posts, blogs and infographics for your business.
Using DIY photos also gives your site an authentic feel, a quality people love.
Plus, your audience will love seeing the freshness of a real person behind the brand — without the polish. Taking your own photos also allows for a faster turnaround, which is ideal for bloggers and social media marketers.
Try your hand at DIY for:
- Before and after shots
- Sharing your work from home set up
- Behind the scenes shots
While DIYing your photos is often a great choice for start-ups, there are times when it’s best to call in a professional photographer.
Editor’s note: Build your business website with GoDaddy and you can upload that photo you just took on your phone to your website (plus your FB and Insta feeds) in seconds.
5 ways to take photos like a pro
When it comes to DIY website photography there are a few actions you can take to make sure you don’t look like an amateur.
1. Choose a light coloured or white background
Whether it’s a pale wooden floor for flat lays or a couple of pieces of white cardboard for product photography, having an uncluttered background is a must.
2. Set up your lighting
Dark or hazy images are a major turn off, so make sure you have plenty of light. Take your photos outside on an overcast day or by a window on a bright, sunny day. You may want to use a lamp or two to add light if it’s still a bit dim.
3. Take some test shots
Practice the shot before trying to get the right one to find out which angle looks best and if there’s anything in the frame you hadn’t noticed while setting up. A stray pile of washing, jutting out from your background, is a dead giveaway that this photo wasn’t taken by a pro.
4. Use a tripod
There are plenty of cheap tripods available, including ones for your phone such as the Bluetooth Selfie Stick Tripod with Remote.
Setting up a tripod means there’ll be no wobbles when the breeze blows or your cat rubs up against your leg.
Plus using a remote makes snapping a selfie with your latest creation a breeze.
5. Edit your photos for maximum impact
Even when you get the lighting right and have a nice background, using editing software lets you boost the colours and crop the image to perfection. PIXLR and GIMP are just two of the many free tools available.
Can I use stock images for my website photography?
Stock photos are a fantastic way to build up a stockpile of images in your toolkit. There is literally something for everyone when it comes to stock photography.

But before you go ahead and use all stock photos, here are a few pointers:
Look for less popular images: Most stock sites will let you search by popularity, so your site doesn’t end up looking like a copy of someone else’s.
Make them unique: Consider how you can edit, crop or filter your images to fit your brand.
Make sure you check the licence agreements: This includes any stock photography suppliers. Some let you use the images without any accreditation, others require you to credit the photographer. You may need to pay before using images on some sites.
Never copy an image from someone else: Whatever you do, avoid copying from Google search or from someone else’s website to use on your website or anywhere in your business. All images have a certain level of copyright; you’re opening yourself to legal challenges if the owner finds out you’ve used it without permission or payment.
If you’re looking for free stock images, here are a few options to try:
Stock photos are a great alternative for website photography — especially in cases where you are unable to produce them on your own. But if you want to be a bit more unique, you could go with a professional brand photographer.
When to hire a professional photographer
From taking headshots of your team to photographing children, here are scenarios where you’ll you’ll need to call in a pro:
- Product photos
- New offer launches
- Team headshots
- Business premises
- Rebrands
- Events and workshops
These are all moments where you want the best possible images. It’s also where your audience is really judging you.

So, find a brand photographer you feel comfortable with and be willing to pay them for expert photos – this is an area where your budget dictates the quality of the result.
Editing brings your brand together
Getting clear, bright shots is the first step – but it’s the editing that takes your website photography to the next level.
With the huge range of templates and editing tools available, it’s easy to get overwhelmed. Look for editing tools that:
- Are easy-to-use right away (no steep learning curves and hours on tutorial videos)
- Let you upload your own fonts and logos
- Save your branded colour palettes
Tools such as Over by GoDaddy tick all the boxes and come with a huge range of templates that are easy to customise. This makes it so your photos will stand out and look unique. You’ll find endless inspiration to help you create customised knockout designs.
Tip: Filters are a great option to make your photos all have the same look and feel – just don’t overdo it. Only use one at a time and stick to the same filter for every image to keep consistency.
A quick note about consistency
Keep your photography style the same across your website and social media channels, even in your emails. By creating a unified experience across all of your marketing channels, your audience becomes more familiar with your brand and that builds trust.
It's all about the interactions
Why do you need to worry about increasing engagement (clicks, likes, shares)?
Because the more people that interact with your business online, the more likely they are to buy from you. Engagement includes:
- Staying on your webpage longer
- Clicking the call-to-action
- Signing up for your free opt-in
- Sharing your website with friends, family and colleagues
Higher engagement rates lead to better brand awareness and ultimately more customers.
Improve your website, while you increase engagement
Once you’ve decided whether you’ll DIY or get a professional to help you with your website photography, it’s time to start planning. Create a mood board with your brand colours, styles of photos that you like and words representing your brand voice.
Brainstorming how you want your business to look and feel will make it easier to create photos customers will love.
Even if you have some professional photos, you’ll still need to DIY some of the more casual photos for your social media and blog photos. Have some fun with the above tips to make your DIY website photography stand out. And don’t forget to get creative!


