Introducing ekke, a unique new test runner for React-Native
We’re excited to announce the release of ekke, a unique new test runner for React-Native. Unlike other testing frameworks, it doesn’t execute your tests in Node.js, with a bunch of mocks, but instead, it orchestrates the bundling and execution of tests directly inside your React-Native application. ekke allows your tests to fully access every API that the platform has to offer.

Why did we build another testing tool?
ekke is the open source rewrite of a tool that we (Arnout Kazemier, Martijn Swaagman, and Andrew Burgess) built during an internal hackathon we held many moons ago. We wanted to create a tool that allowed us to quickly verify that the code and its components would work in the different environments and platforms that React-Native supported. The obvious solution for this was to allow the tests to run as part of React-Native.
There has been a lot of innovation regarding testing since we initially created this project back in 2016. But unfortunately, the anti-patterns haven’t changed. Many test suites are still executing their tests in a Node.js-based environment and use imperfect, and often out-of-date, mocking systems combined with browser-env polyfills to simulate React-Native.
As React-Native runs on different platforms using different implementations (Objective-C for iOS, Java for Android), different JavaScript engines, and even different versions of those JavaScript engines, it’s no guarantee that your code works the same everywhere, and you may end up hitting inconsistencies.
Running your tests in a heavily simulated environment is not an ideal solution. That’s why we hope that ekke can make a difference.
Getting started with ekke
To use ekke, you need to install it together with one of the supported test runners. For the samples here, we’re going to use mocha as the test runner with assume as the assertion framework:
npm install --save-dev ekke
npm install --save-dev mocha assume
The library consists of React-Native component, <Ekke />, and ekke, a CLI that installs locally. The <Ekke /> component needs to be integrated into a React-Native application to execute the tests. You can use an existing application like the one you’re currently developing or a new dedicated testing app that you create using react-native init.
Import the Ekke component and add it somewhere in your component tree:
import YourActualApplicationHere from './some/path';
import { Ekke } from 'ekke';
import React from 'react';

function App() {
  return (
    <>
      <Ekke { /* props are optional */ } />
      <YourActualApplicationHere />
    </>
  )
}
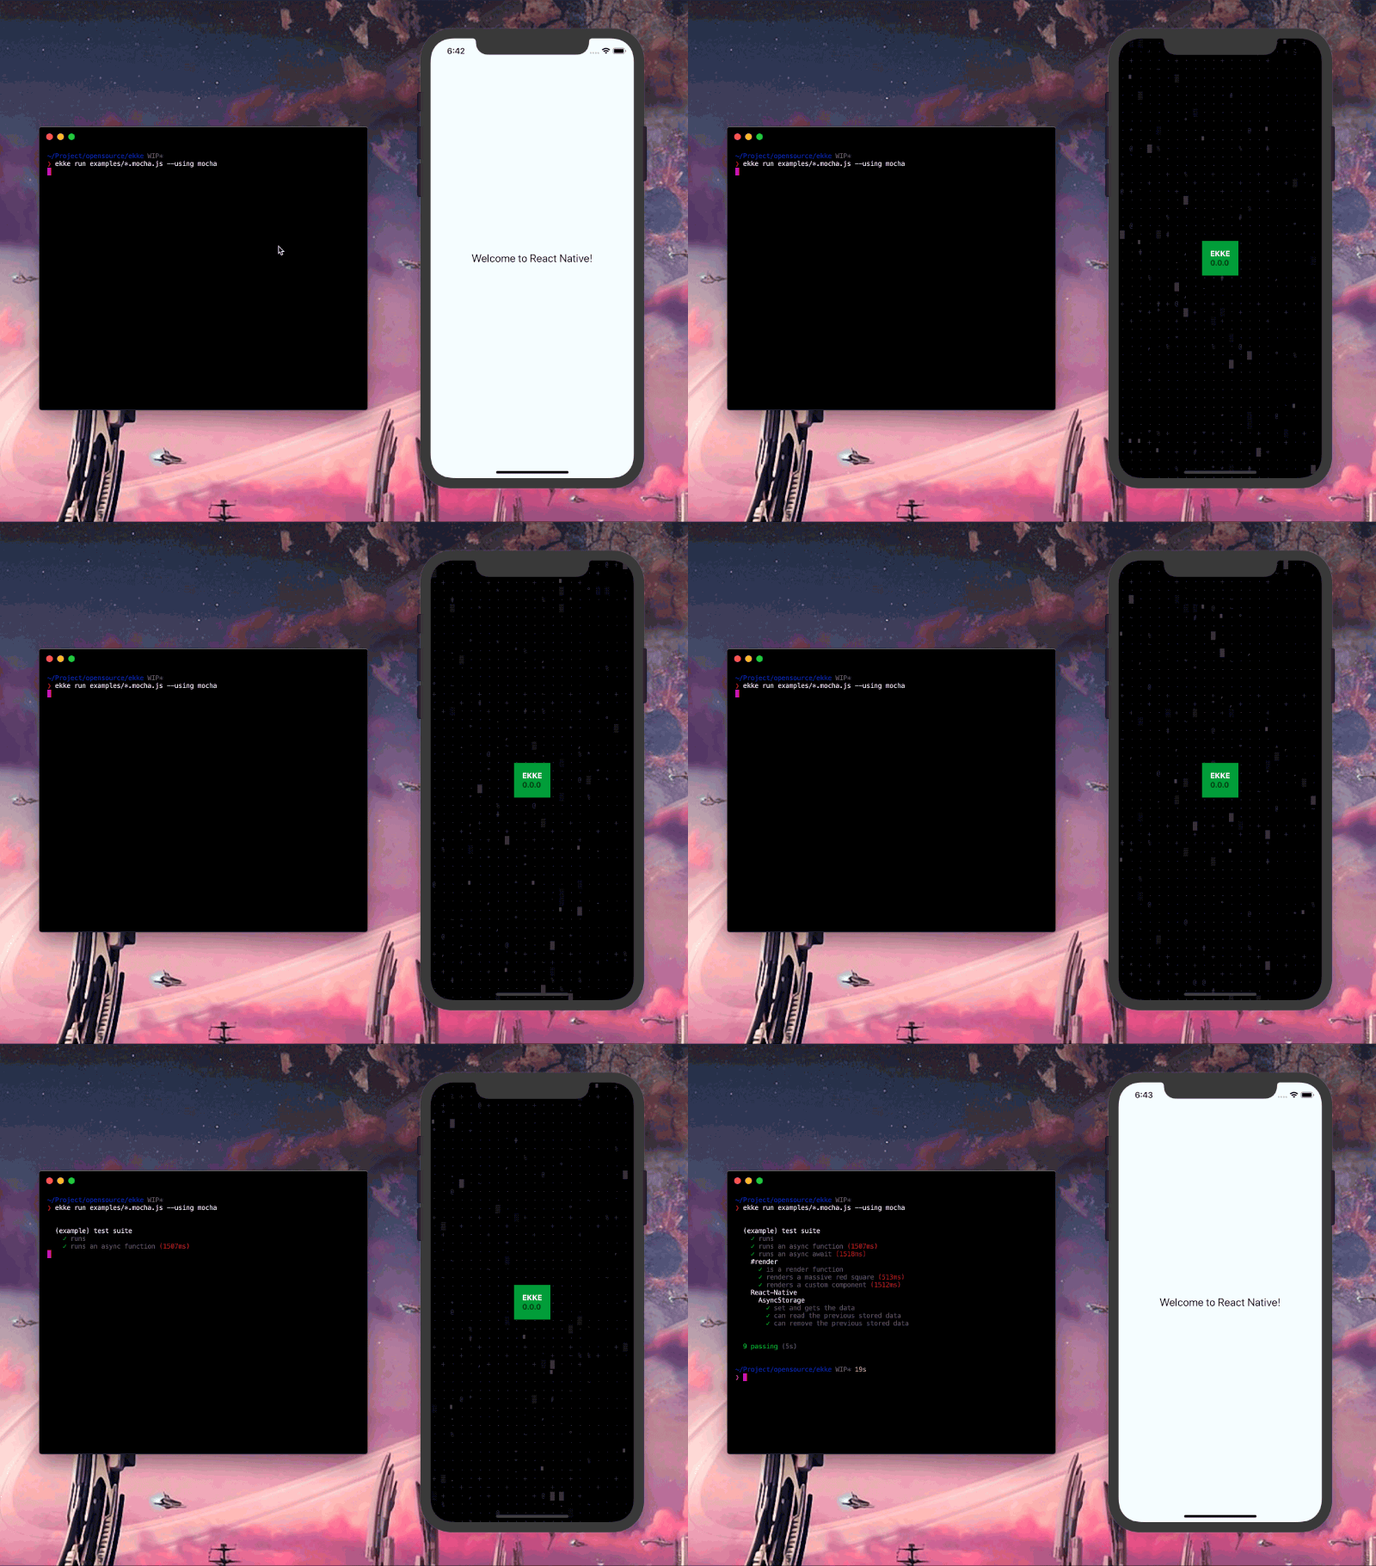
The <Ekke /> component renders nothing in your application; it’s there to orchestrate the execution of the tests. To give you an idea of what is going on underneath the covers:
- Waits for an active
ekkeCLI by searching for one at a regular interval. - Starts a WebSocket connection with the CLI to communicate.
- Fetches the bundle that is created by the CLI’s Metro bundler.
- Prepares the application for the execution of the bundle by setting up proxies for
console.log’s and exception handling etc. - Evaluates the downloaded bundle in your application.
- Executes the bundled test runner, and your tests.
- Streams the test progress over the WebSocket connection.
- Repeats this process, indefinitely.
Now that the component is integrated in the application we can start writing our first test.js:
import { View, AsyncStorage } from 'react-native';
import { describe, it } from 'mocha';
import { render } from 'ekke';
import assume from 'assume';
import React from 'react';

describe('My first Ekke test', function () {
  it('works with built-in React-Native APIs', async function () {
    await AsyncStorage.setItem('foo', 'bar');

    const value = await AsyncStorage.getItem('foo');
    assume(value).equals('bar');
  });

  it('renders components with our render function', async function () {
    class RedBox extends React.Component {
      render () {
        return (
          <View style={{
            backgroundColor: 'red',
            width: this.props.width,
            height: this.props.height
          }} />
        );
      }
    }

    const ref = React.createRef();
    await render(<RedBox width={ 400 } height={ 300 } ref={ ref }/>);

    const { props } = ref.current;
    assume(props.height).equals(300);
    assume(props.width).equals(400);
  });
});
This simple test suite will interact with the built-in AsyncStorage API, and render an example component on screen. All that is left now is to send the test to <Ekke /> component using the ekke run CLI command:
# Make sure that the simulator of your choice is running.
react-native run-ios # os react-native run-android

# Execute the locally installed `ekke` CLI to start the tests.
# We use `npx`, a tool provided by `npm` to execute locally installed
# binaries.
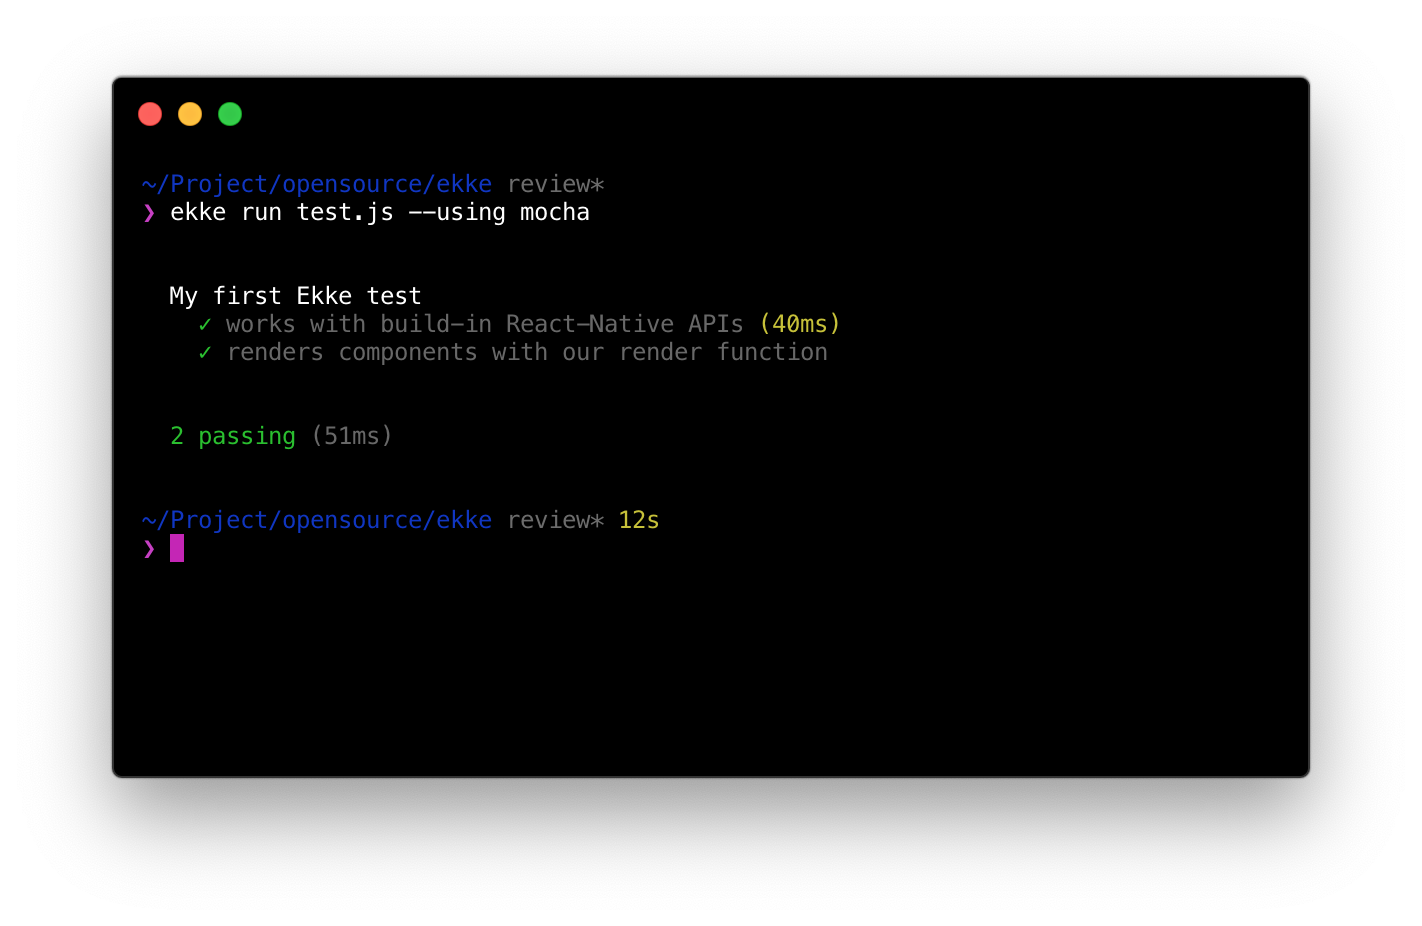
npx ekke run test.js --using mocha
And watch the magic unfold. The sequence of events that will happen:
- Creates and configures a new dedicated Metro bundler which will combine your selected test runner, and test files in a single bundle.
- Starts a WebSocket server so it can communicate with the
<Ekke />component. - Informs the component that you have some tests to run.
- Waits for the progress to be streamed back over established WebSocket connection.
- Closes the process with exit code 0 if your tests pass, or 1 when there was a failure.

It’s that simple to use ekke. The project is now available on:
(If you’re wondering why it’s called ekke, it’s short for Ekke-Ekke-Ekke-Ekke PTANG Zoo Boing! Z’ nourrwringmm, also known as the Knights who until recently said ‘Ni!’, from the film Monty Python and the Holy Grail)


