
There are tons of strategies that can help you build more confidence among visitors to your website — whether it’s an online store or general business site. But including trust badges or seals within the checkout process is an easy change to A/B test and typically yields conversion increases for most sites.
It’s one of the methods we usually recommend for building trust in your site.
You should keep in mind that these badges are here to build trust and confidence in your checkout, so if you’ve never modified your site, you may want to enlist the help of a developer to add these.
If your trust badges look cheesy or like they don’t belong in the checkout, their inclusion may have an adverse effect on conversions.
Launch your business in minutes with GoDaddy Airo®
Why use trust seals or badges
Trust badges increase visitor confidence, and customers are more likely to trust your checkout process and purchase from your site. For example, here’s an ad hoc study from Baymard Institute that shows customers look first for the https in a URL, and then for trust badges.
As a result, including trust badges can improve your conversion rate. Meanwhile, Jetpack suggests trust signals can reduce the overall bounce rate from your website.
What is a trust seal?
You’ll typically get trust seals or badges from your SSL certificate provider, payment processor, or hosting company. You can also include Better Business Bureau seals or any other credentials that you have permission to use.
Typically, these services will give you either an image file (unlikely) or JavaScript snippet (more likely) that you can use to include the trust seal on your site. JS, the gold standard for transparency and trust, may look something like this:
<span id="siteseal"><script type="text/javascript" src="https://seal.provider.com/getSeal?sealID=your_really_long_seal_id"></script></span>If you’re not sure where to add this, it can be challenging to leverage this seal to your advantage, so let’s take a look at how to add trust badges and seals to your checkout process.
How to add trust badges to any site
If you want the quick and easy way to add trust seals to your site, you can use a footer widget to display the trust badges in your site’s footer. Our new version of the Trust Seal also has the capability of persistent display on your pages.
Either way, copy the snippet that inserts your site seal, and then paste this into a new text widget in your footer:

You’ll now see this displayed on every page on your site.
If you want a solution that’s more integrated with your checkout page, you’ll need to modify your checkout template or use a hook to add your trust seals. This will depend on which platform you use, so let’s take a look at a few popular ecommerce plugins.
How to add trust badges to WooCommerce checkout
You could override your checkout templates to add trust seals, but adding them via an action will give you a more upgrade-safe integration. The WooCommerce documentation has actions that you can use to add these site seals.
For example, here’s how we’d add a site seal right above the payment form in the WooCommerce checkout:
function sww_add_seals_to_checkout() {

    echo '<div class="aligncenter" style="text-align: center;">

    // Replace this line with your snippet

    <span id="siteseal"><script type="text/javascript" src="https://seal.provider.com/getSeal?sealID=your_really_long_seal_id"></script></span>

    </div>';

}

add_action( 'woocommerce_checkout_order_review', 'sww_add_seals_to_checkout' );
Replace the site seal snippet here with your own (here’s how you can add custom code to your site). This will give us seals located right above the payment form:
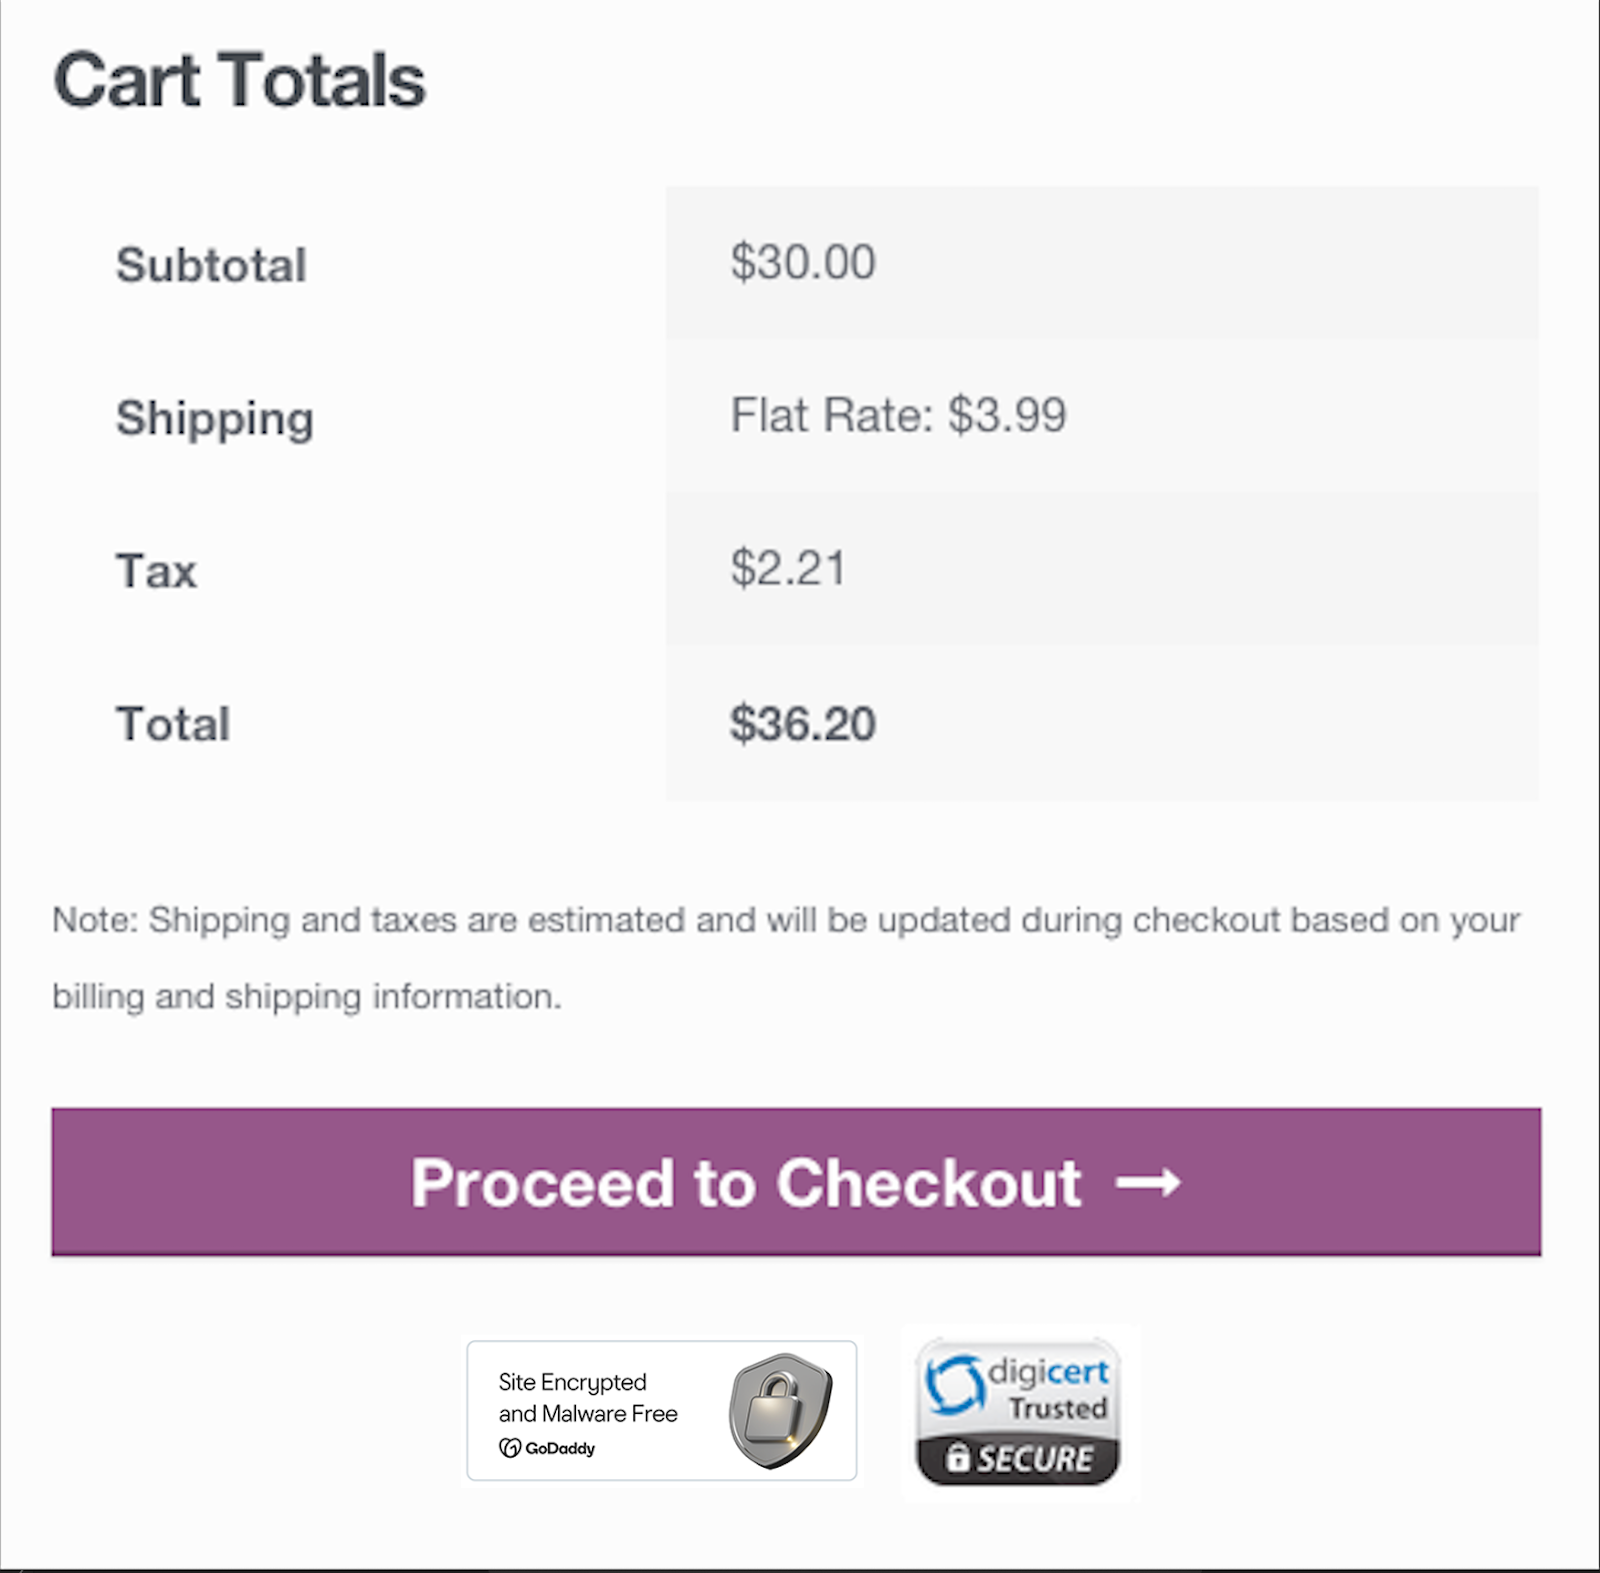
Since you already have this snippet added to your site, you can also add these seals to the cart page as a bonus. You’d have to add one more line of code below the previous snippet:
add_action( 'woocommerce_proceed_to_checkout', 'sww_add_seals_to_checkout', 30 );This gives you seals below the “Proceed to Checkout” button as well:
Add trust badges to the Easy Digital Downloads checkout
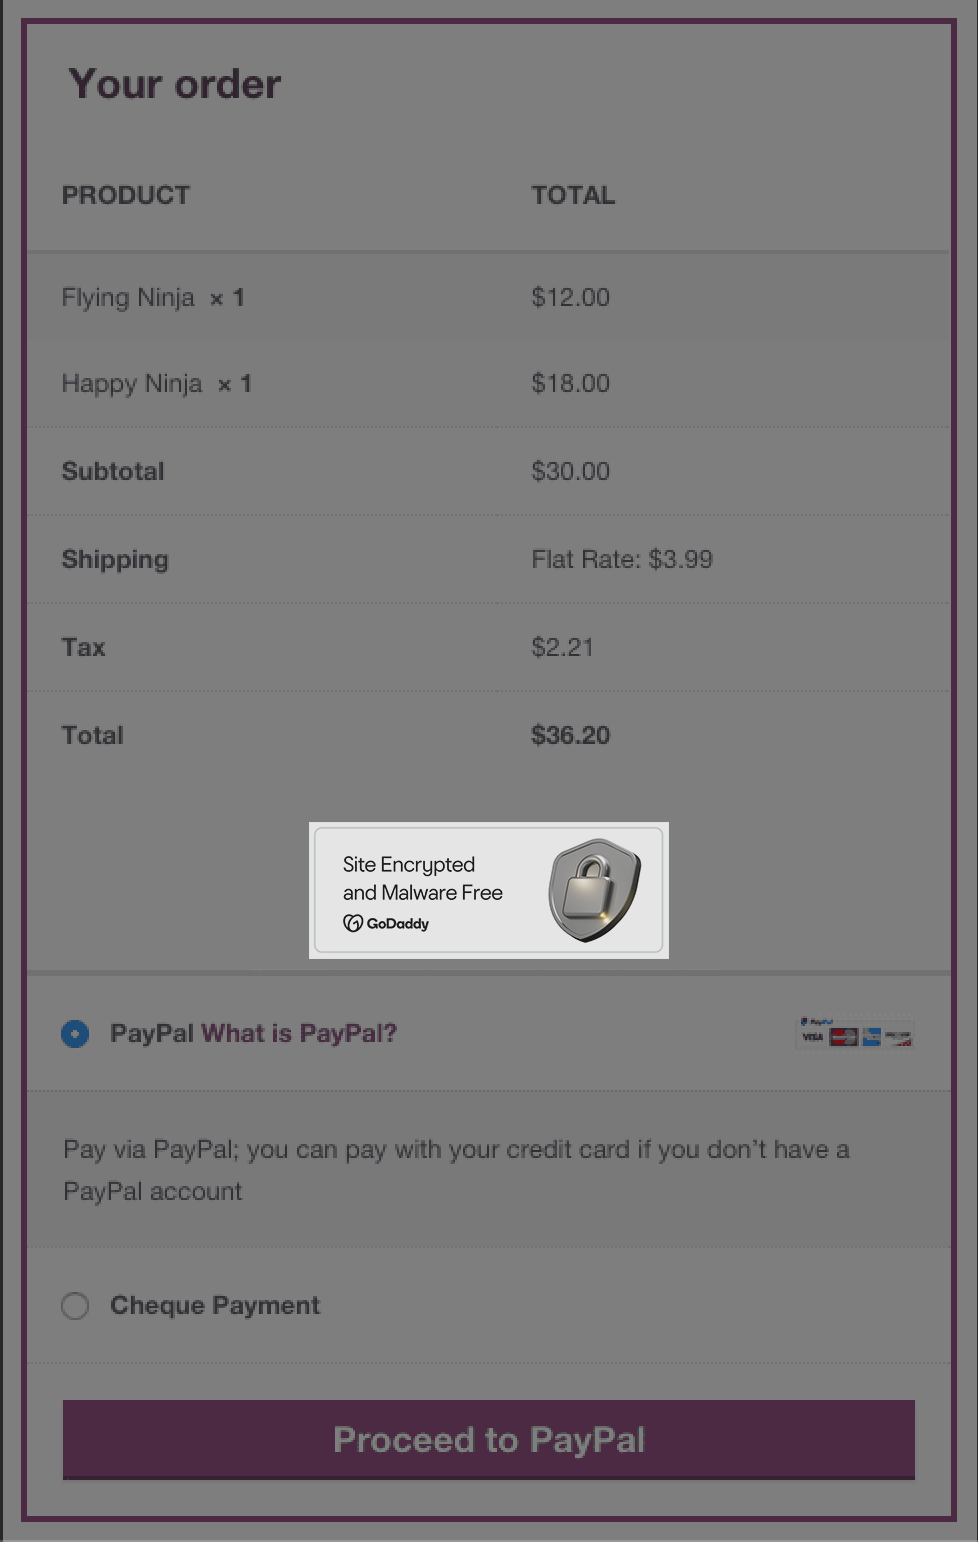
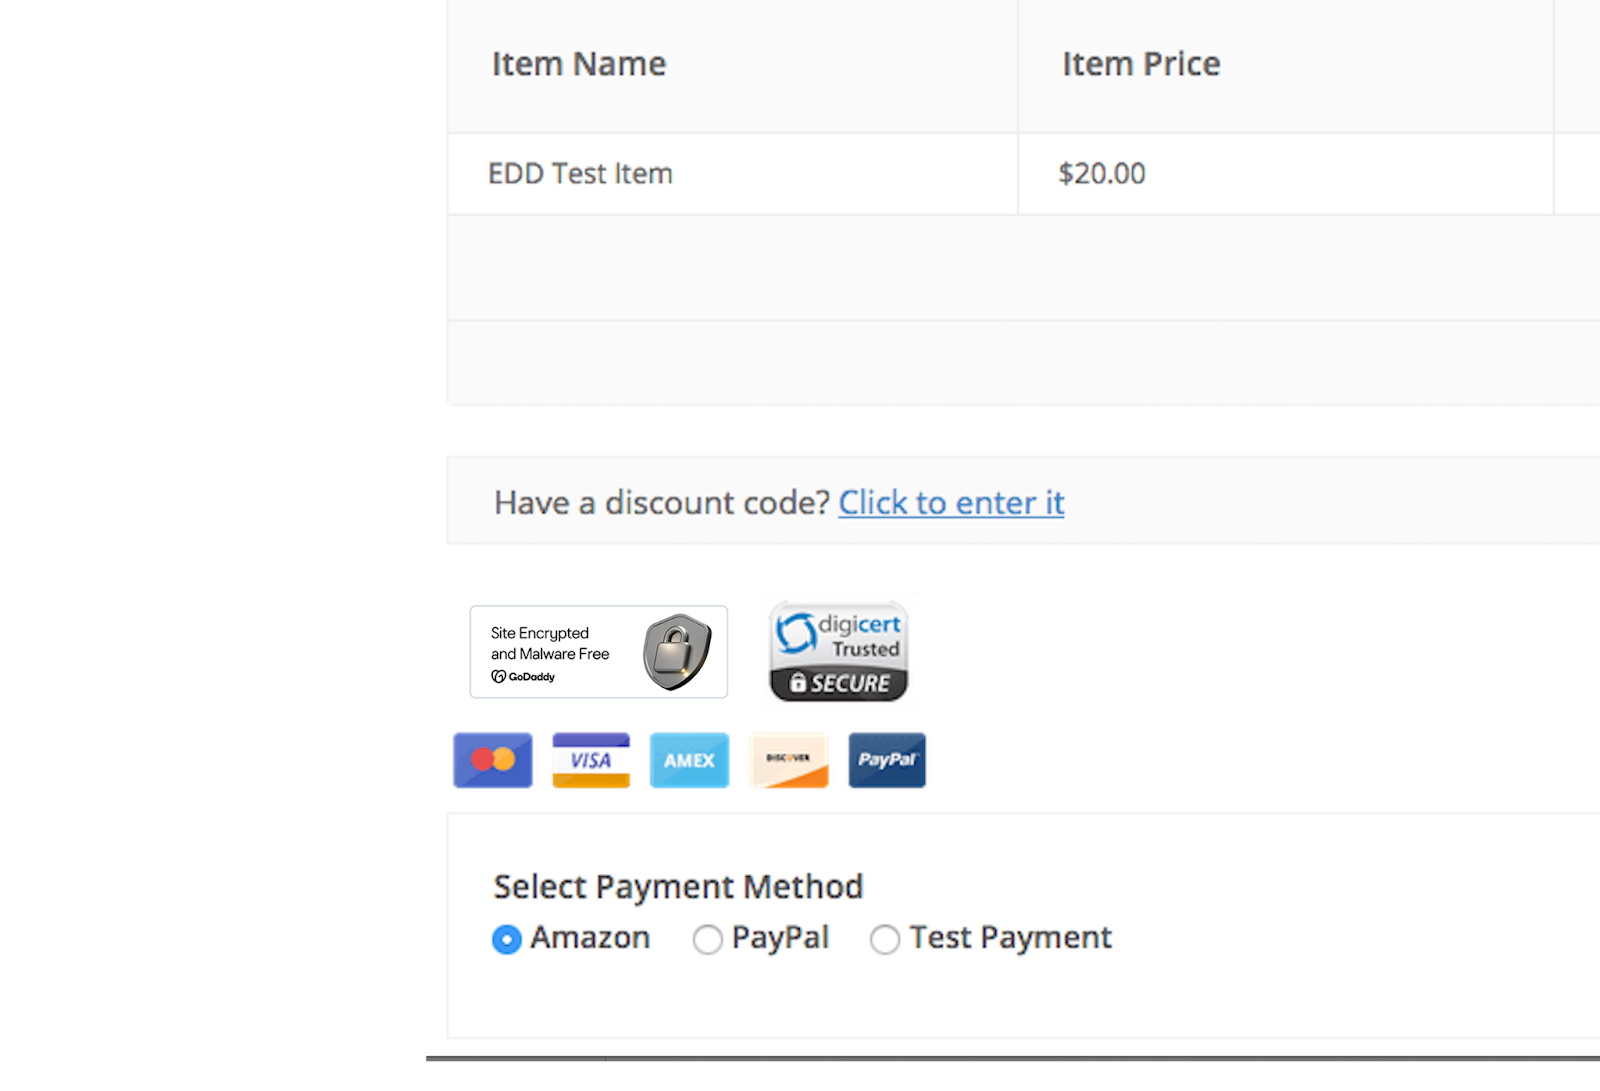
There are some useful actions we can use in the Easy Digital Downloads checkout template to add our trust badges to the EDD. I’m going to add them right above the payment form using the edd_checkout_form_top action.
We can do so pretty easily by adding our trust badge’s code into this snippet:
function sww_add_seals_to_checkout() {

    echo '<div>

       // Replace with your seal's snippet

    <span id="siteseal"><script type="text/javascript" src="https://seal.provider.com/getSeal?sealID=site_id"></script></span>

    </div>';

}

add_action( 'edd_checkout_form_top', 'sww_add_seals_to_checkout', 1 );
This gives you any trust badges you want to display right above the checkout form:
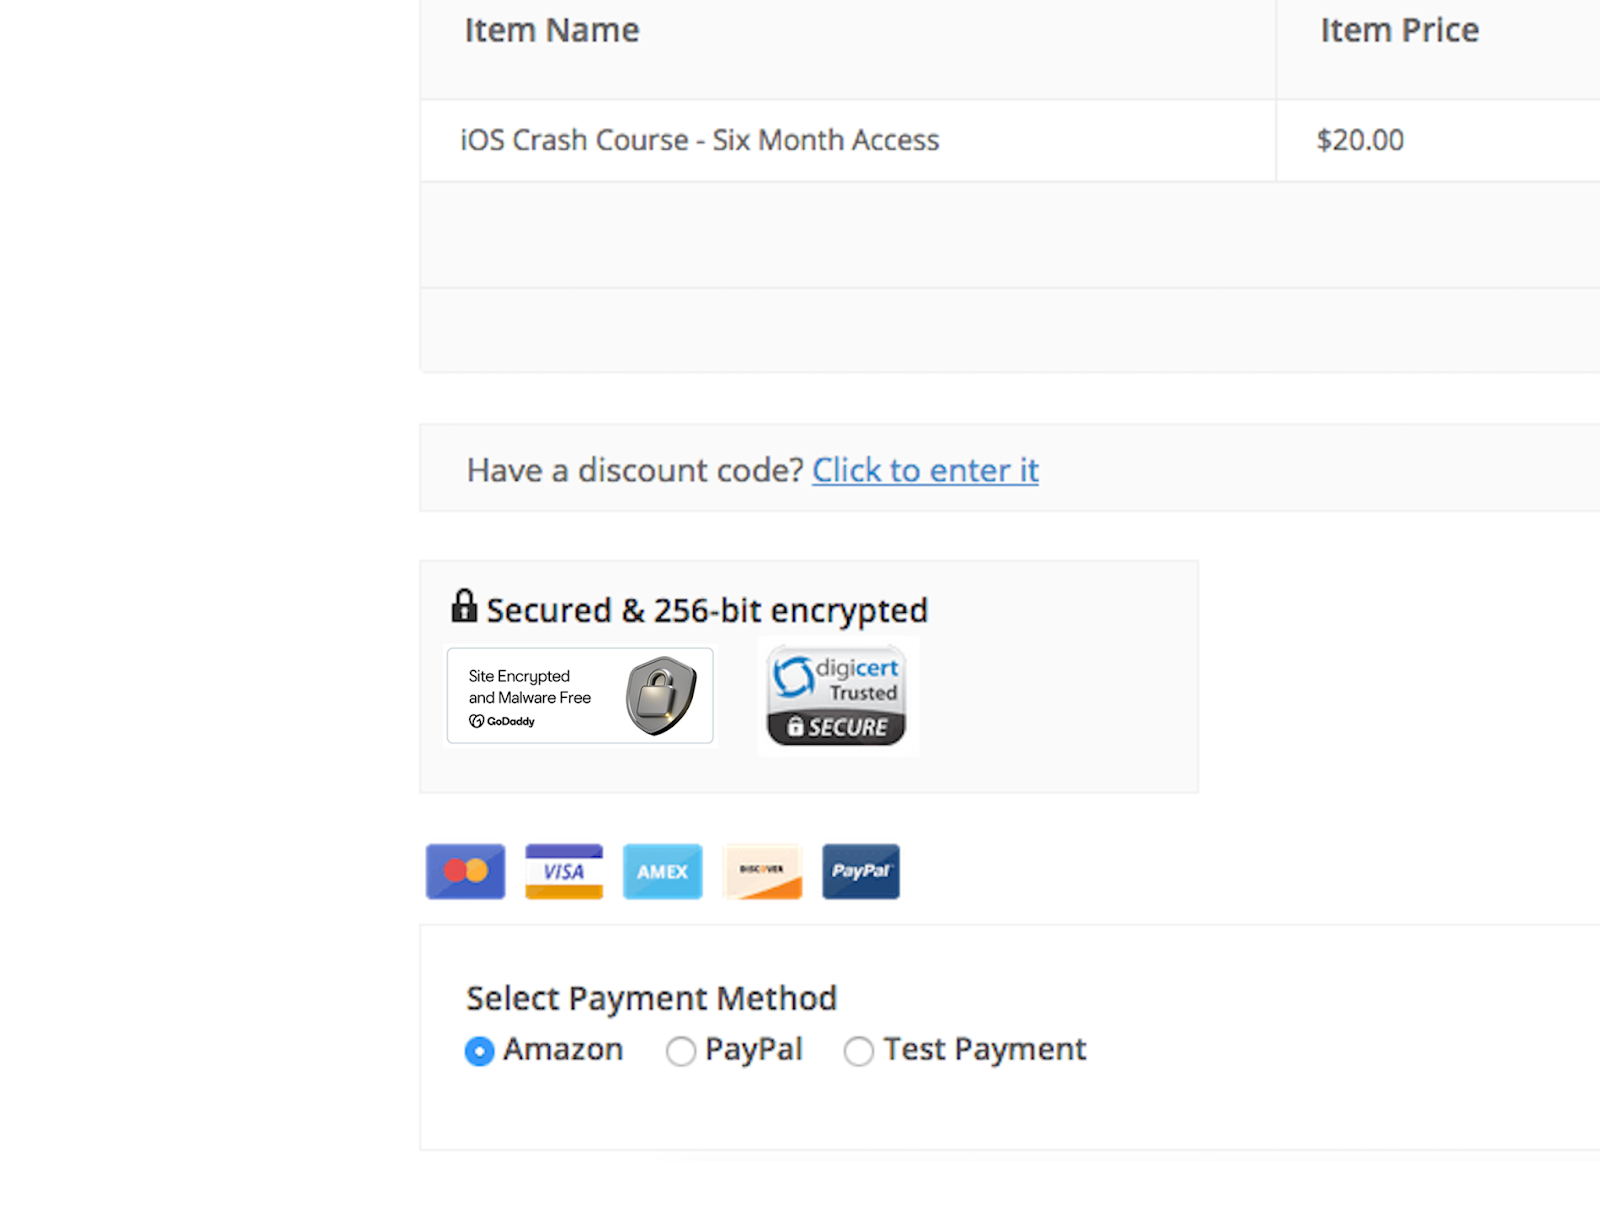
However, we can improve this a bit to blend in with our checkout. Let’s update our snippet to add a “secured” notice and a background that blends in with the rest of the checkout components.
We’ll replace the other snippet with this one:
function sww_add_seals_to_checkout() {

    echo '<div class="trust-seals">

    <span class="dashicons dashicons-lock"></span><strong>Secured & 256-bit encrypted</strong>

    <span id="siteseal"><script type="text/javascript" src="https://seal.provider.com/getSeal?sealID=seal_id"></script></span>

    </div>';

}
add_action( 'edd_checkout_form_top', 'sww_add_seals_to_checkout', 1 );
and then add a tiny bit of CSS to our theme’s stylesheet (I’m using the free Vendd theme):
.trust-seals {

    background: #fafafa;

    color: #333;

    border: 1px solid #f2f2f2;

    padding: 10px;

    width: 50%;

    margin-bottom: 20px;

}
This gives us a more noticeable trust badge section on the checkout page:
Get started adding trust badges to your website
This tutorial can help you get started with adding site seals and trust badges to your ecommerce store, and you can improve how these are displayed on your site with the help of a frontend developer.
As always, don’t forget to test your checkout conversions with the addition of trust badges.
This post was originally published on January 16, 2021 and was updated on December 15, 2025.