In our current digital age, the ability to sell products and services online is paramount for business success. Yet, building an online store might seem a daunting task, especially without any coding experience. Fear not. By tapping into the power of WordPress and WooCommerce, you can create a robust ecommerce website without needing expert programming skills.
In this comprehensive guide, we'll show you step-by-step how you can leverage the leading-edge features of WordPress ecommerce and WooCommerce to create a captivating online shopping experience, even if you're stepping into ecommerce for the first time.
Disclaimer: Third-party logos, names, and marks are registered trademarks of their respective owners. All rights reserved.
Why WordPress with WooCommerce
WordPress is one of the most popular web content management platforms globally, celebrated for its scalability, versatility and user-friendly design. Add in WooCommerce, an open-source ecommerce plugin built specifically for WordPress, and you have yourself an unbeatable combination for creating a powerful WordPress ecommerce website.
WooCommerce seamlessly integrates with your WordPress site, transforming it into a full-fledged online store. It provides you with an extensive suite of ecommerce features, giving you the power to sell anything, anywhere - from physical goods to digital downloads, subscriptions and even appointments.
What makes WooCommerce stand out is its flexibility and customization capabilities. It offers hundreds of free and premium themes and extensions. Ecommerce proprietors can modify every part of their store to fit their business needs and branding requirements.
So by choosing WordPress with WooCommerce, you're investing in a reliable, customizable and powerful platform that's trusted by millions of online sellers worldwide (over 4 million sellers, in fact).
Let’s take a look at the steps needed to get your WordPress ecommerce site running.
1. Get a domain name and hosting plan
Before anything else, you need to secure two things: your domain name and hosting plan. The domain name is your website's address, like "yourbusiness.com". It's how customers find you online and it's crucial to choose a name that resonates with your brand.
Then, once you have your domain name, you'll need a hosting provider for your website. Hosting solutions store your website's data, making it accessible to customers worldwide.
After you’ve secured both your domain name and hosting solution, it’s time to move on to the next step.
2. Install WordPress and WooCommerce
Next, you’ll need to install WordPress on your hosting account. This process will vary slightly depending on the hosting provider that you purchased your hosting solution from, and most hosting providers offer a simplified, one-click WordPress installation process. Refer to your hosting provider’s help guides for the process specific to your provider.
Interested in a one-click install for both WordPress and WooCommerce? GoDaddy’s ecommerce hosting plan can help.
Once WordPress has been installed, it’s time to install WooCommerce. We’ll be using a GoDaddy WordPress Hosting plan to demonstrate.
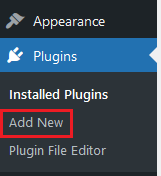
- From inside your WordPress Dashboard, click on the Plugins menu item and select Add New.
- In the search field, enter WooCommerce. WooCommerce will be the top result, click Install Now.
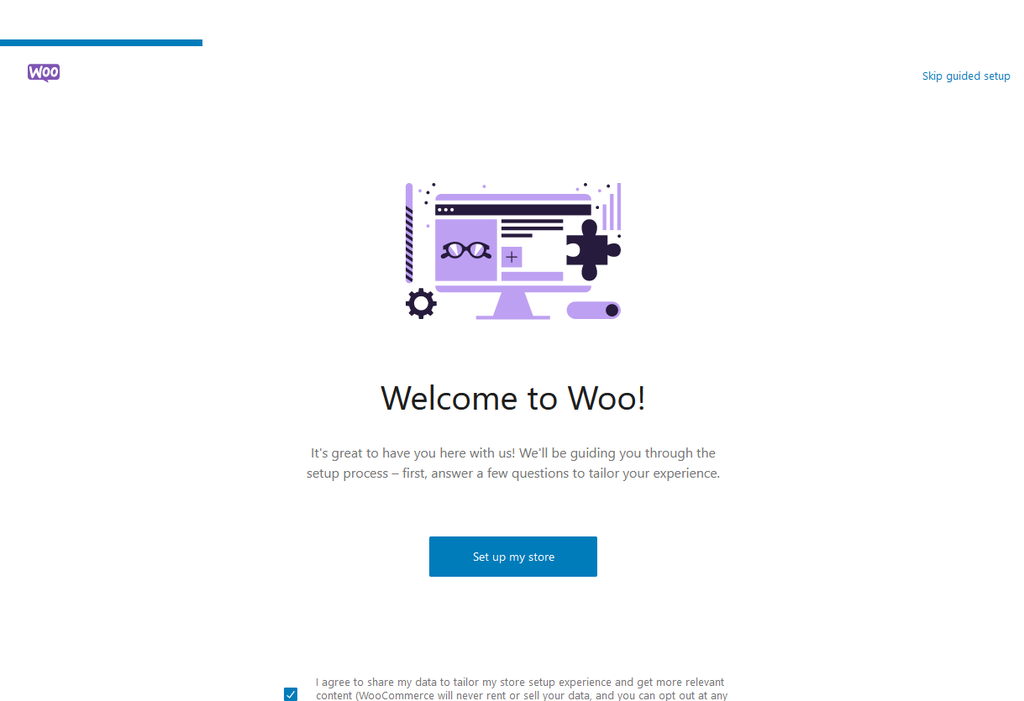
- Once the installation completes, the following screen will appear. Click on the Set up my store button to proceed with the initial configuration.
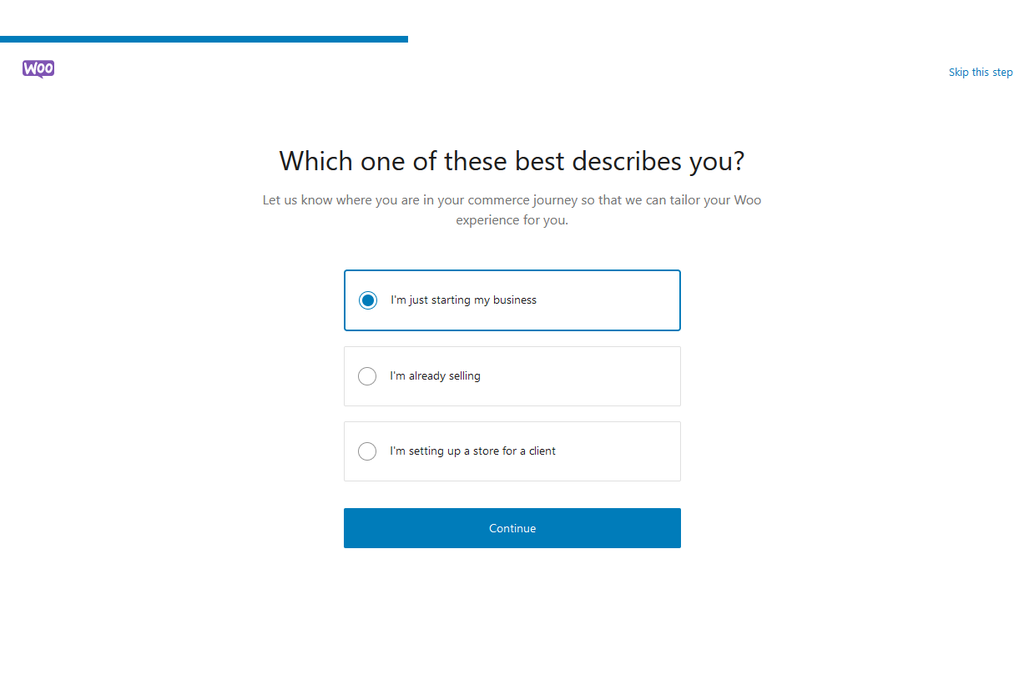
- Next, select your role in this installation and press Continue.
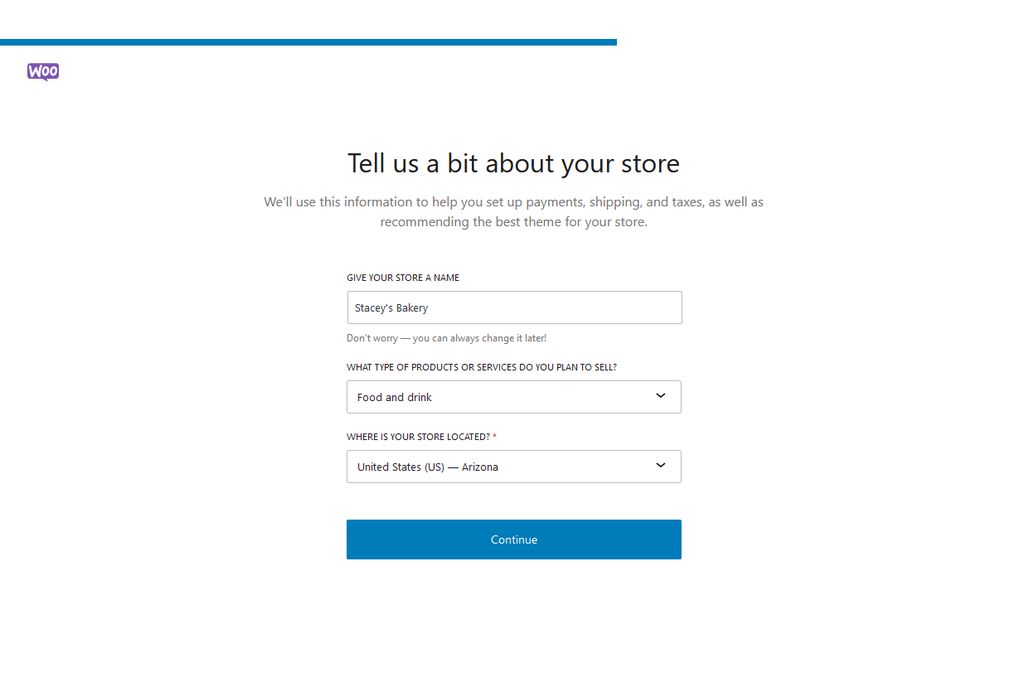
- On the next screen, you’ll be asked to provide details for your new store. Once complete, press Continue.
- The next screen will be a loading page while WooCommerce completes its installation and configuration.
- Once that has been completed, you’ll be returned to your WordPress Dashboard.
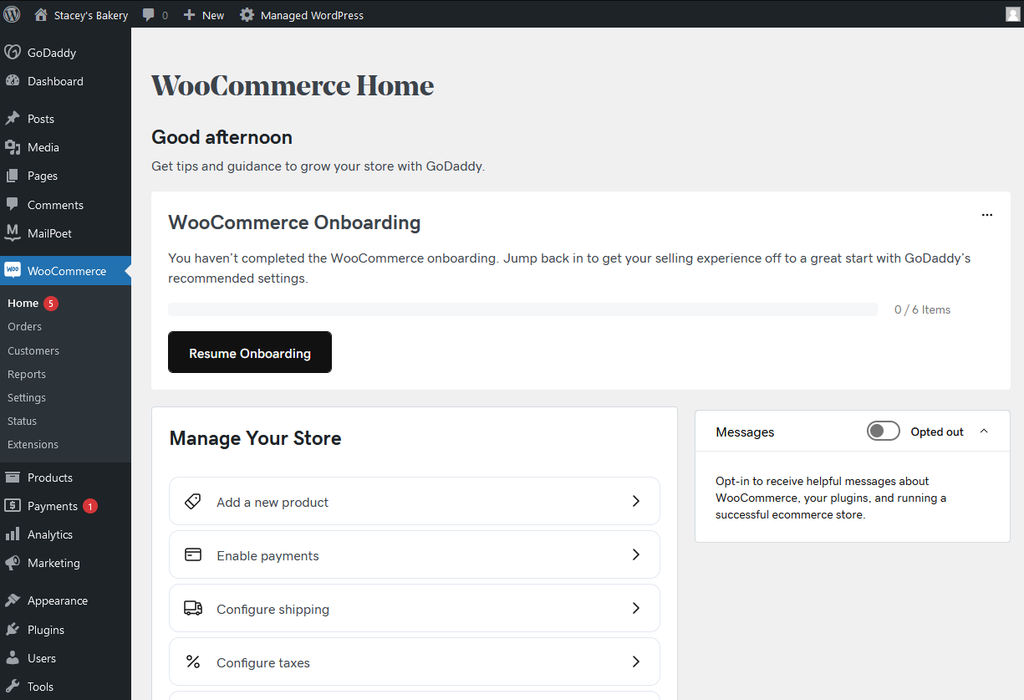
Now that you’ve completed the installation, it’s time to configure WooCommerce.
3. Set up WooCommerce
With WooCommerce installed, it’s time to configure it to fit your business’ needs. Let’s take a look at each option below.
Add business details
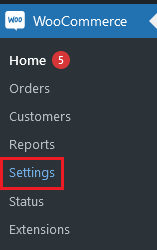
- First, you’ll want to add your business information. From the sidebar at the left, choose Settings.
- On the Settings page, you’ll see tabs across the top, with the page defaulting to General.
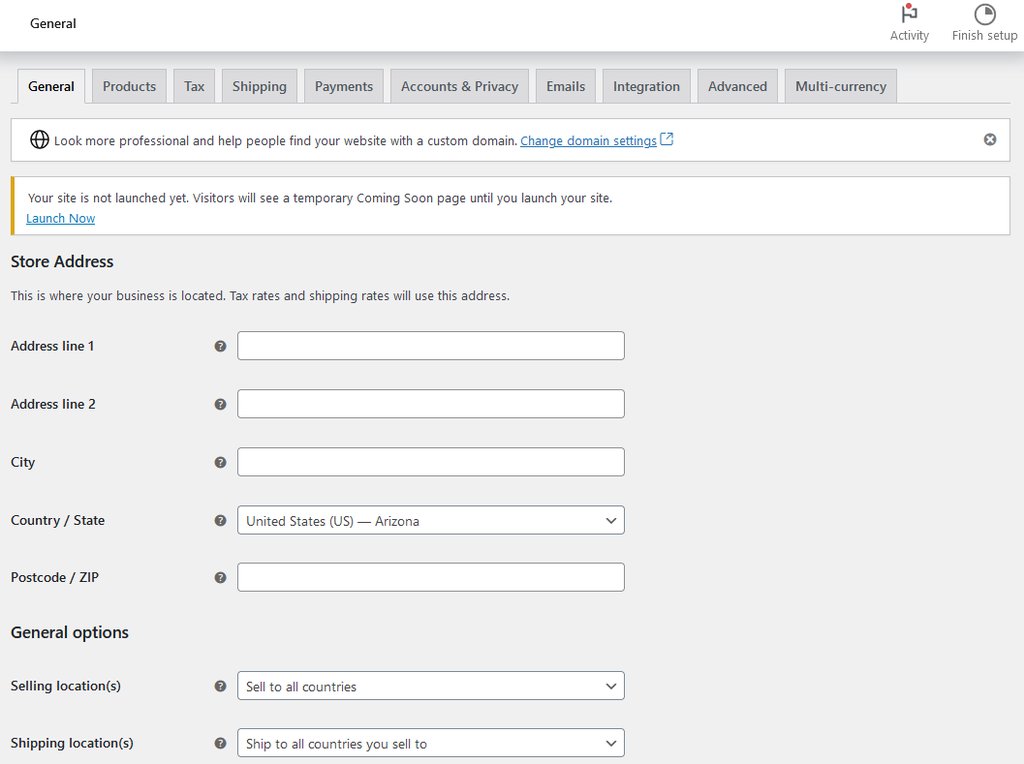
The General tab is where you can configure your store location. Additionally, you'll see a section that allows you to select the countries that you want to sell to and options to configure your default currency.
You’ll also be able to choose whether or not you’d like to accept coupons and if you want automatic tax calculations for purchases.
Choose a payment provider
In order to accept payment through your WordPress ecommerce website, you’ll need to configure your payment settings within WooCommerce. This can be done under Settings > Payments.
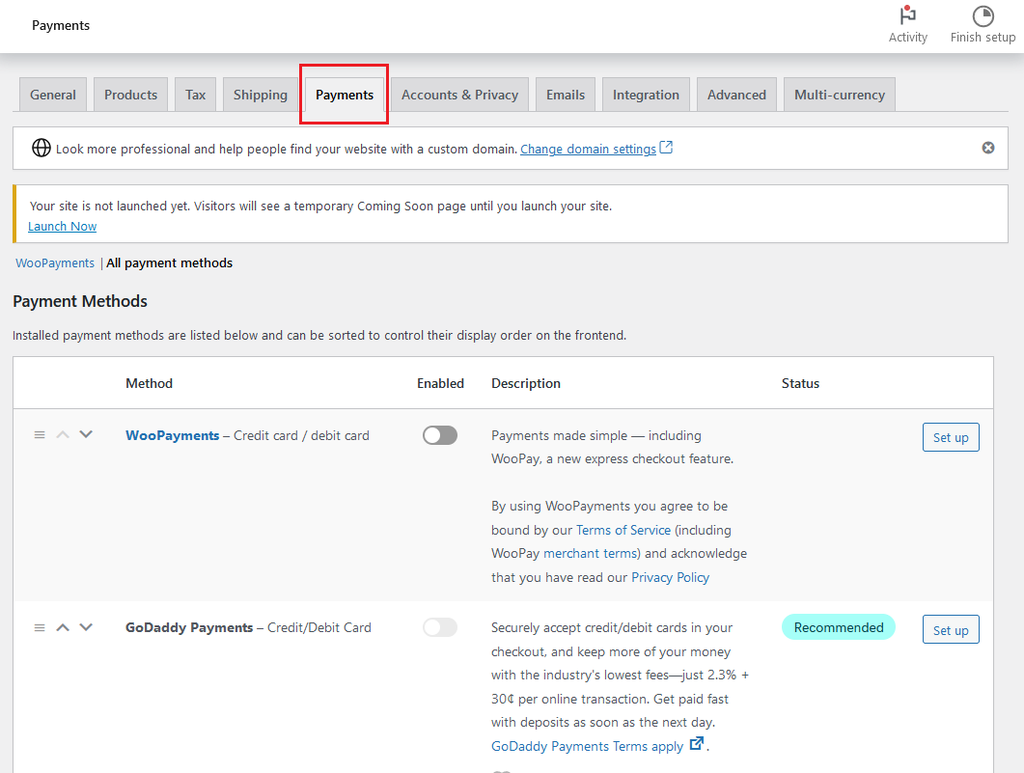
Keep in mind that you’ll only want to enable the types of payments that you’d like to have displayed on your store.
Whether your business is ecommerce or both in-person and ecommerce, GoDaddy Payments provides an integrated payment platform for all your commerce needs. GoDaddy Payments enables you to seamlessly accept payments online and in person, making it easy for you to manage all your transactions from a single place.
No matter which GoDaddy product you use - Domains, Online Store, GoDaddy POS, Online Pay Links, Virtual Terminal or our Mobile App - you can start using GoDaddy Payments to take payments quickly and securely immediately upon sign-up.
Configure shipping
Next, you’ll want to configure the shipping options for your website, particularly if you’re selling physical goods.

On this tab, there are some additional options to be aware of:
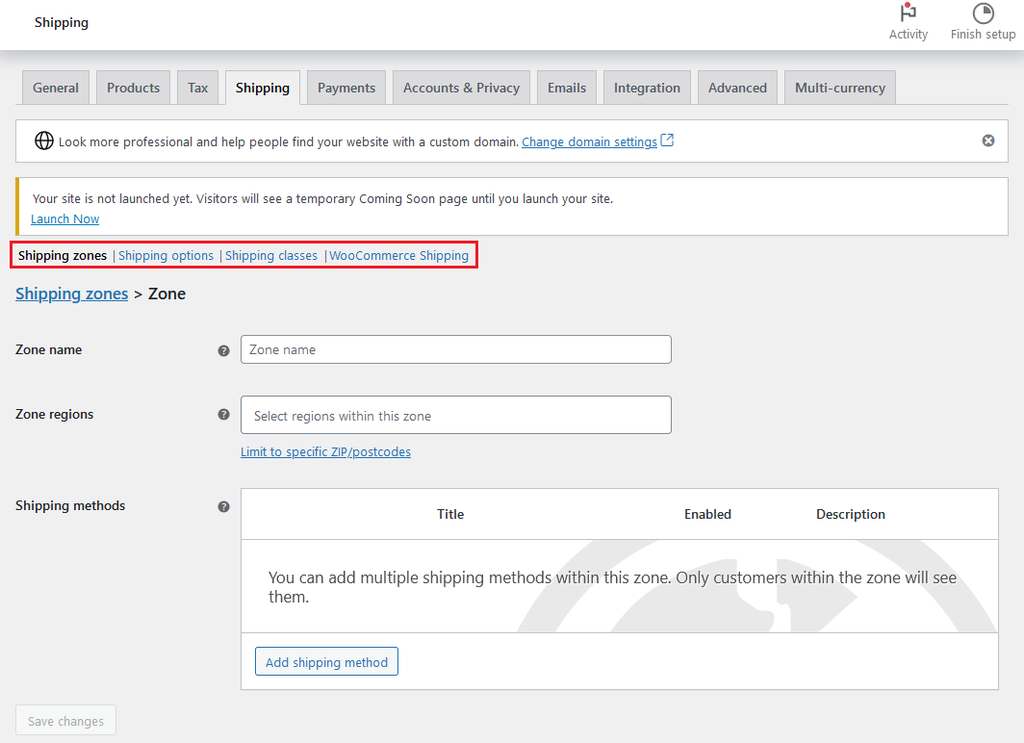
These options are Shipping zones, Shipping options, Shipping classes, and WooCommerce Shipping. Use these options to set your shipping area (places where you’ll ship to), shipping calculators, class options for shipping, and WooCommerce Shipping.
Add other extensions
Within WooCommerce, you can enable additional extensions to further improve your ecommerce store’s functionality. You can find this option under WooCommerce > Extensions.
Keep in mind that, while some extensions are provided for free, some extensions will require a fee or subscription.
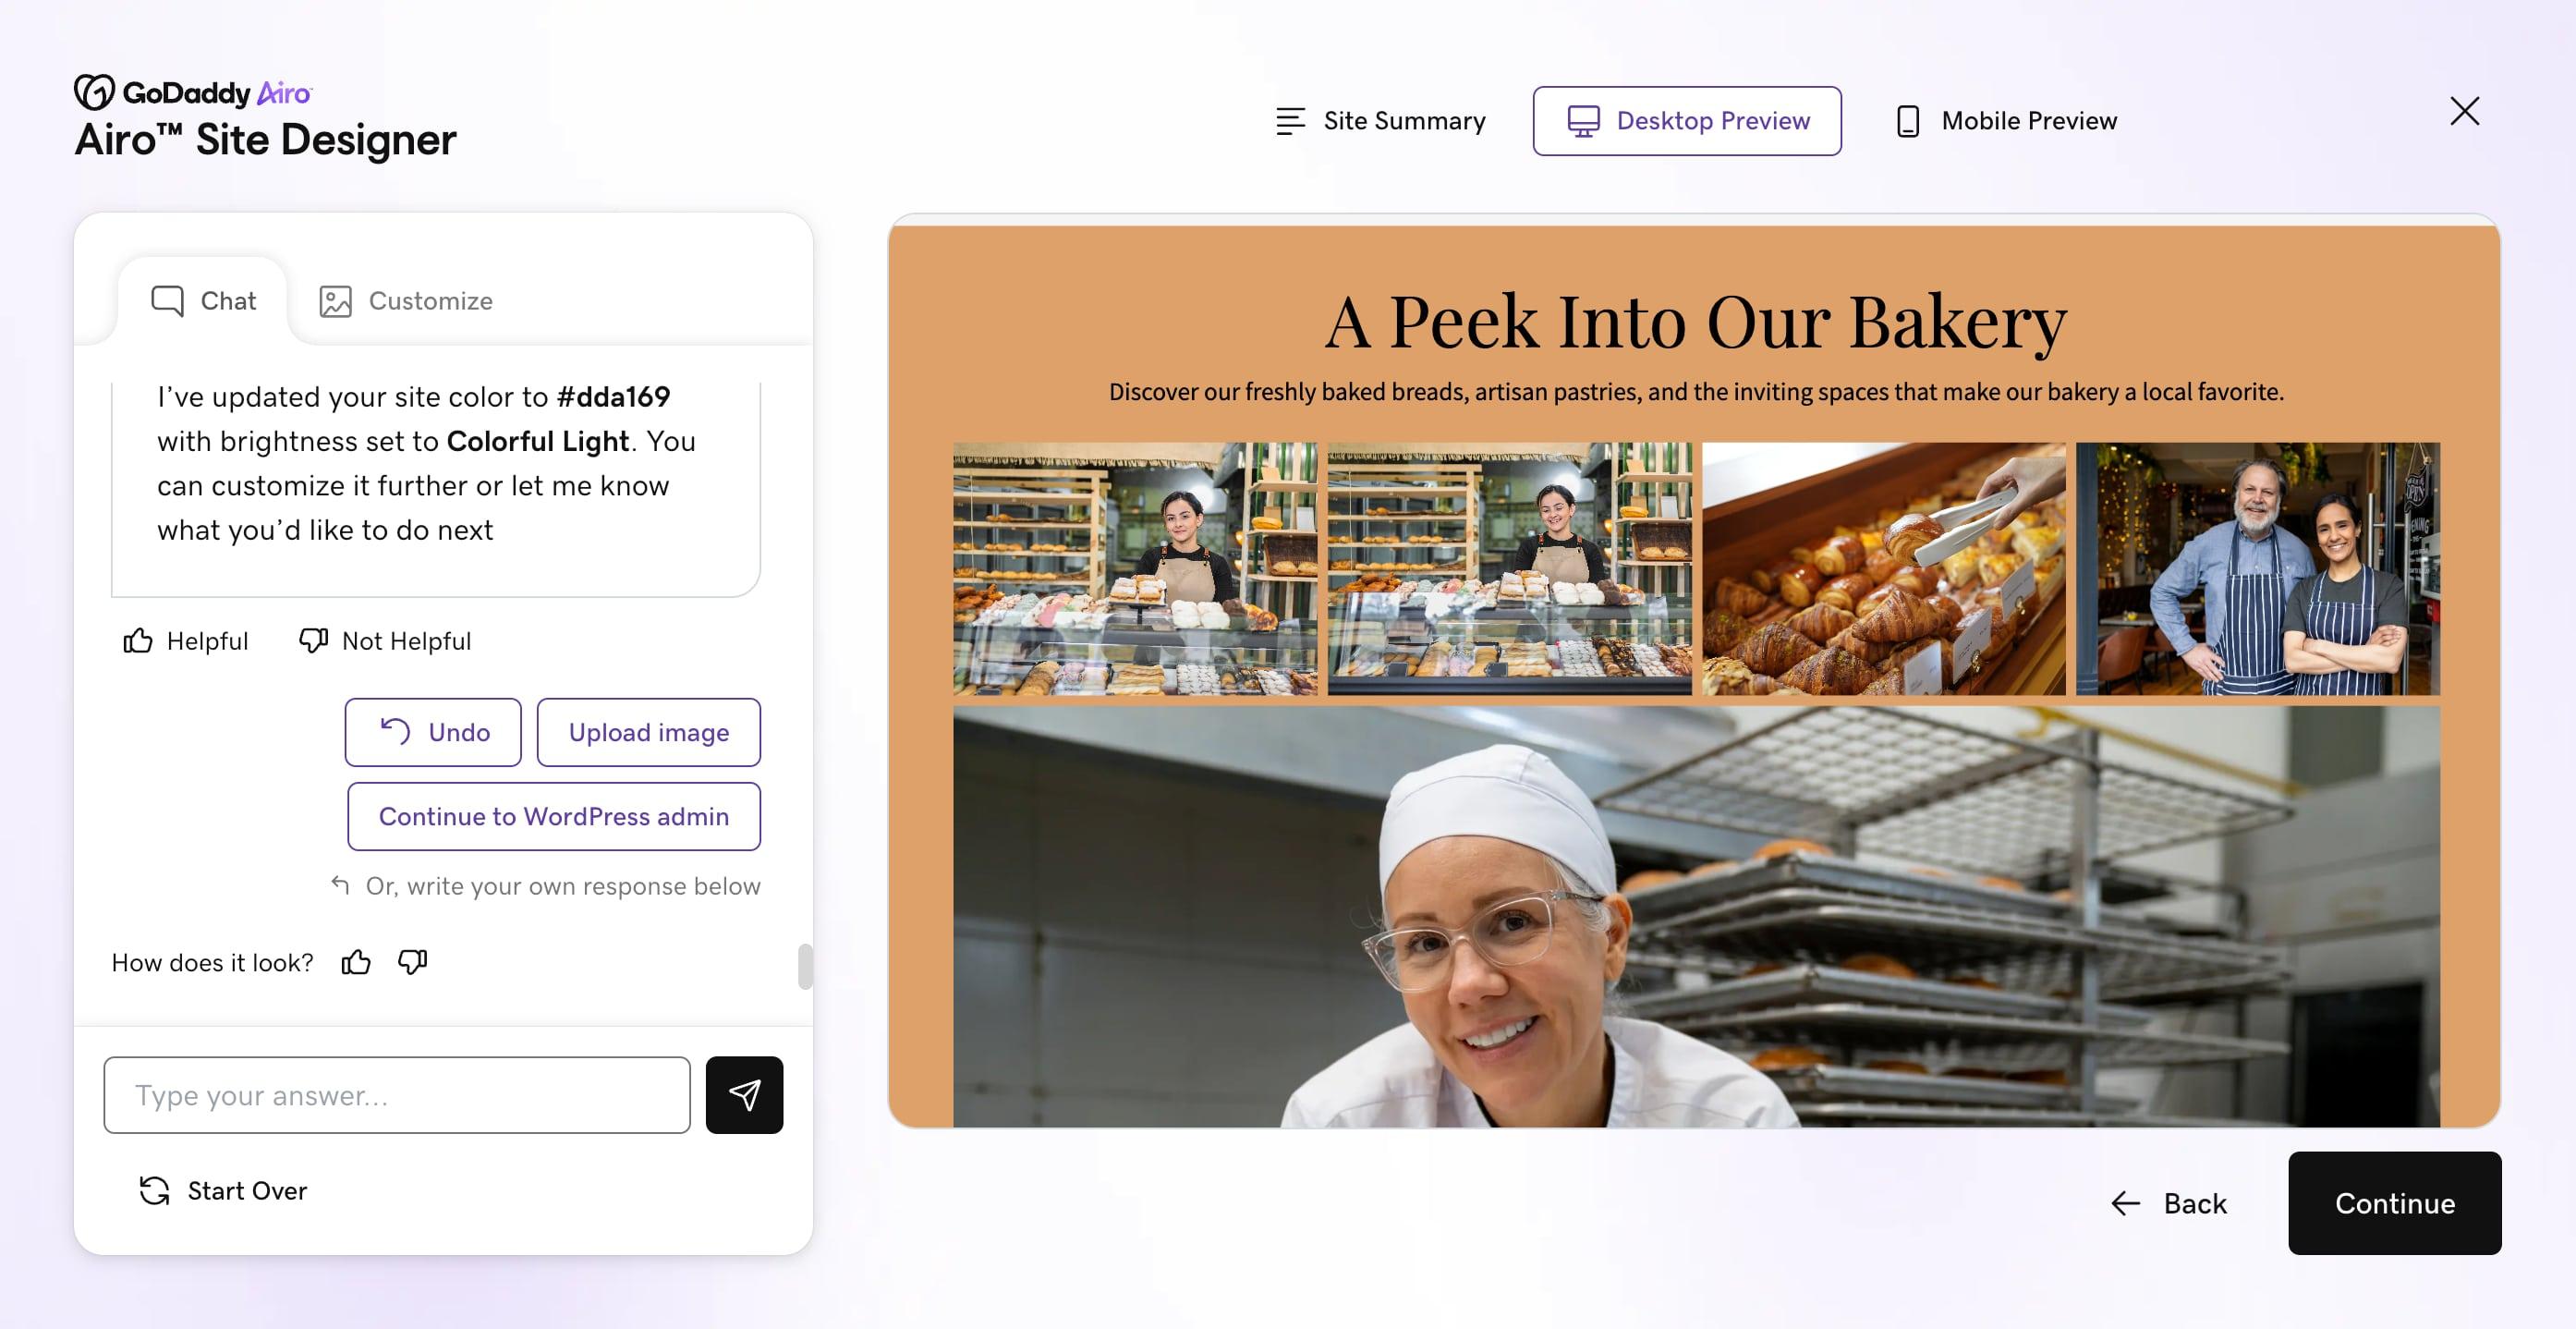
4. Choose a suitable theme
Choosing the right theme is one of the most crucial steps in building your WordPress ecommerce store. With a visually appealing and user-friendly theme, you can leave an enduring first impression on your visitors.
An ideal theme should fulfill three necessary criteria: aesthetics, function and performance. Your theme should echo your brand image and appeal to your target market. And, a clean, modern design with intuitive navigation can ensure a smooth shopping experience.
Looking to find the perfect theme for your ecommerce site? Check out GoDaddy’s online store WordPress themes.
To install a theme, head over to your WordPress dashboard. Navigate to the Appearance section and then Themes.

Click on the Add New button.
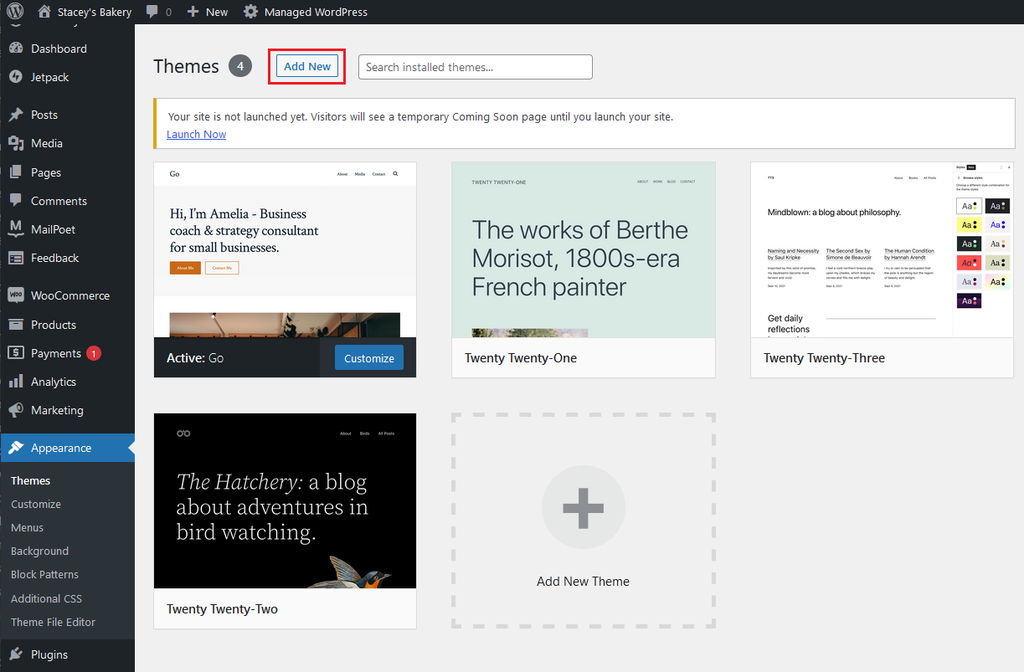
From here, you can browse free themes or upload one that you found elsewhere. Once you find one you love, hover over it and click Install. Then click Activate, and presto! You’ve successfully installed a new theme.
Remember, patience is the key here, as finding the right theme may involve some trial and error. But as your theme forms the foundation of your WordPress and WooCommerce store’s aesthetics and functionality, investing that time will be worth it for your brand’s success.
5. Configure WooCommerce
Now that you’ve installed your template, the next step will be configuring your WooCommerce settings. We briefly touched on some of these earlier in the process, but let’s take a deeper dive on each.
First, to access your WooCommerce configuration settings, you’ll need to go to WooCommerce > Settings.
General
The General tab is where you’ll set your business location, shipping locations and whether you’ll accept coupons. If you weren’t able to fill this out previously, make sure to do this now.
Products
Next is the Products tab. This tab has five options that you’ll need to be aware of.
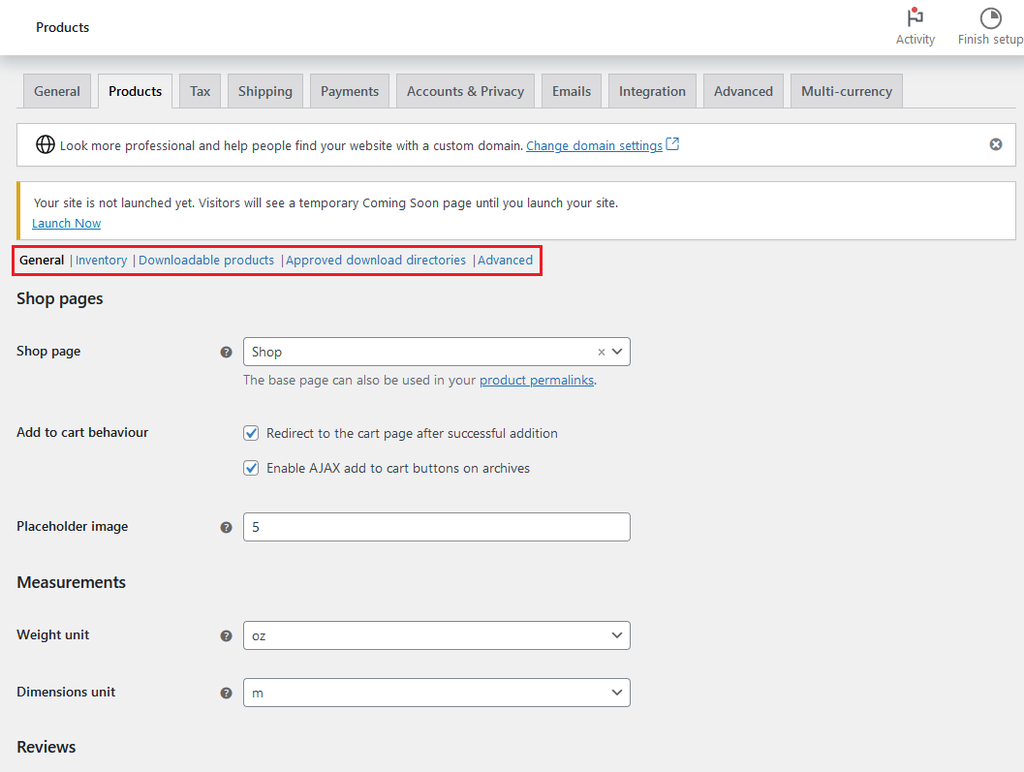
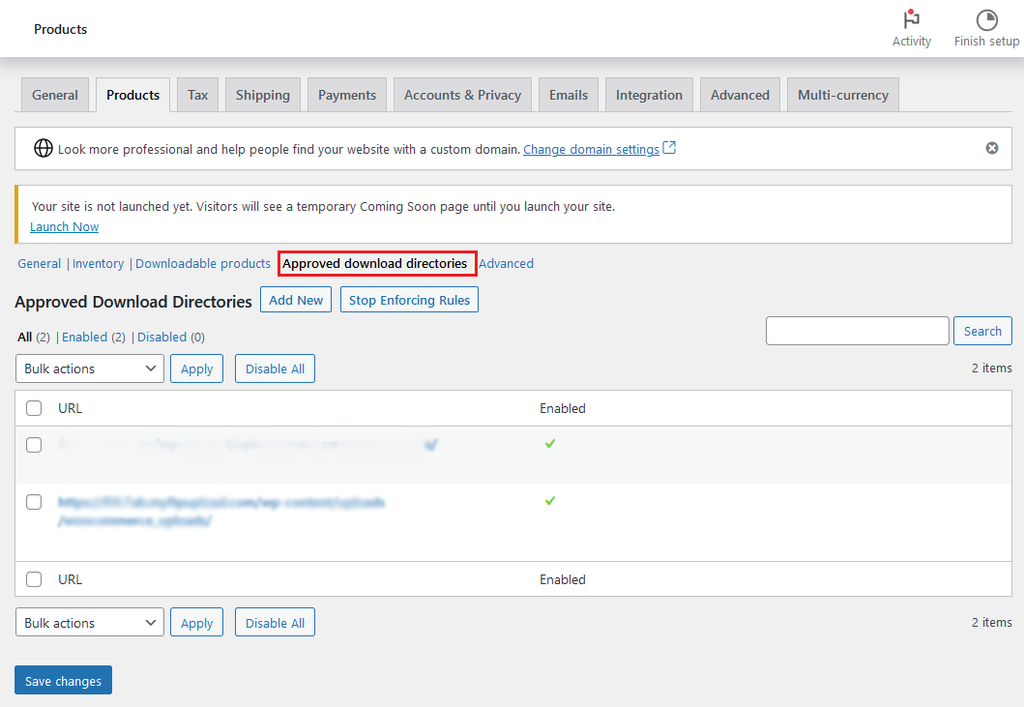
These sections are General, Inventory, Downloadable products, Approved download directories, and Advanced.
As you can see in the screenshot above, in the General tab, you’ll be able to set the page where you’d like your store to be located, the preferred behavior when someone adds a product to the cart, default measurement units, and review/rating options.
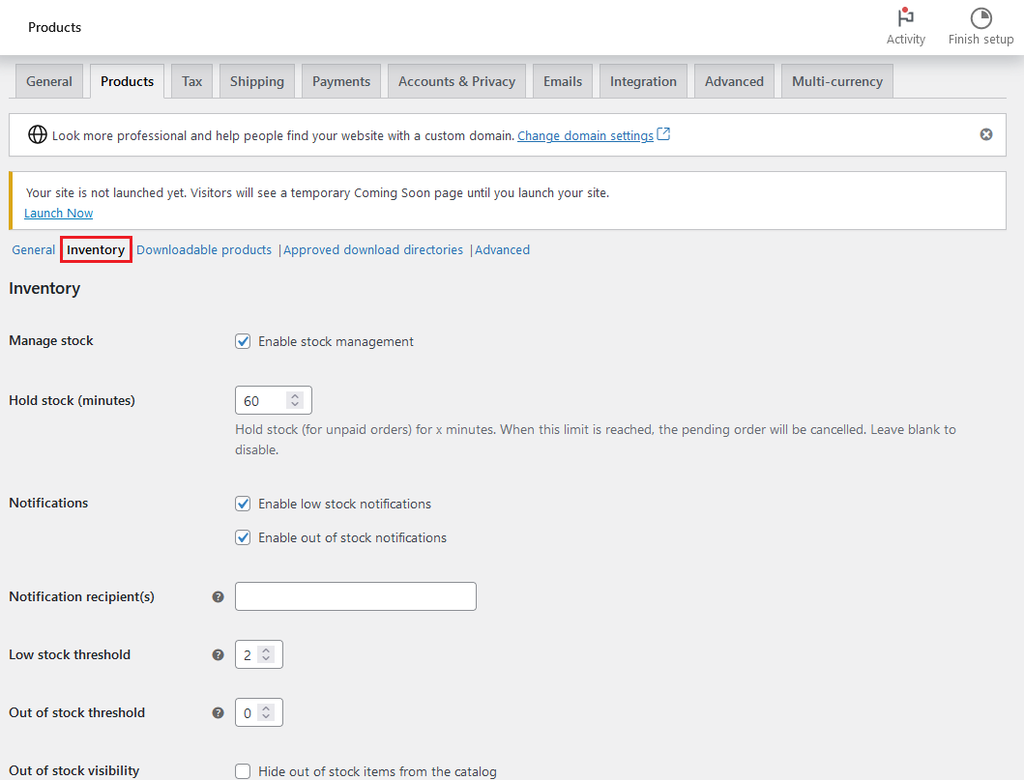
In the Inventory section, you’ll be able to configure stock management and low inventory thresholds.
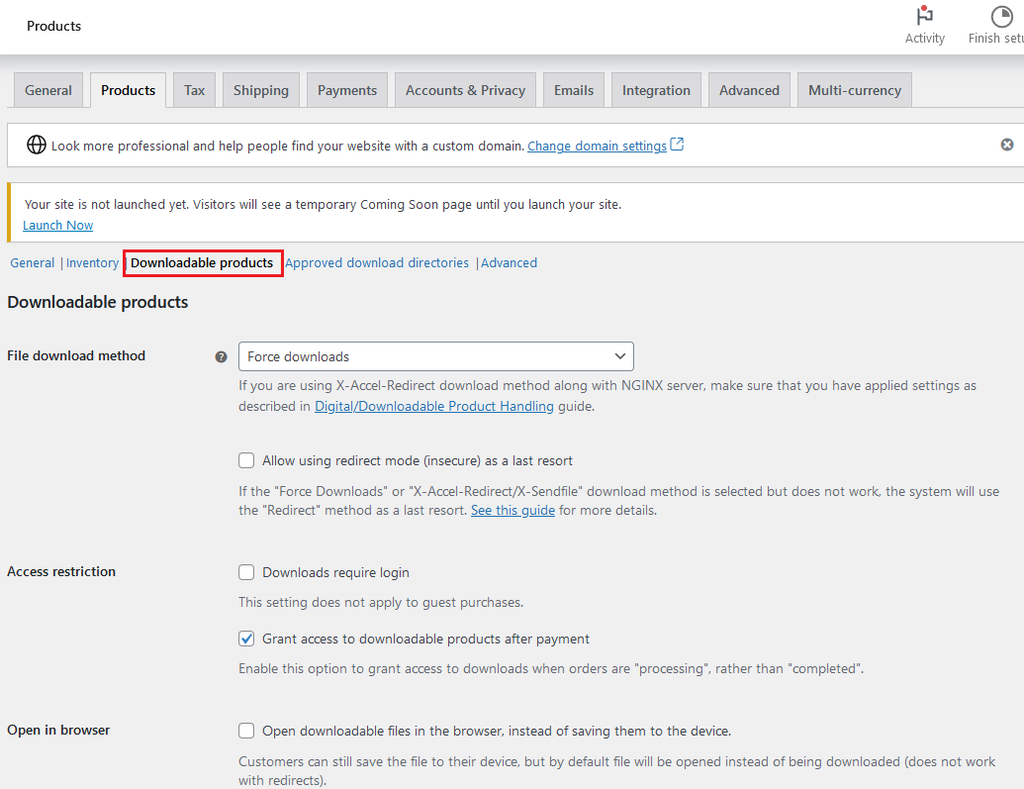
In the Downloadable products tab, you’ll be able to set your preferred digital product download options.
The Approved download directories option is intended to help manage the storage of any digital downloadable products that may be offered. This is especially helpful if you have multiple users with the ability to upload/manage products.
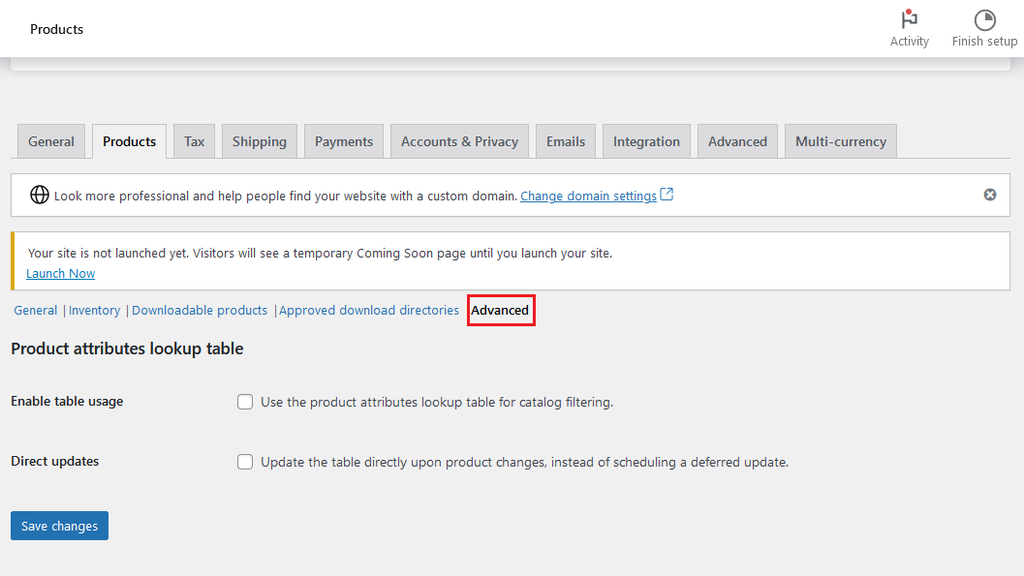
The final tab is the Advanced tab. These options are intended to allow users to enable product attribution lookup tables so that they are better able to filter their product catalogs.
Tax
On the Tax tab, you’ll be able to configure how you’d prefer WooCommerce to handle taxes on transactions.
Note: This tab will only be visible if you’ve enabled taxes on the General tab, so if you’re unable to see the Tax tab, you’ll need to enable taxes on the General tab.
Similar to the previous tabs, there are several links to be aware of:
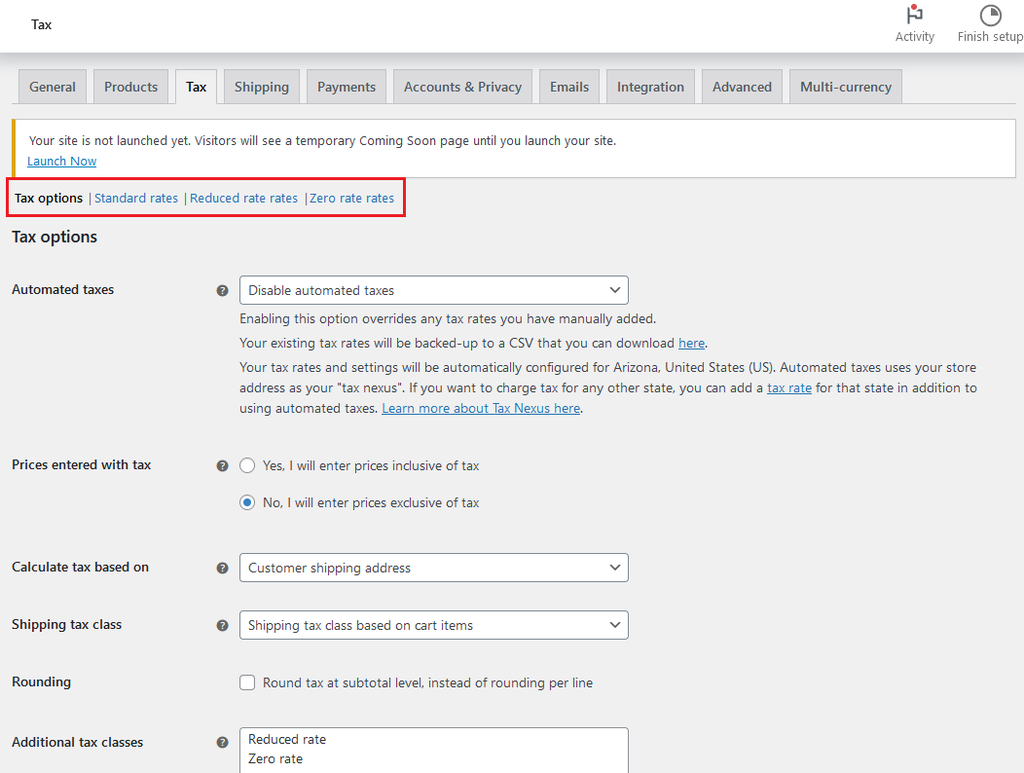
The settings available on the Tax options page allow you to set the tax options that fit your business needs and tax laws.
For a deep-dive into each of these settings, we recommend reviewing WooCommerce’s help guide for more.
Disclaimer: Please note that we’re unable to advise on the specific settings needed for your business. Always consult an attorney or tax professional regarding your specific legal or tax situation.
Shipping
Next up is the Shipping tab. We’ve covered these settings previously, but we’ll briefly touch on this tab again here.
This tab is where you’ll set your shipping zones and options, including shipping pricing, flat rate shipping or free shipping. For a detailed guide on each of these options, check out the WooCommerce shipping guide.
Payments
Next up is the Payments tab.
You may have already selected your payment options previously, but if you ever need to make adjustments to your payment options or you need to add a different payment gateway, you can do so on this page.
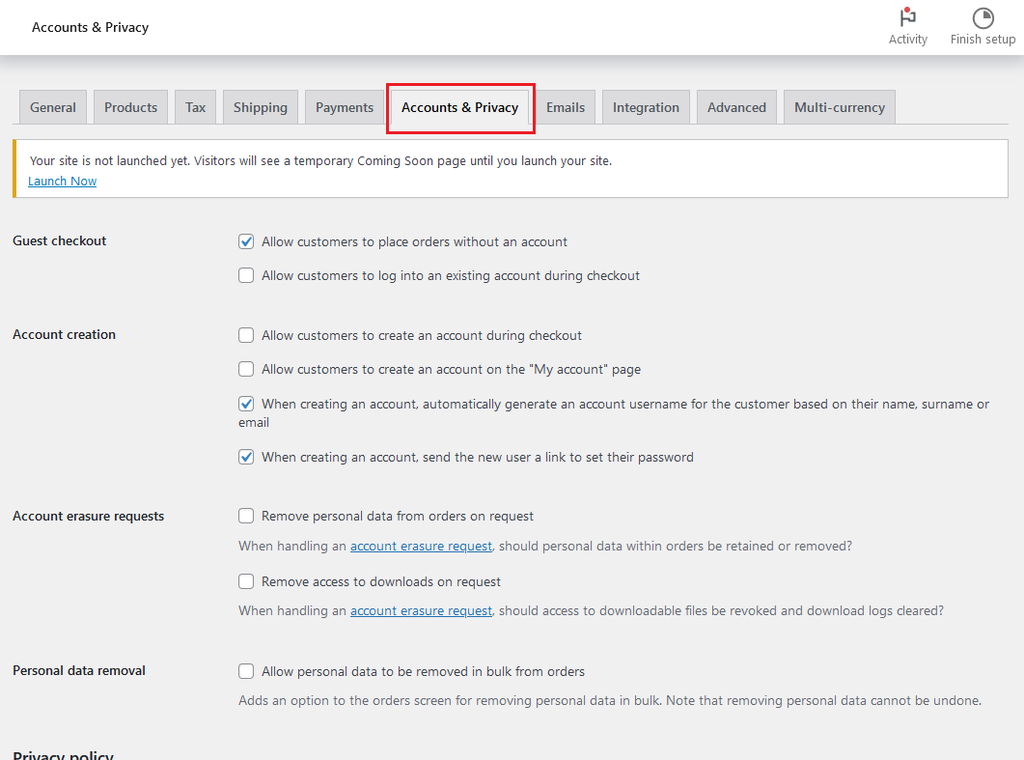
Accounts & Privacy
The Accounts & Privacy tab will allow you to choose your preferred options for customer accounts and guest checkouts on your WordPress ecommerce store. Additionally, you can set your website’s overall privacy policies on this page.
We put together a guide with 8 strategies you can try out to improve your WooCommerce checkout to get more conversions.
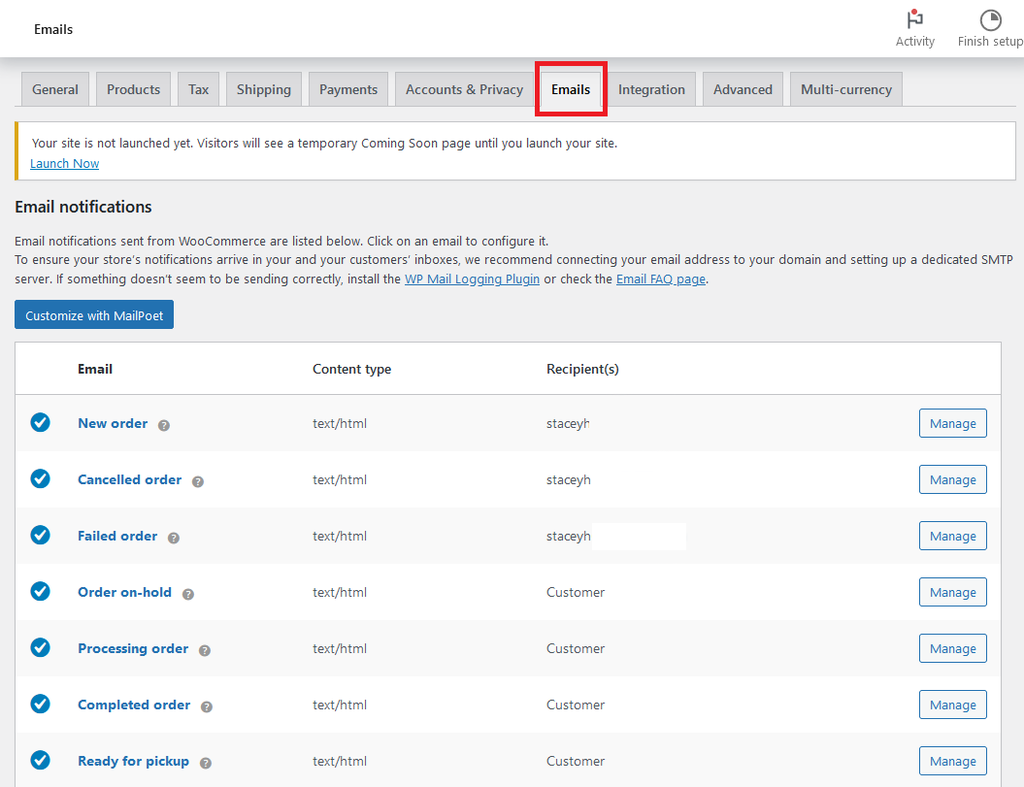
Emails
On the Emails tab, you will be able to configure what confirmation emails you’d like to send out to customers, as well as emails that you’d like to receive to your own email address.
Also, there are several WooCommerce email automation tools you can use to send automated emails and notifications to your customers.
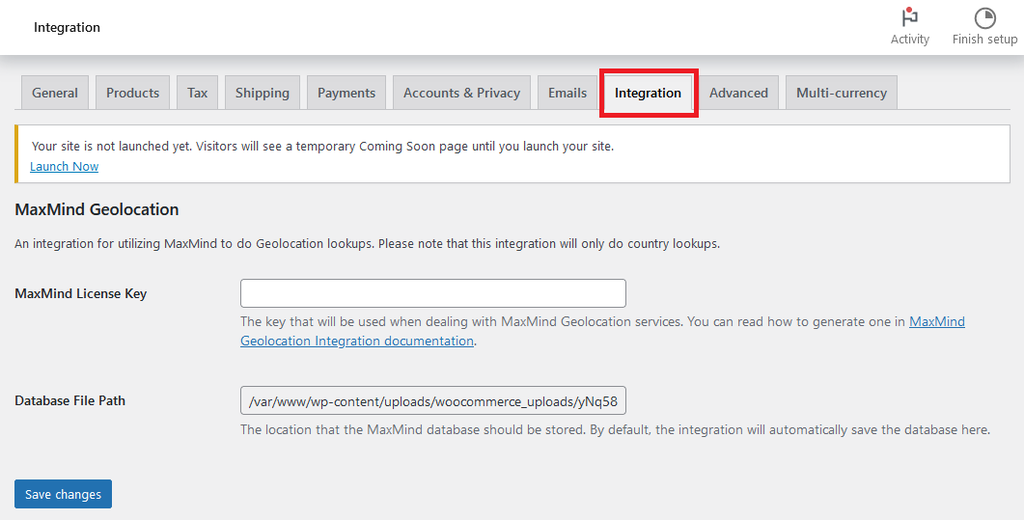
Integration
The Integration tab allows you to integrate a MaxMind Geolocation key, which is an integration that adds the ability for your WooCommerce site to determine your visitors’ locations by IP address. This is intended to help reduce purchase fraud on your website.
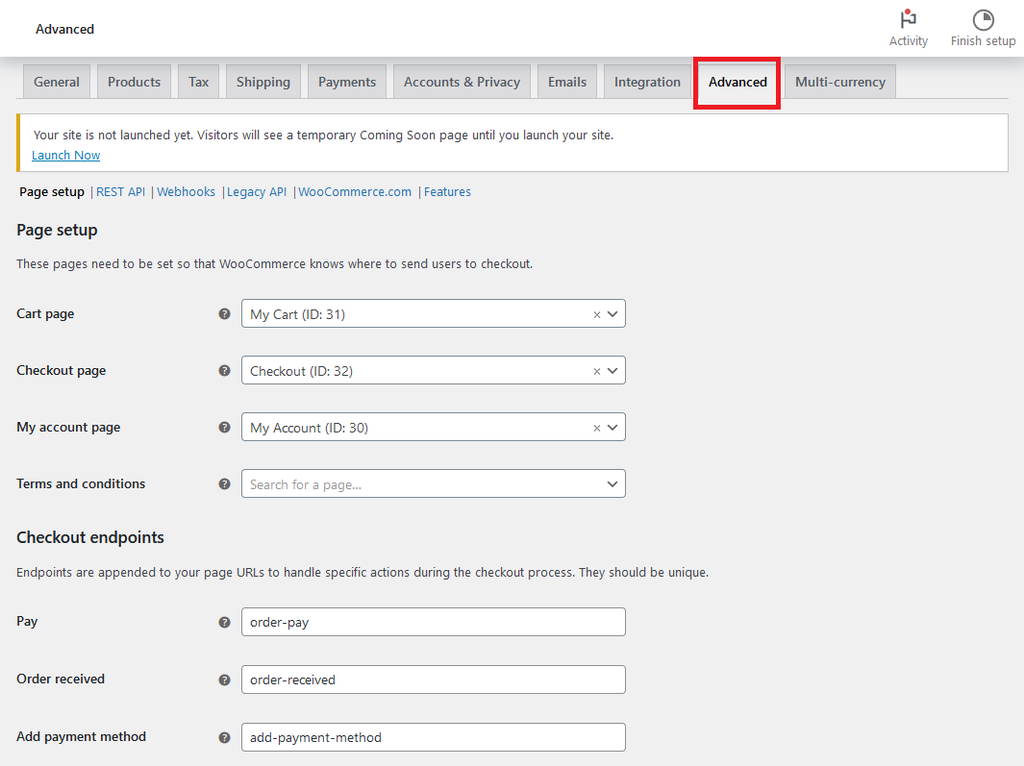
Advanced
The Advanced tab provides advanced users with the ability to set customized settings for their WooCommerce store, including REST API and Webhooks. We don’t recommend utilizing this tab unless you have an in-depth understanding of these settings.
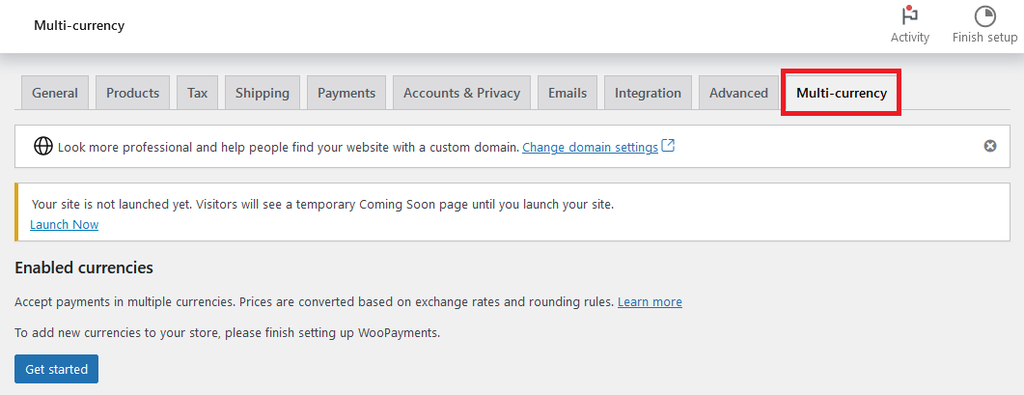
Multi-currency
The Multi-currency tab will allow you to enable the ability to accept payments in other currencies.
6. Create your ecommerce store
Now that you’ve completed the setup for WooCommerce, you're ready to start the next exciting phase: creating your ecommerce store. This is where your online store starts shaping into reality — an actual website that will be live for the world to see and interact with.
Create your store pages
Creating a successful WooCommerce store involves carefully crafting a range of key store pages, including:
- Home page: Considered your virtual storefront, this should be designed to be appealing and inviting, quickly conveying to visitors what your store offers.
- About page: An opportunity to humanize your brand by telling your story.
- Contact page: This is crucial for customer service and trust. Make sure to include various ways for customers to get in touch (such as phone, email, social media, etc.).
- FAQ page: Use this page to answer common questions about your products, shipping, return policy, etc.
- Privacy policy: This is a must-have to show transparency about how you handle user data and comply with legal requirements.
Each of these pages should be user-friendly, provide valuable information and maintain consistency with your overall brand appearance and tone.
Add products or services
The next step will be to add the actual products and/or services that you’ll be offering on your WordPress ecommerce website.
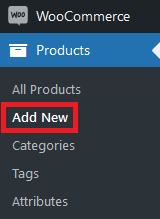
To start adding products, click on Products > Add New from the menu on the left.
This is the new product creation screen:
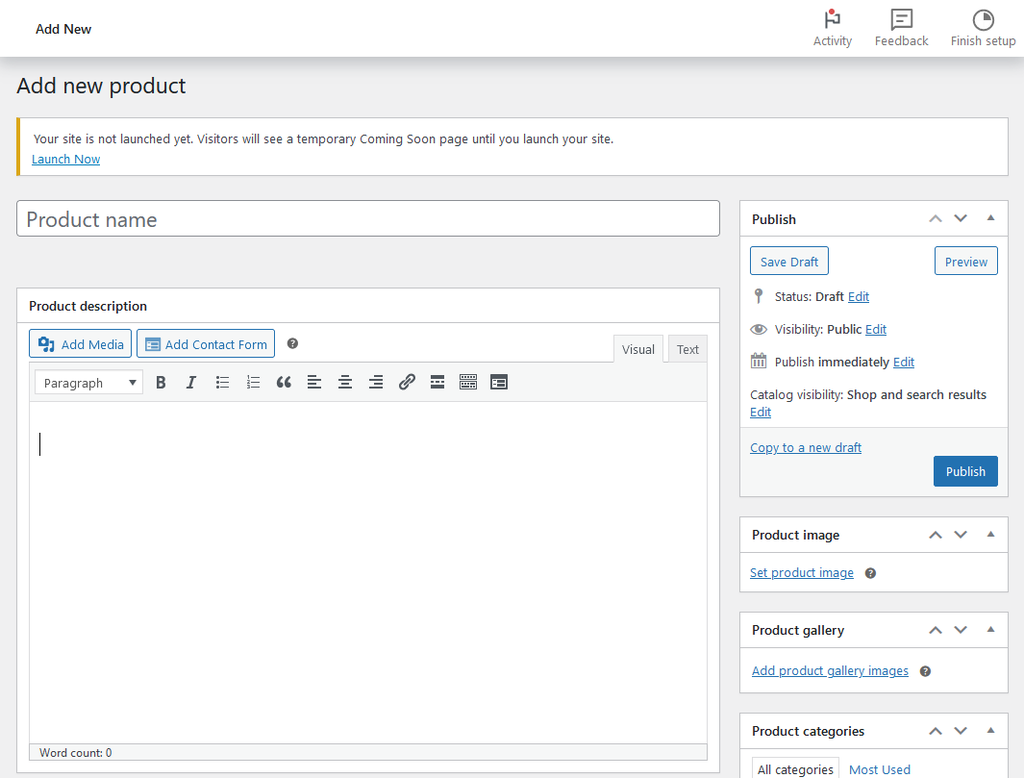
Some fields, like the Product name and Product description fields, are fairly self-explanatory. But to get a true handle on WooCommerce’s functionality, let’s take a closer look at some of the other fields that you should be aware of.
Once you’ve filled in your product’s name and description, you’ll want to check out the Product data field, which is located under the Product description box.
At the top, there are five pre-configured product types that you can use, and which will likely meet most use cases:
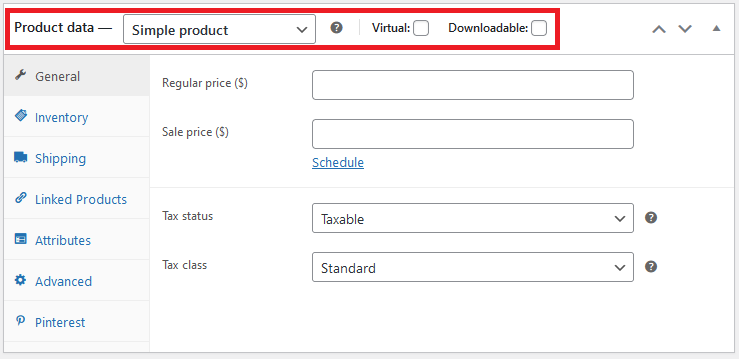
- Simple product: This is a product that is shipped without allowing the customer to choose different options. Examples of this could be a book, a pre-printed poster, etc.
- Grouped product: This product type would be for a group of similar products, such as a collection of dishes.
- External/Affiliate product: This option would be for products that you’re offering on your site, but is sold elsewhere. An example would be a product on a marketplace.
- Variable product: This product type would be a product that offers options/attributes, such as a glass in different sizes and colors.
- Virtual: This checkbox is intended for virtual services or products.
- Downloadable: This option is meant for virtual downloadable products, for items like ebooks, music, etc.
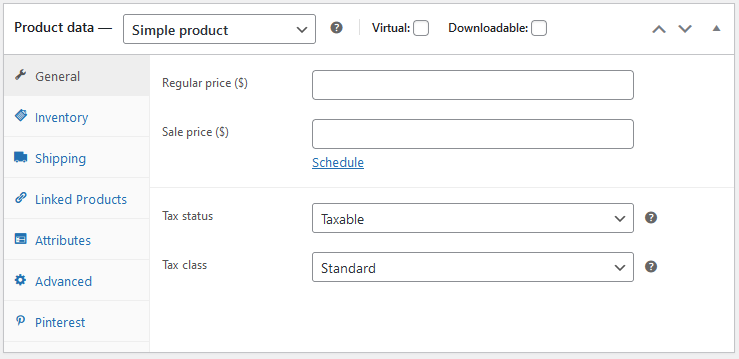
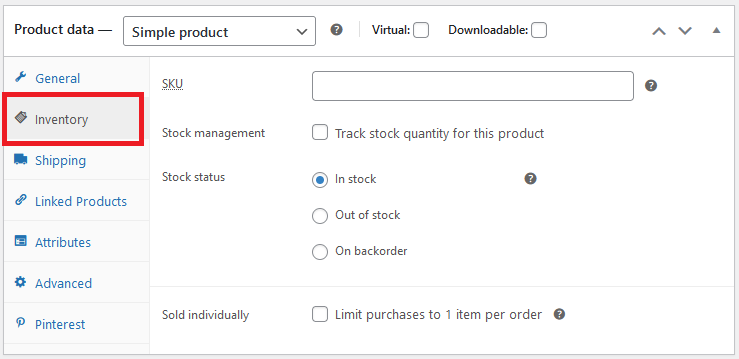
Now let’s take a closer look at the tabs on the left of the Product data section.
The General tab is where you’ll set your product pricing and tax options. You can also use the Schedule link to schedule a sale price.

Next up is the Inventory tab, where you can set SKU numbers for your product, manage quantity for that product, or choose whether the product is a unique product that only has a single quantity.
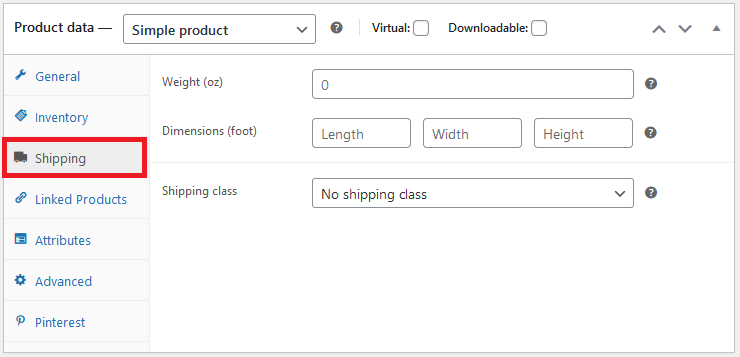
On the Shipping tab, you’ll be able to set your product dimensions and weight so that your defined shipping prices will be accurate.
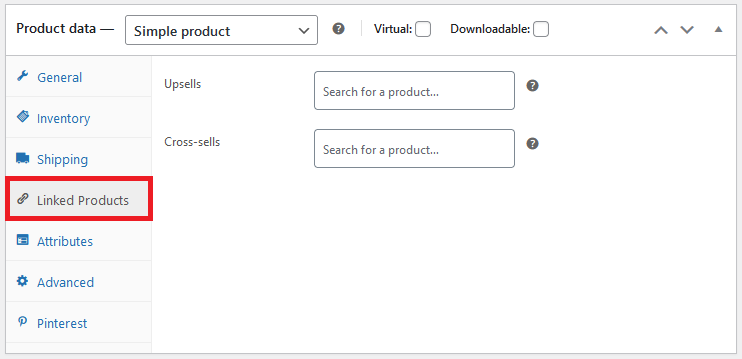
With Linked Products, you can set other products that you’d like to promote alongside the product you’re currently adding.
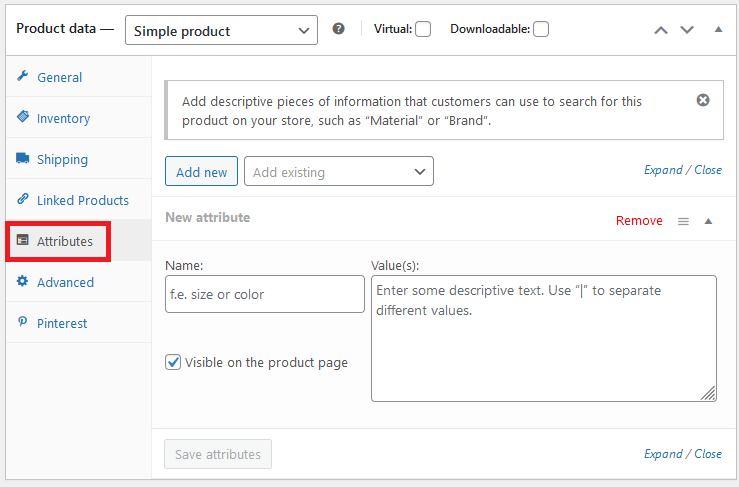
On the Attributes tab, you’ll need to set product options and descriptions. For example, if you’re selling t-shirts, you’d need to define the sizes and color options here.
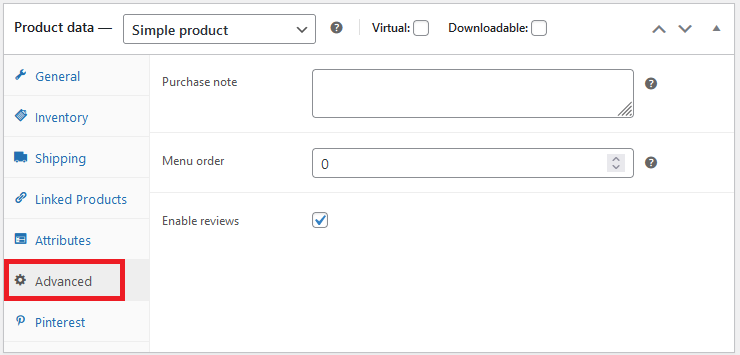
The Advanced tab allows you to include a note to your customer along with their purchase, where you’d like this new product to be added in the product list, and whether you’d like to have reviews active for the product.
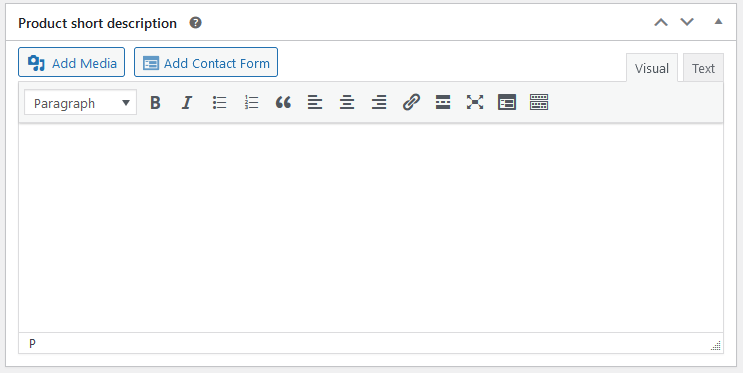
After you’ve completed the Product data tab, there will be a Product short description field next on the page. This is where you’ll add a 1-2 sentence description of your product, which will be displayed on category pages.
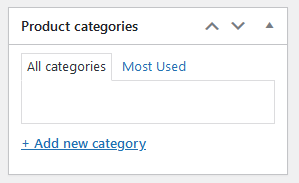
On the right, you’ll see a Product categories box. This option is meant to help you group your products into categories, allowing customers to quickly find what they’re looking for. So, for example, if you’re selling baked goods on your site, you’d likely want to group your sliced sourdough bread into the Bread category.
Don’t forget to add your main product image, along with gallery photos. Once you’ve done that, click Publish and that’s it! Your product is live.
Add additional plugins
Don’t forget about adding plugins to your WordPress ecommerce site. Additional plugins can significantly enhance your WooCommerce experience.
For instance, FunnelKit can be added to offer a slide-out cart option, thereby streamlining the sales process and improving conversion rates. Another plugin, Advanced Coupons, provides greater control over coupon functionality, empowering you to offer tempting deals at strategic moments.
And, consider Variation Swatches for WooCommerce, enabling beautiful custom variation swatches on your store. These plugins not only enhance user experience but also optimize various ecommerce aspects for your business, leading to increased sales.
Do keep in mind that while many WooCommerce plugins offer free versions or trials, some of the more powerful, feature-rich plugins may require a premium subscription or a one-time purchase to access their full capabilities.
Check out our list of 15 must have WooCommerce extensions and plugins.
Launch your ecommerce website
Establishing an ecommerce website with WordPress and WooCommerce is a manageable endeavor when following this guide. However, installing WooCommerce and adding products is only the first step. You will also need to work to create engaging website content to attract and retain customers, invest in targeted advertising to multiply your reach and leverage social media platforms to enhance your brand's visibility and interaction with potential customers.
Also, if you’re interested in tips to boost sales, we’ve got you covered.
Launching an ecommerce website is an exciting venture. With this guide in hand, countless customizable themes for you to choose from, an array of enhancement plugins, and an evolving digital landscape, the possibilities for your online store are truly limitless. Happy selling!
FAQ
Is it hard to use WooCommerce?
No, WooCommerce is designed to be easy to use, with intuitive tools and features for managing your online store. Plus, there are numerous resources available online — including tutorials and community forums — to help you navigate any challenges you might encounter. The learning curve is generally quick, especially if you're already familiar with WordPress.
What is the difference between WooCommerce and WordPress?
WordPress is a powerful open-source content management system (CMS) used to create and manage a website. WooCommerce is a free plugin that can be installed within a WordPress site, turning the WordPress website into a fully functional ecommerce store. WooCommerce provides ecommerce solutions on the robust foundation that WordPress provides. In essence, while WordPress forms the backbone of your website, WooCommerce adds ecommerce functionalities to it.
How much does it cost to set up a WooCommerce website?
The cost to set up a WooCommerce website varies significantly based on your specific needs and choices. Essential elements like your WordPress.org software and WooCommerce plugin are free. However, you’ll need to factor in your domain (around $10-$15 per year), website hosting (ranging from $3 to $30 per month), and any premium theme or plugin costs.
Additionally, if you choose to hire a developer or choose premium support and maintenance services, those will also add to your expenses.
What kind of products can I sell with WooCommerce?
With WooCommerce, you have the ability to sell both physical and digital products, as well as services and appointments. Also, WooCommerce allows you to provide customers with customizable products through product variations and add-ons. With its versatile setup, WooCommerce caters to a vast array of industries and products, making it a highly flexible platform for your ecommerce needs.
Is WooCommerce for WordPress free?
Yes, WooCommerce is a free plugin designed to work with WordPress. It allows you to turn your WordPress website into a fully operational ecommerce store without any cost. However, while the basic version of WooCommerce is free, there are premium features and extensions, such as advanced shipping modules, premium themes, and enhanced ecommerce tracking, that require an additional cost.
Why use WordPress over Shopify?
WordPress and Shopify both allow for ecommerce stores, but both serve different needs. WordPress, when used with WooCommerce, is a highly customizable platform that gives you more control over your website. It's ideal if you want to integrate your ecommerce store with a blog or if you’re seeking advanced SEO features, providing more avenues for driving traffic to your store.
Additionally, WordPress has a vast array of free and premium plugins which can significantly expand your site's functionality. In contrast, Shopify might be easier to use for beginners as it's a standalone platform that includes hosting, but its customization options are more limited and it can be pricier due to monthly fees. Your choice ultimately depends on your specific requirements and skills.