

Wondering how to do SEO but not sure where to start? You’ve come to the right place. Search engine optimization (SEO) can drive quality traffic to your website and grow your business — and this guide will walk you through how to do SEO the right way to grow your business.
How to do SEO: A beginner’s guide
- What is SEO, and why does it matter?
- SEO glossary.
- Search engine basics.
- How does SEO work?
- How to do SEO for your small business website.
- Measuring SEO performance.
Let's get going and get your site climbing the ranks!
What is SEO, and why does it matter?
The primary goal of search engine optimization is to get organic traffic — the traffic that comes when a visitor or searcher clicks on a search result from your site.
With about 81% of the overall search market, Google is currently the largest search engine. However, that doesn't mean you shouldn't optimize for other search engines, such as Yahoo, Bing, and Baidu.
Billions of Google users search for information, products or services online every day. In fact, Google processes about 8.5 billion searches per day. As a result, search engines are the biggest potential traffic sources for websites.
Generally, the higher your website ranks in search results, the more visitors it will get.
We’ll explore how to make this happen, with the help of target keywords and other specific SEO tactics, later in this article.
Still not sure if learning how to do SEO is worth your effort? Check out these facts:
- Search engine traffic comprises a significant chunk of trackable traffic to a website.
- Only 0.63% of users visit the second page of search results.
- The top result on SERPs has a click-through rate (CTR) of 39.8%.
- Strong SEO practices lead to a positive user experience. Google recently pushed out helpful content updates in late 2023 to ensure that search results surface useful content for viewers.
- Effective SEO can provide a higher return on investment (ROI).
Convinced that it’s worthwhile to work towards improving SEO on your website to drive organic search traffic to your business? Great. Let’s keep going.
SEO glossary
Before we go any further, let’s make sure we’re speaking the same language. SEO involves a lot of industry jargon that’s helpful to understand when optimizing your site for search engines like Google. Below are important terms to remember:
- Keywords: Words or phrases people type or say to search engines when searching for something.
- Long-tail keywords: Keywords or phrases with lower search volumes.
- Keyword difficulty: This keyword research metric helps determine how difficult it is to rank for a specific keyword. It's a great way to determine whether it's worth investing in that keyword or phrase.
- Keyword relevance: How important is a specific keyword or phrase to a web page? Search engines use relevancy to determine what your content is about and when deciding what pages to rank for a specific search query.
- Search volume: Refers to the number of search queries for a specific search phrase in Google within a stated time frame.
- Backlinks: Links from a website's page to another website. The links should be from a relevant and high-quality page to be effective.
- Search query: A keyword combination or phrase users enter into search engines to find what they are looking for.
- SERPs: An acronym for Search Engine Results Pages and refers to pages that search engines provide when a user performs a search query.
- Indexing: The search engine’s process of organizing information before a search for faster responses to queries.
- Ranking factor: Refers to the criteria that search engines apply to evaluate web pages when compiling their search results rankings.
- On-page SEO: The process of optimizing web pages to achieve better rankings and earn organic traffic. It involves publishing high-quality, relevant content and optimizing headlines, images and HTML tags (meta, title, and header).
- Off-page SEO: Refers to actions taken away from your website that impact your rankings in SERPs.
- Local SEO: Local SEO is focused on optimizing a website to be found in local search results.
- Googlebot: This refers to Google's web crawler and involves a desktop and a mobile crawler
- Search algorithm: A collection of formulas that search engines use to determine the quality and relevance of a web page to a search query.
- Sitemap: A list of website pages within a domain or a file that provides information about pages, videos, and how different files within your site relate.
- White hat SEO: SEO practices approved by search engines like Google.
- Black hat SEO: SEO practices that go against search engine guidelines, including tactics like keyword stuffing, cloaking, etc., to attain a higher ranking in search results.
Search engine basics
There is no SEO without search engines. Let’s get familiar with the ins and outs of search engines, especially how they work to provide personalized results to users.
Search engines are web-based tools that enable users to search for information on the internet. In other words, these are complex programs that identify information in the vast internet
database that matches a user’s search terms. Google is currently the most popular search engine.
Search engines have two primary parts that help them achieve their goals: search index and search algorithms.
Google provides its users with two types of search results: organic and paid. The latter option is one of the ways search engines make money. Ideally, the advertiser pays anytime a user clicks on a paid search result (aka PPC). More on that later …
How Google builds its index
Each search engine has its unique way of building a search index. For the sake of this article, let's look at the breakdown of Google's process.
URLs
Google's process of building a search index starts with identifying URLs. A URL, which stands for Uniform Resource Locator, is the internet address people use to access a web page. Here are some common ways Google achieves this:
- From sitemaps: Sitemaps help Google understand the important files on your site.
- From backlinks: Google library has billions of web pages. Linking your new page to a known page allows Google to identify it from there.
- URL submission: As a site owner, you can request the crawling of an individual URL in the Google Search Console.
Crawling
This is a discovery process where search engines use a team of robots (crawlers or spiders) to find new and updated content. This can be in the form of blog content, video, images, PDFs, etc., that's discoverable by links.
Processing and rendering
After Googlebot has crawled pages, it works to understand what the pages are all about. The process involves running the page's code to discover how it looks to the user. In other words, Googlebot is trying to find all external files involved, including images, CSS and JavaScript files, and store them for indexing.
Indexing
Finally, Google adds the crawled pages to its search index. This is where search engines fetch information when users perform a search.
Google ranking factors
Google currently has more than 200 ranking factors. While some of these factors are known, others are yet to be disclosed. Here are a few of the big ones we know about:
Relevance
Google aims to provide the most relevant information to a search query. As such, relevance is a valuable ranking factor that should drive your content creation strategy.
Backlinks
Getting relevant and high-quality links from other websites to your site can help improve your Google rankings. However, the emphasis here is quality over quantity.
Mobile-friendliness
The use of mobile devices has increased significantly in the past few years. The number of mobile users stood at 15 billion in 2021 and is expected to surpass the 18 billion mark by 2025.
Having a mobile-friendly website means people on mobile devices like smartphones can easily access the web like desktop users. It’s easy to understand why Google considers mobile-friendliness when ranking web pages in search results.
How does SEO work?
To help you understand how SEO works, let's look at how people search on Google. When a user enters a search query into Google’s search bar, Google responds by providing results relevant to that query.
Google aims to deliver the most relevant and useful information to its users.
To do that, Google needs to know that these pages exist, what they contain, and their popularity. Then, using the process outlined above, Google shows the most relevant results from its massive inventory of data.
When performing a search, people use phrases related to what they are searching for. These phrases are called keywords, and users can either type them or say them (voice search).
Google has search quality ratings that analyze the quality of your content to determine when to show it on SERPs. Here's what these ratings assess:
- The quality and quantity of the content
- Website reputation and site information
- Expertise, authoritativeness and trustworthiness (EAT) of the content
All these measures ensure that the most relevant, useful and trustworthy web pages appear on top of search results pages.
Pro tip: Find your search engine rankings by searching the terms you are targeting. If you have a large website, use tools like SEMrush to find other terms you might be ranking for.
How to do SEO for your small business website
Next, we'll check out some key strategies and techniques to boost your small business website's SEO.
A quick tip before we jump in, if you’re just starting out and don’t have a website yet, keep in mind that while most domain names will work for SEO, it's beneficial to choose one that's short, simple, and preferably ends in .com. If your preferred .com domain isn't available, consider registering a domain name with other trusted extensions like .net or .org.
Key components of SEO
When learning how to do SEO, it’s important to understand that search engine optimization is a complex process. It’s easiest for beginners to break it down into these five main steps:
- Keyword and competitor research: Find and analyze terms people use when searching for businesses like yours.
- Content creation: Develop and publish content with users in mind.
- On-page SEO: Optimize your website’s pages to gain a higher ranking in search engine results and improve organic traffic
- Link building: Use off-page SEO strategies to build trust and authority from other sites.
- Technical SEO: Take practical measures that enable search engines to find, crawl and index content more easily.
Set up Analytics and Google Search Console
Setting up Google Analytics is a great way to analyze SEO results on your site. Among other factors, adding Google Analytics to your website can show you:
- the number of visits to a page
- how long visitors stay on your site
- how many of your visitors convert
Google Search Console, on the other hand, allows you to monitor your website's appearance in Google search results. You can see which keywords drive traffic to your site, identify crawl errors, and submit sitemaps for indexing.
Setting up Google Analytics and Google Search Console is relatively straightforward, but it is important to do it correctly to ensure accurate data tracking. Here are a couple of guides to help you get started:
Local SEO and Google My Business
If you're a business that serves a local area, then local SEO is going to be an important part of your business strategy. The purpose of local SEO is to increase your business' visibility to potential customers that may be searching for related products/services in your local area.
To get started on optimizing your business for local SEO, you'll need to set up a Google Business Profile (also sometimes referred to as Google My Business).
Conduct keyword research
You can hardly talk about SEO without mentioning keywords. Users enter keywords when searching for something online, and search engines use keywords to find the information that matches the search query.
That makes keyword research a crucial aspect of SEO success.
Keyword research involves finding and analyzing phrases people use when searching for something on search engines. You can boost your search rankings by sprinkling keywords naturally throughout your website content because doing so tells search engines that your website has information that’s relevant to their search.
Another factor to consider when researching keywords is to include long-tail keywords to your overall strategy. Long-tail keywords tend to be phrases that search users use when performing a voice search or when they're closer to making a purchase and need more specific information than a general search would provide.
When your article ranks higher for the right keywords, Google will show it to users when they use those keywords to find a solution or information online. That can mean more traffic for your website.
Note: Keyword research also helps create an effective content marketing strategy, of which SEO plays an integral role.
Here are four steps for conducting keyword research:
Brainstorm
Ask yourself some questions, including:
- What are the main themes/topics/focus areas on your website, especially on its most popular pages?
- What do you want to achieve with your content?
- What terms would you enter into a search engine to get your website among the top results?
- What search terms do you think your audience uses?
Then, ask other people what terms or phrases they would use to search for your website or pages without using the domain. Make a list of all the keywords you find valuable. You can refine them in the next steps.
Study your competitors' keywords
Another great way to identify keywords to use on your site is by checking what keywords your competitors rank for. The first step in this process is to identify your competitors — use your brainstormed keyword list to identify your competitors by searching one of your keywords to see what sites appear on top of SERPs.
Once you identify your competitor sites, leverage competitor tools like Ahrefs Site Explorer to analyze the site's pages with the most traffic and the keywords they are targeting. Once you identify these keywords, create better content around them to increase your chances of outranking your competitors.
Related: How to stand out from your competitors on Google Search
Analyze customer communications
Mine for additional keywords by digging through customer communications. Look for common questions from your customers and the terms they’re using to ask them.
Social media platforms like Facebook, Instagram, and Twitter also can provide valuable audience insights. Pay keen attention to what customers are saying about your products and services to identify keywords to target.
Research related terms
Complete your keyword research by researching related terms. Enter a keyword on a search engine to see additional terms people might be using.
You've probably seen this when searching for something on Google — you notice a section with searches related to what you're searching for as you scroll down the SERPs. These keywords can add to your bucket of target terms and phrases.
Consider search intent
During your keyword research, you'll want to also keep search intent in mind. Search intent refers to what the user intends to solve when using specific keywords on a search engine. Identifying user intent is crucial if you want your page to rank higher on search engines like Google.
Search intent is divided into three categories:
- Navigational: The user knows what they want to find (e.g., a specific domain, page, address, product, etc.).
- Informational: The user wants to learn something or is looking for answers. The searches might be a question or phrases like why, where, what, how, etc.
- Transactional: The user is searching for something they intend to buy. That means they know what they want and are probably looking for the best product page.
The easiest way to identify the user's intent for a keyword is to enter the keyword into a search engine and note the type of results that show up.
Analyze SERP competitors
Analyzing SERP competitors is key to understanding the competition in search engine results pages. To identify competitors, you'll want to start by searching for your target keyword and making a note of the top-ranking websites. Here are a few things to look into:
- Similarities in their website design, site structure, and the keywords they are optimizing for.
- How they optimize the keywords on their pages.
- The types of content they are producing, such as blog posts, videos, or infographics.
Studying your SERP competition can give you valuable insights into their SEO strategies and identify areas where you can improve your own website, so don't overlook this crucial step!
Ensure a positive user experience
User experience is now a ranking factor. In fact, Google prioritizes sites that provide a positive user experience when providing results to a search query. Keep these guidelines in mind to create a positive user experience:
- Have a mobile-friendly website. Most people use mobile devices when surfing the internet. Ensure that your website loads smoothly on both desktop and mobile. Testing your site for mobile-friendliness is easy using the Mobile-Friendly test from Google Search Console.
- Ensure your pages load faster. Pages that load slowly on desktop and mobile devices provide a bad user experience, negatively impacting your rankings in SERPs.
- Avoid intrusive pop-ups. While you can't completely avoid using ads, avoid intrusive pop-up ads as they lead to a poor user experience
- Secure your site. Use an SSL certificate (HTTPS) to prevent hackers from accessing your site and your users' data.
- Make your content readable. Ensure that users (no matter the device) can easily read your content. Also, use a perfect design that reflects your brand.
Related: How to add an SSL to your website — The ultimate guide on SSLs
Choose the best website structure for your business
A website's structure involves how a website's pages are organized, how they're connected, and how to navigate to different pages.
Have a logical site structure that allows visitors and search engines to find content easily on your site.
You can select from three site structure options:
- Linear or sequential structure. Best for small websites that want to present a product, service or brand in a linear manner that follows a logical path of actions.
- Network structure. Also called web-linked, this structure allows any site page to be accessed from any other page. It's ideal for websites with a few pages that are interconnected.
- Hierarchical. This site structure follows a hierarchy of categories. It's the most popular among the three options and works on any website.
When learning SEO, it’s important to understand that a solid website structure is key to Google’s goal of serving up the most relevant search results. Here’s why:
- A logical site structure enables search engines to evaluate your pages when providing results to a search query.
- Having a solid site structure helps handle many technical SEO aspects responsible for crawling and indexing.
- An effective site structure makes it easier for a search engine to understand what your page is all about so it can show it to relevant search queries.
- It makes it easier for search engines to locate new pages.
Above all, an effective site structure facilitates a positive user experience. And user experience is a ranking factor for SEO.
Create a solid URL structure
A mentioned earlier, a URL is the internet address people use to access a web page. It consists of a protocol, a domain name and a path to a specific page on the website. To better understand these components, look at the below URL:
- Protocol: https:/
- Domain: godaddy.com
- Path: /garage/invest-in-seo/
The best URL structure varies based on the type of website. For example, URL structures for ecommerce sites will vary from those of a blog website. Likewise, a URL for a social network will vary from that of a government website.
The above basic URL structure applies when creating a proper URL structure, regardless of the website's purpose. That said, here's how URLs can impact SEO:
- User experience. An effective URL structure should allow users and search engines to understand what a page is all about. For example, the example URL above clearly describes what website users will find when they reach their destination. This enhances the user experience, which is a Google ranking factor.
- Rankings. An effective URL helps search engine bots to crawl and index your website when providing search results to a search query.
That means optimizing your URLs can help improve Google PageRank (PR). Of course, avoid keyword stuffing in your URLs, as this is considered a black-hat SEO technique that will hurt your SEO efforts.
Follow these best practices for SEO-friendly URLs:
- Use HTTPS protocol to make it more secure.
- Ensure the URL is relevant.
- Keep your URL short and simple.
- Avoid keyword stuffing.
- Avoid stop words (the, and, of, or, etc.) in your URL.
- Use lowercase letters.
Related: Domain SEO — Can including keywords in domain names improve search ranking?
Create and optimize content for search engines
The best SEO content provides valuable information on what your customers and prospects are looking for online.
People turn to search engines to look for high-quality, relevant and engaging content on a subject. To create valuable content, find unique ideas to address users' questions. Then present them in a well-structured manner to ensure users and search engines can access them easily.
Research your audience's needs
You're trying to identify what your users want and need, which should be easy if you’ve already done the keyword research. You’ll want to be as specific as possible to narrow your field of competitors for the same search terms.
When you focus on a niche, it's easier to create unique, detailed content that has a better chance of ranking higher in the SERPs for long-tail keywords.
Try to tackle the content from different angles and be as thorough as possible.
Research other ranking content
Creating content that can rank higher on SERPs means understanding what users are looking for and creating better content than what is already available on the internet. While keyword research helps you understand search intent, you can get additional insights by using the top-ranking pages as a proxy.
Take time to analyze what's already ranking to wrap your head around the search intent.
When analyzing the top-ranking pages in your niche, pay attention to the content type, format and angle. The information you get will help you choose the best content type/format and find a unique way to present the content.
Create content for users
Here’s the heart of how to do SEO: creating the actual content.
Start by creating an outline. Include a general overview of your content headings, subheadings and format. Of course, the format will vary depending on the type of content.
Once your outline is ready, create the first draft of your content. You’re going for unique content that fully covers the topic and showcases your expertise in the niche. Find engaging sub-topics that even the top-ranking pages don't address.
Here are ideas to help create unique content that your audience will find valuable:
- Expand on popular existing content with anecdotes and examples gleaned from your professional experience.
- Give your content a unique perspective. For instance, you might include quotes from your customers that support the ideas you’re covering.
- Gather original research and share your findings in a variety of formats (e.g., blog posts, videos, infographics).
- Compile the questions you get most often from your customers into an FAQ that you keep up-to-date.
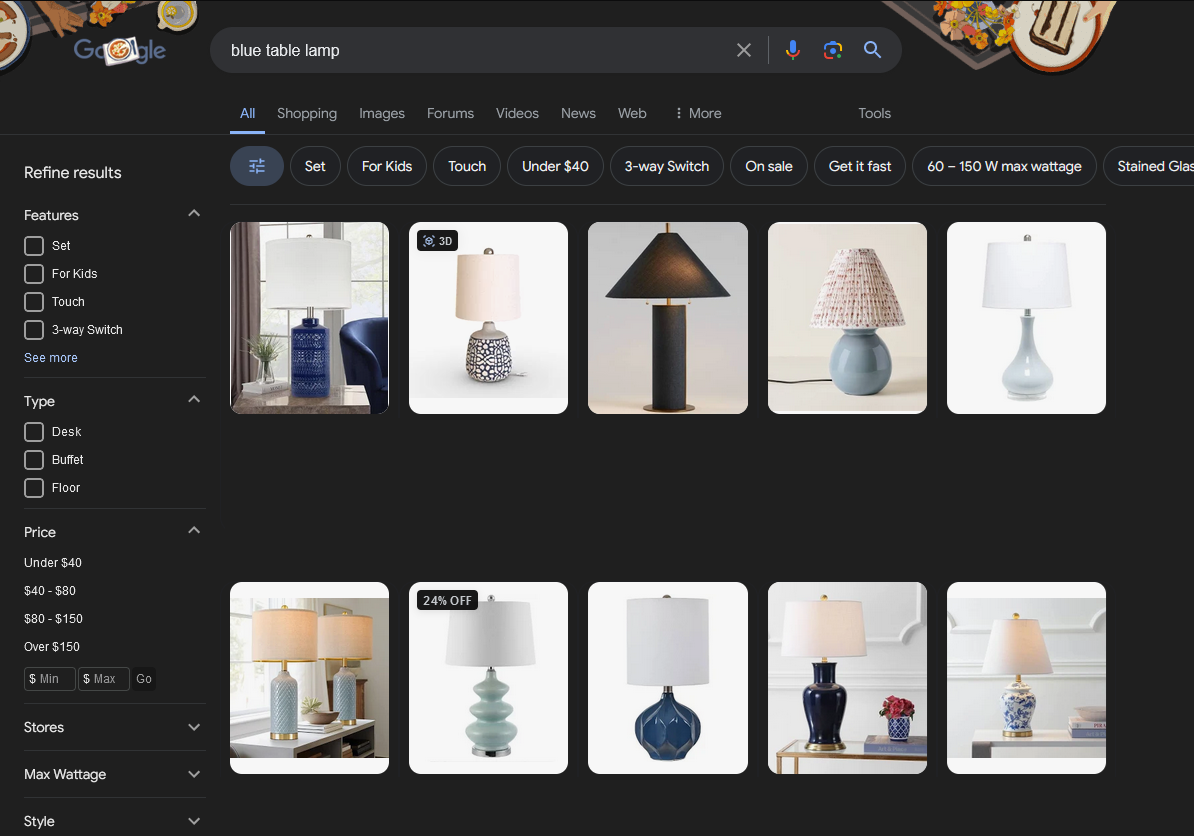
- Create a photo gallery that shows your products/services in action, with keyword-optimized captions.
Next comes editing, where you review your content for factual and grammatical errors and readability issues. If you're unsure what to look out for when editing your content, consider asking for feedback from a colleague or a friend.
Make your content SEO-friendly
Optimizing your website content helps both users and search engines. Basic SEO practices — such as crafting an effective SEO title, meta description and subheadings — tell users at a glance what they’ll find when they click your link in the SERPs. And these SEO elements give search engines the information they need to index and rank your site’s contents.
Write your SEO title, meta description, and subheads
In most cases, visitors look at the page's SEO title and meta description to determine whether they will click on a page in the SERPs.
SEO title: Also called the HTML title tag, these are the words that look like the headline on the search result. Search engines give more emphasis on the early words in your SEO title, so consider putting your focus keyword at the beginning or near the start of the page title.
Meta description: These are the words below the headline that describe what’s on the page. Like the SEO title, visitors see the first words in the meta description and will decide whether to click on the page based on the keywords they see.
Once they click the page, your subheadings and content formatting will influence how long they stay.
Use H1, H2, and H3 headings
Heading tags are like ranks of duty, with H1 being the most important, followed by H2 and so forth. The information on each tag relates to the main topic, although each subheading will be unique.
Headings provide a great way for users to understand the information on a page logically.
While headings alone don't have a huge impact on SEO, they can help visitors find direct answers to a subject.
Here's a simple breakdown to help understand what H1, H2 and H3 headings do:
- H1: Includes the page’s target keyword(s) to help explain what it’s all about. This might be the headline on a blog page.
- H2: Adds structure to the page, breaking up blocks of content and making it easy for visitors to understand what they’ll find in that section.
- H3: Helps further break up the content to make it more scannable.
Though headings might not make or break your SEO efforts, they do help search engines understand what’s on the page and they enhance the user experience — keeping visitors on your site, which helps with SEO.
Optimize images and media
In addition to optimizing your written content, it’s important to make visual content like images and video search-friendly. There are many best practices for this type of optimization, but for the beginner just learning how to do SEO, start here:
- Select images that align to the story you’re telling. Remember, search engines crawl for relevant content, and that includes images.
- Use the correct file format. In most cases, you’ll want to use images in JPEG or PNG format. They are easily compressed and render well on most devices.
- Decrease image size. Use a free image compression tool to make images smaller so they load faster.
- Add image alt tags. Give your image a file name and “alt text,” including keywords if relevant, that accurately describes it. This also enhances accessibility.
- Include video transcripts. They make videos more accessible, help search engines understand what the video’s about, and provide another opportunity to include target keywords and links to related content on your site.
Taking these few steps can make a big difference for your on-page SEO efforts.
Keep updating your content
Since search engines aim to provide up-to-date and relevant information to users, make sure you keep your content fresh. Schedule a few hours each month to review your content for outdated material and update accordingly.
Add schema markup to your pages
Schema markup is a code that you can add to your website to help search engines deliver more informative and relevant results to users. It allows search engines to better understand your site's content, which can boost your visibility in search results.
Here are some of the most commonly used types of schema markup:
- Article: For news articles, blogs, and other written content.
- BreadcrumbList: For breadcrumb navigation.
- Event: For events such as concerts, webinars, or festivals.
- FAQPage: For pages that list multiple frequently asked questions and answers.
- HowTo: For how-to guides and step-by-step instructions.
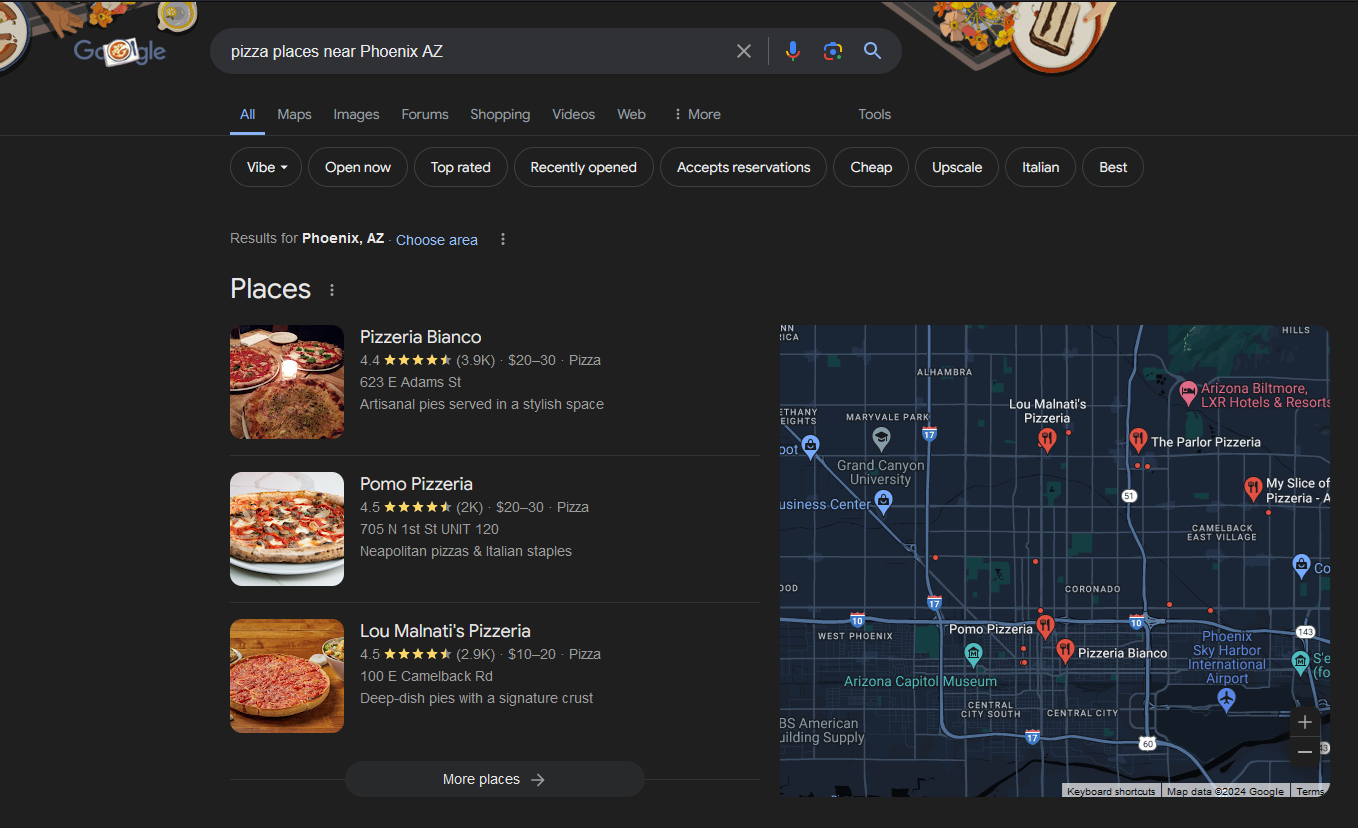
- LocalBusiness: For local businesses, with subtypes like Restaurant, Store, and more.
- Organization: For companies, institutions, and other organizations.
- Product: For product information, including reviews and ratings.
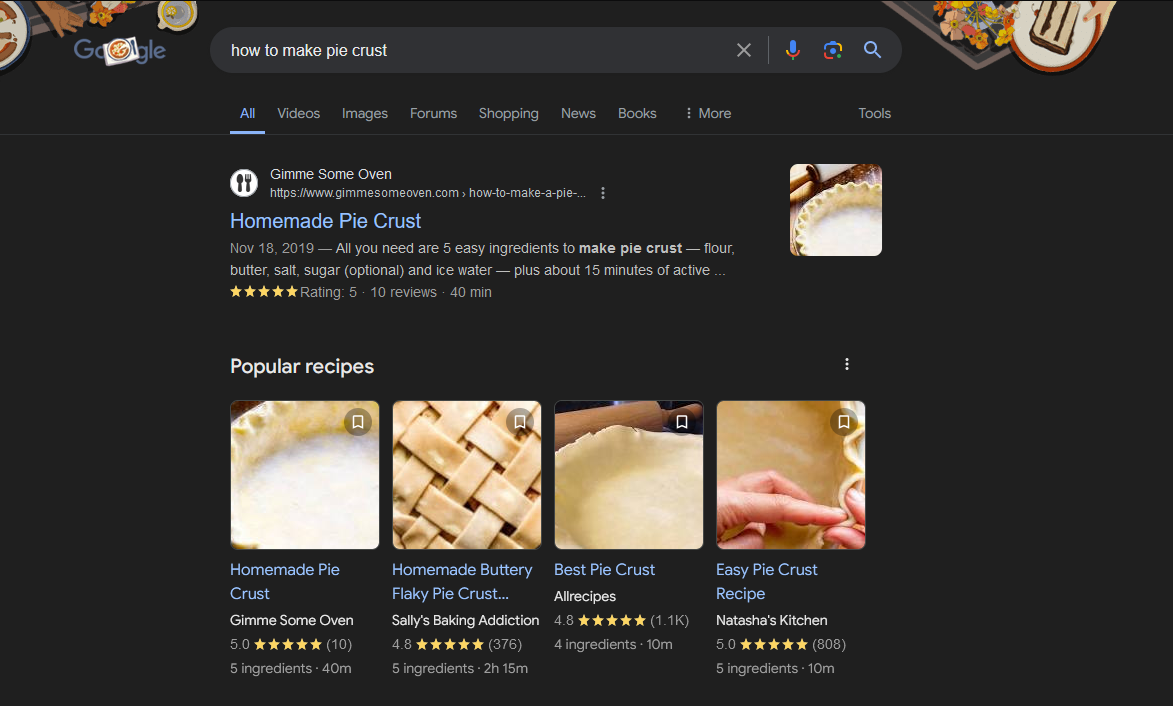
- Recipe: For cooking recipes.
- Review: For reviews of products, services, or other items.
- SoftwareApplication: For software applications.
- VideoObject: For video content.
- JobPosting: For job listings.
- Course: For educational courses.
- Book: For books.
- Movie: For movies.
- TVSeries: For TV shows.
- MusicRecording: For individual songs or music tracks.
- Offer: For offers on products or services.
You can add schema markup to your website manually by embedding the code in your HTML, or you can use tools like Google's Structured Data Markup Helper or Schema.org to simplify the process.
Here are a few examples of schema markup for products, recipes, and a local business:
Product
Recipe
Local business
As you can see, using schema markup can help search engines better understand your content and improve how that content is displayed in search results. For a deeper dive on schema markup, check out Google's help documentation to read more.
Work on internal links
Internal linking is crucial for SEO as it helps search engines understand your website’s structure and hierarchy. Linking related pages provides search engines with context on your website's topics and their connections, which can help to boost your site's visibility and ranking.
The anchor text in internal links is also important. It should be descriptive and relevant, helping search engines grasp the link's context. Using keywords in anchor text can also further enhance your SEO.
Internal links guide users through your site, directing them to related topics or products. This keeps users engaged and encourages them to explore more, which can help improve user experience and increase the chances of conversions.
However, there are some potential pitfalls to be aware of with internal linking.
Internal linking is a powerful SEO tool, but it's important not to overdo it.
Too many internal links can harm user experience and alert search engines to potential issues. A strategic approach involves using links that are purposeful and relevant to the user's journey. Keep your links natural and user-centered to avoid setting off alerts with search engines.
Backlinks
Backlinks are important signifiers in a website's search engine ranking. They act as endorsements from other sites, signaling to search engines that your site is a credible source.
More high-quality backlinks typically mean higher search rankings.
To attract backlinks, focus on creating shareable, high-quality content. If other sites find your content valuable, they are more likely to link to it. Additionally, engaging with industry bloggers and journalists by pitching relevant content or story ideas can earn you backlinks from news sites and blogs.
Measuring SEO performance
Creating an effective SEO strategy, keeping track of Google algorithm changes, and consistently adhering to SEO best practices is the best path to increasing your website’s search rankings. And part of that process involves looking at what’s working and what’s not. That’s where performance metrics come in.
Tools like Google Analytics and Google Search Console will provide a wealth of information about your website’s performance — so much info that it’s common for those just learning how to do SEO to get overwhelmed. When you’re just starting out, focus on a handful of key metrics. Here are a few to keep in mind.
- Keyword rankings: Keyword rankings refer to the position of a website or webpage in search engine results pages (SERPs) for specific search terms or phrases.
- Organic traffic: Organic traffic is the number of visitors that come to a website through unpaid search engine results, rather than through paid advertisements or other channels.
- Core Web Vitals: Core Web Vitals are a set of specific factors that Google considers important in a webpage’s overall user experience, including loading performance, interactivity, and visual stability.
- Referring domains: Referring domains are external websites that link to your website, thus directing traffic and potentially influencing your site's authority and search engine rankings.
- Search visibility: Search visibility is a metric that indicates how often a website appears in search engine results for relevant keywords, often represented as a percentage of potential organic traffic.
- Bounce rate: Bounce rate is the percentage of visitors who navigate away from a website after viewing only one page, without interacting further with the site, possibly indicating irrelevant content or poor user experience.
Monitor your rankings
Know where your target keywords currently rank on search results pages so you can make adjustments as necessary. Monitoring your SEO rankings and keyword performance is essential for understanding your website's search engine success. Tracking your site's keyword rankings enables you to spot improvement areas and make adjustments to boost visibility and traffic.
Tools like Google Analytics, SEMrush, Moz, and Ahrefs offer valuable insights to help optimize your SEO strategy. Using these tools, along with regularly checking your rankings, can help you remain competitive and continue to attract organic traffic.
Organic traffic
Higher organic traffic indicates organic search visibility for your site — this is the goal. By focusing on organic traffic from sources such as search engines and social networks, you look at your website's visibility for your target keywords. Also, it's a good idea to monitor which pages get more or less traffic, to understand your core traffic pages and where you may need to make some changes.
Pages per session
Pages per session is an important user engagement metric that measures the average number of pages users visit before leaving your site. If users visit more pages on your site per session, your content is engaging and relevant to the visitors. It also indicates that your navigation is user-friendly.
Organic leads and sales
Lastly, the most important factor you can use to measure SEO success is by looking at whether your efforts have an impact on your bottom line. In other words, does your content help you achieve your set goals?
Set up your goals in Google Analytics to gauge the effectiveness of your efforts.
This helps track your organic traffic and goals by landing pages. In other words, what percentage of users from an organic search convert?
If you're satisfied with the information you get from the above reports, you’re doing just fine with SEO. However, if you're not generating organic leads and sales, it’s time to rework your strategy or change your content structure.
Conclusion
Understanding the basics of SEO is essential for small businesses and entrepreneurs aiming to boost their online presence and attract more customers. By following the tips in this beginner's guide, you can better optimize your website and improve your search engine rankings.
Above all, remember that SEO is a long game that requires patience and continuous learning to yield consistent results.