


Most recent stories
See All PostsGoDaddy LifeEmbracing Boldness and Forward Motion: Meet Andre Russell
If you ask Andre Russell what keeps him going after nearly two decades at GoDaddy, you might expect a standard answer. But Andre doesn’t do “standard.” As a Fraud Detection Specialist by day and a coach, content creator, small business owner, DJ, cosplayer, and full-time dad during all other hours, Andre’s journey is a testament […]
Learn more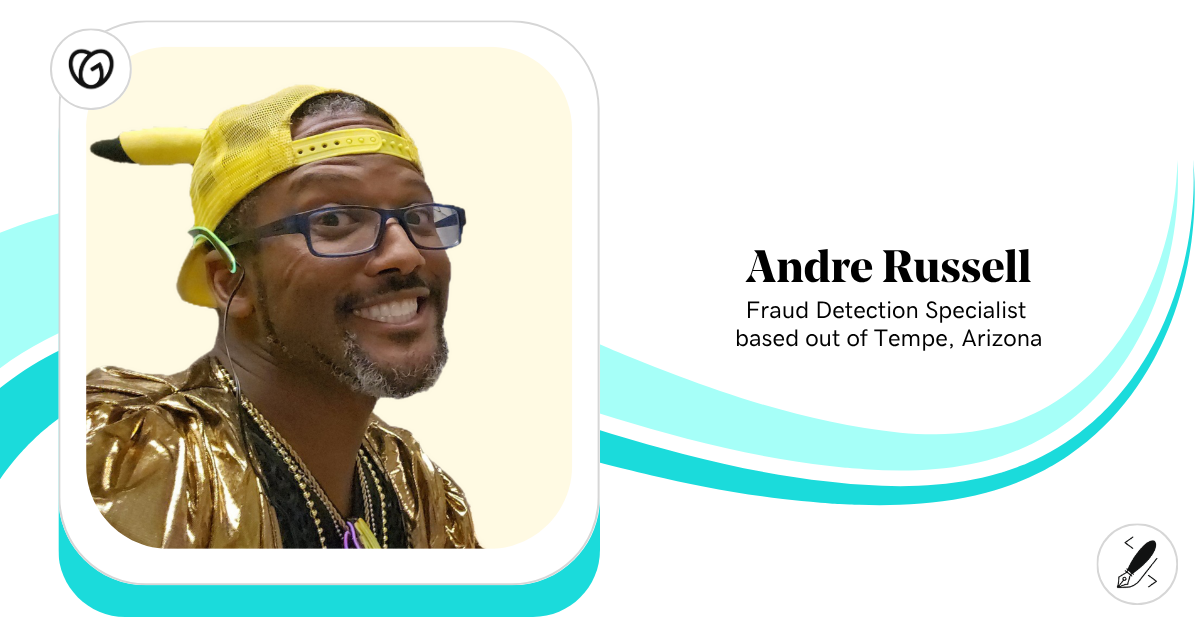


Explore more on marketing

This is a place for stories andnews about inspiring and
fearless people doing
interesting things.