
AI-powered tools are opening up new opportunities for developers, freelancers, and agencies who build websites and apps for small businesses. Clients want automation that fits the way they work, but pre-built AI tools often fall short when businesses need custom workflows or integrations. Building your own OpenClaw skills lets you deliver solutions designed for real client needs instead of forcing clients to adapt to generic tools.
In this guide, you'll learn how to create custom OpenClaw skills from the ground up. We'll cover what OpenClaw skills are, why a custom approach gives you more flexibility than off-the-shelf options, and how to build and host a lead generation skill step by step.
What is OpenClaw, and why does it matter for your business?
OpenClaw is an open-source AI assistant that runs on your own server and connects with the business tools your clients already use. It can interact with APIs, files, messaging platforms, and shell commands through natural language and reach any business system reachable from your host.
That flexibility makes OpenClaw especially valuable for developers and agencies building solutions for small businesses. Instead of delivering the same automation to every client, you can create AI-powered workflows tailored to specific business needs, whether that's handling customer support requests, capturing and qualifying leads, following up with prospects, or streamlining internal operations.
If you'd like a broader introduction to the platform, check out our complete guide to OpenClaw.
What are OpenClaw skills?
OpenClaw skills are modular instruction files that teach an AI agent how to perform a specific task or interact with a tool, API, or workflow. Each skill lives in its own folder and is defined by a SKILL.md file. Instead of hardcoding every capability into the assistant, you can add or remove skills as needed. This makes it easy to customize for different clients and use cases.
Every SKILL.md file has two parts: YAML frontmatter and a Markdown body. The frontmatter contains metadata, such as the skill's name and description, and the Markdown body provides the instructions the AI follows when the skill is triggered. When a user submits a request, OpenClaw automatically compares it against the descriptions of available skills and loads the most relevant one. There's no need to manually call a skill or specify which one to use.
The three types of OpenClaw skills
OpenClaw supports three types of skills:
- Built-in skills: These are the default skills included with OpenClaw. There are around 50 available out of the box, and you can enable or disable them as needed.
- Workspace skills: These are custom skills stored in the OpenClaw workspace folder at ~/.openclaw/workspace/skills/. They're ideal for project-specific workflows and are given the highest priority when OpenClaw loads skills.
- Community and third-party skills: These are skills created by the OpenClaw community or your organization. You can install them from ClawHub or other repositories to quickly add new functionality without building everything yourself.
If multiple skills have the same name, OpenClaw uses a defined load order. Workspace skills take precedence over managed or locally installed skills, which take precedence over the bundled built-in skills.
You can manage skills directly from the command line with commands such as openclaw skills search, openclaw skills install, and openclaw skills update --all.
What a SKILL.md file looks like
The metadata and instructions inside a SKILL.md file work together to tell OpenClaw both when to use a skill and how to execute it. In general, they look something like this:
---

name: lead-gen-assistant

description: Qualify website visitors and capture lead information for sales follow-up. requirements:

- API access

---

# Instructions

When a user asks about pricing or requests a demo, collect their name, email address, and company. Then send the information to the configured CRM API.
The name identifies the skill, and the description gives OpenClaw the context it needs to match the skill to relevant user requests. Any optional requirements specify the dependencies the skill relies on. The Markdown body contains the step-by-step instructions the AI follows after the skill is loaded.
Why build a custom skill instead of using a pre-built one?
Pre-built OpenClaw skills are a great starting point, but they're designed to solve common problems for a broad audience. Real client projects are rarely that simple. Custom skills enable:
- Client-specific logic: Build workflows around custom trigger phrases, decision trees, business rules, and API endpoints instead of adapting generic automations.
- Proprietary integrations: Connect OpenClaw to a client's CRM, internal database, WhatsApp Business API, or other systems that aren't supported by community skills.
- Intellectual property and differentiation: Package custom skills as reusable agency offerings that can be adapted for multiple clients while showcasing your expertise.
- Control and security: Maintain full visibility into how a skill works, what data it accesses, and which permissions it requires.
What you need before you start
Before you begin building your first custom OpenClaw skill, make sure you have the following essentials in place.
System requirements
- OpenClaw installed and running. If you haven't set it up yet, see our What is OpenClaw? guide.
- A code editor, such as Visual Studio Code, for editing Markdown and YAML files.
- Access to the OpenClaw CLI.
- Any API keys or credentials your skill will use. You'll configure these later.
- A server or VPS if you plan to keep your skill available for continuous, always-on use.
Project folder structure
Create your skill inside the OpenClaw workspace so it receives the highest load priority.
~/.openclaw/workspace/skills/

└── lead-gen-skill/

    └── SKILL.md
OpenClaw checks the workspace before managed or bundled skills, so any skill you place here will take precedence over another skill with the same name. If your project requires additional reference documents, configuration files, or helper scripts, you can store them alongside SKILL.md in the same folder.
How to build a custom lead-gen skill: step-by-step
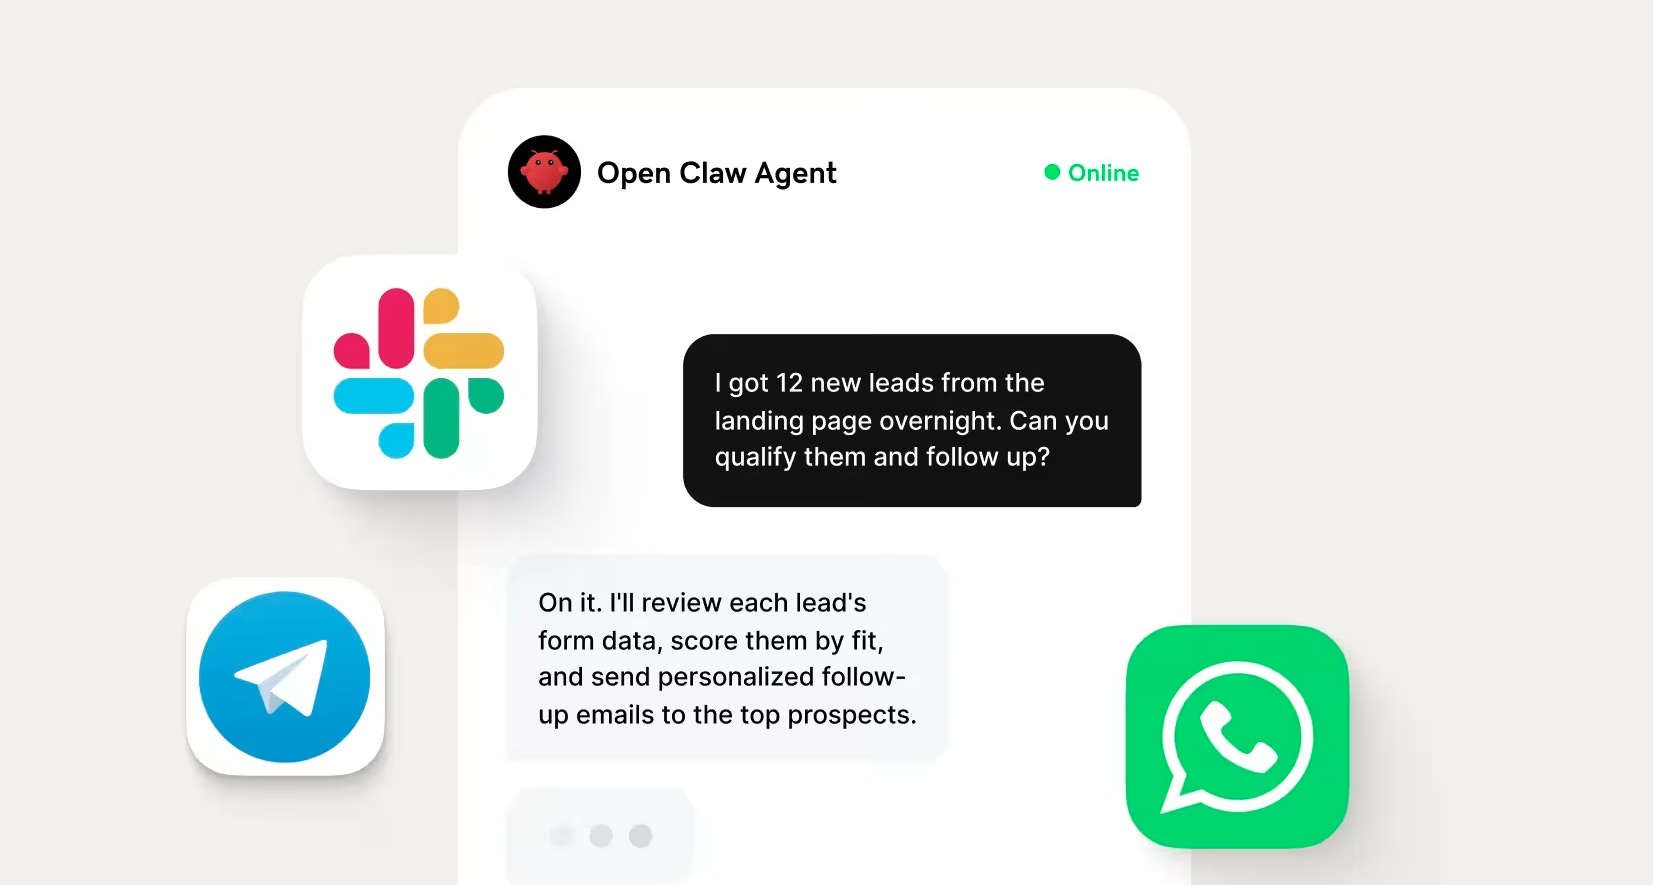
Imagine you're building an AI assistant for a client that qualifies new prospects. Instead of simply answering questions, the assistant collects a visitor's name, contact information, and area of interest, then passes that information to the client's sales workflow.
That's exactly what you'll learn how to build in this walkthrough. By the end, you'll have a working SKILL.md file that you can customize for your own clients, industries, and integrations.
Step 1: Define the skill's purpose and trigger
Before you write a single line, decide exactly what the skill should accomplish. The best OpenClaw skills have one clear responsibility. In this case, that responsibility is qualifying a lead and capturing the information needed for a sales follow-up.
Next, think about what should activate the skill. OpenClaw uses the description field to determine when a skill is relevant, so it's one of the most important parts of your file. Alongside description-matching, users can invoke a skill explicitly with /skill-name (slash command) or reference it inside a prompt with $skill-name.
A clear, specific description gives the AI enough context to load the right skill at the right time. Generic descriptions can cause the wrong skill to run or prevent your skill from being selected altogether.
Example
description: Capture and qualify sales leads when a visitor requests pricing, a demo, or more information.
Finally, define the expected outcome. After the conversation, should the skill send the lead to a CRM, trigger a webhook, notify a sales rep, or perform another action?
Step 2: Create your SKILL.md file
Once you've planned the workflow, create a folder for your skill inside the OpenClaw workspace and add a SKILL.md file.
mkdir -p ~/.openclaw/workspace/skills/lead-gen-skill touch ~/.openclaw/workspace/skills/lead-gen-skill/SKILL.mdNext, add the basic structure of your skill.
---

name: lead-gen-skill

description: Capture and qualify sales leads when visitors request pricing or a demo.

requirements: # Add required dependencies here

---
Step 3: Write the instructions (the runbook)
The body of your SKILL.md file is the runbook. These are the plain-language instructions OpenClaw follows after the skill is matched. Think of it as documenting the workflow for a teammate. The clearer and more structured your instructions are, the more reliable the results will be.
Start with the conversation flow, then move into the action you want OpenClaw to perform. Use sequential steps, clear conditions, and explicit outcomes. You can include shell commands or scripts when needed, but many workflows can be described entirely in natural language.
Add the runbook into your SKILL.md file after the requirements:
# Instructions

When a visitor asks about pricing, requests a demo, or asks for more information:

1. Greet them and confirm you can help.

2. Collect their name, work email, company, and area of interest, one question at a time; do not ask for more than one field per turn.

3. Once all four fields are captured, read them back for confirmation.

4. On confirmation, POST the payload as JSON to `$LEAD_WEBHOOK` with headers `Authorization: Bearer $CRM_API_KEY` and `Content-Type: application/json`. Use the `exec` tool with `curl` to make the request.

5. Reply to the visitor confirming a sales rep will follow up within one business day.

If any required field is missing after two attempts, hand off to a human by replying: "Let me connect you with the sales team directly — expect a message from them shortly."
Step 4: Add environment variables and API references
Most real-world skills need to connect to another system. That could be a CRM, a webhook, or an internal API.
No matter what you're connecting to, avoid hardcoding API keys, webhook URLs, or other sensitive information directly into your SKILL.md file. This keeps credentials out of your source code, makes skills easier to share with clients, and reduces the risk of accidentally exposing secrets in version control.
OpenClaw handles credentials in three coordinated steps.
1. Declare the variables the skill depends on. Add them to your frontmatter under metadata.openclaw.requires.env. OpenClaw will only load the skill when all listed variables are present:
---
name: lead-gen-skill
description: Capture and qualify sales leads when visitors request pricing or a demo.
metadata:
openclaw:
requires:
env: ["LEAD_WEBHOOK", "CRM_API_KEY"]
---
2. Wire the values in openclaw.json. This tells OpenClaw to inject each variable into the host process for the duration of the agent's turn, and no longer:
json5
{
skills: {
entries: {
"lead-gen-skill": {
enabled: true,
apiKey: { source: "env", provider: "default", id: "CRM_API_KEY" },
},
},
},
}
3. Reference the variables in your instructions using shell syntax. Inside the SKILL.md body, use $VARNAME, the same form you'd use in a shell script:
POST the payload as JSON to `$LEAD_WEBHOOK` with header `Authorization: Bearer $CRM_API_KEY`. Use the `exec` tool with `curl` to make the request.With this pattern, the SKILL.md file itself never contains a secret. Credentials live only in the environment variables OpenClaw injects at run time, and the skill won't load at all if a required variable is missing — a small guardrail that stops half-configured skills from firing in production.
Step 5: Test the skill locally
Before deploying your skill, verify that OpenClaw recognizes it and that all required dependencies are available. Here’s how:
openclaw skills list
openclaw skills list --eligible
The --eligible flag shows skills that are ready to run because every declared requirement is available on your system.
After confirming the skill is eligible, test the complete workflow:
- Trigger the skill with a sample request, such as asking for pricing or requesting a demo.
- Confirm that OpenClaw loads the correct skill and follows the expected conversation.
- Verify that the final action, such as sending data to a webhook or CRM, completes successfully.
If a skill appears in the list but isn't eligible, run:
openclaw doctor --fixAs you make changes, OpenClaw watches your workspace and reloads updated SKILL.md files by default, so most edits are picked up automatically. If you have the watcher disabled, or you're continuing an existing chat session, start a new session with /new or run openclaw gateway restart so the agent sees the refreshed skill.
Step 6: Deploy and activate
Once everything works locally, you're ready to move the skill to your production environment. The folder structure stays exactly the same, so deploying usually means copying your skill directory to the corresponding workspace on your server. For example:
scp -r lead-gen-skill user@your-server:~/.openclaw/workspace/skills/When you're ready to use your skill in production, run OpenClaw on a server or VPS instead of your local machine. That way, your automation stays available whenever your client needs it.
Hosting your OpenClaw instance reliably with GoDaddy
Once your skill is working locally, the next step is giving it a dependable home. Running OpenClaw on your development machine is fine for testing, but production deployments need an environment that's always available. So, if you're building client-facing automations, your OpenClaw instance should be ready to respond whenever a request comes in.
A reliable hosting environment gives OpenClaw the resources it needs to perform consistently. That includes enough CPU and memory to handle concurrent tasks, a stable network connection, and the ability to run background services continuously. You'll also want root or sudo access so you can configure environment variables, install dependencies, and manage your server as your projects grow.
For many developers and agencies, a VPS strikes the right balance between performance and flexibility. You get an isolated environment with full control over your software stack, making it easier to customize OpenClaw, secure client credentials, and support multiple projects without the limitations of shared hosting. If you're ready to move beyond local development, GoDaddy VPS for OpenClaw provides a reliable foundation for running it in production.
For more help installing and configuring OpenClaw on a server, read our What is OpenClaw? article.
Security best practices for custom OpenClaw skills
Building your own OpenClaw skills gives you more visibility and control than relying on third-party extensions, but you need to remember to keep security at the forefront of development. If your skill handles client data or connects to external systems, following a few best practices can help reduce risk before and after deployment.
- Review skill permissions before deployment. Make sure your skill only accesses the tools, APIs, and file paths it actually needs. Limiting permissions to the minimum required helps reduce your attack surface and makes the skill easier to audit.
- Validate the scope and test in isolation. Test new or updated skills in a sandbox or staging environment before deploying them to production. This allows you to catch unexpected behavior without affecting client systems or live data.
- Keep credentials out of the SKILL.md file. Store API keys, webhook URLs, and other sensitive information in environment variables instead of embedding them directly in your skill. If you're using version control, double-check that secrets never make it into your repository.
- Publish a runbook. Document what the skill does, which inputs it expects, what systems it connects to, and how to disable or roll back the workflow if needed. Good documentation makes maintenance easier for both your team and your clients.
- Monitor your skill after deployment. Review logs and outputs regularly to catch unexpected behavior, such as requests to unrelated APIs, unusual network activity, or responses that expose internal instructions. Ongoing monitoring helps you identify and resolve issues before they become bigger problems.
Skill combinations that multiply results for agencies
Building one custom skill is a great place to start. The bigger opportunity comes from combining multiple skills into connected workflows that solve larger business challenges. For agencies, these reusable automation stacks can become valuable services that scale across clients and industries.
- Lead-to-CRM automation
- Channel: WhatsApp, Slack, or a web widget wired via webhook — whichever the client uses for inbound leads.
- Skill: lead-gen-skill (the custom skill built in this walkthrough) — captures fields, POSTs to the CRM webhook.
- Runbook logic: greet, collect fields one at a time, confirm, then post. Slack notification to the sales team is one more curl call in the same skill.
- Business problem: Eliminates manual lead entry and speeds up sales follow-up.
- Example: A visitor requests a quote via WhatsApp, the skill captures name/email/company, posts to the CRM webhook, and the sales team gets a Slack ping in the same run.
- Customer support assistant
- Channels: WhatsApp, Slack, or iMessage — whichever the client's customers use.
- Skill: support-ticket-create (custom skill to open tickets in the client's helpdesk API).
- Runbook logic: the agent answers common questions directly from a knowledge-base file loaded via ; if it can't answer confidently, it calls support-ticket-create to escalate.
- Business problem: Resolves common questions automatically while escalating complex ones.
- Example: A customer asks about an order over WhatsApp, the agent answers from KB, and hands off to a ticket only when needed.
- Social content workflow
- Channel: Slack (for review) + a scheduled trigger (cron or webhook) for publishing.
- Skill: social-publish (custom skill to post to X/LinkedIn/Instagram APIs).
- Runbook logic: the agent drafts the post, sends the draft to Slack for approval, waits for an approve/revise reply, and invokes social-publish on approval.
- Business problem: Streamlines content creation and scheduling for busy marketing teams.
- Example: A client approves a draft in Slack; the skill schedules it across the configured social channels.
- Multilingual customer communication
- Channel: WhatsApp (native OpenClaw channel).
- Skill: crm-log-message (custom skill to record the exchange in the CRM).
- Runbook logic: the agent detects the incoming language, replies in that language.
Looking for more inspiration? Take a look at these AI tools small business owners should consider.
Turn your ideas into custom AI solutions
Custom OpenClaw skills give you the flexibility to build AI automations that fit the way your clients actually work. Instead of relying on one-size-fits-all solutions, you can create workflows that integrate with existing tools, streamline everyday tasks, and deliver measurable value for small businesses.
Start with a single skill, test it thoroughly, and refine it as your clients' needs evolve. As your experience grows, you can combine multiple skills into reusable automation workflows that help your agency stand out and scale its services.
FAQs about OpenClaw skills
What is the difference between a custom skill and a ClawHub skill?
A custom skill is one you build yourself for a specific workflow, client, or integration, while a ClawHub skill is a pre-built skill created by the OpenClaw community. ClawHub skills are a great way to get started, but custom skills give you more control over how the AI behaves and which systems it connects to.
Can I share a custom skill with my team or clients?
Yes. Because each skill is stored as a folder containing a SKILL.md file and any supporting resources, you can share it through a Git repository, install it into the shared managed skills directory with openclaw skills install ./lead-gen-skill --global (making it visible to every agent on that instance), or copy the skill folder to another OpenClaw instance. Just be sure to keep API keys and other sensitive information in environment variables instead of including them in the skill itself.
How do I update or edit a skill after deploying it?
Update the files in your skill's workspace folder and save your changes. OpenClaw automatically reloads updated SKILL.md files, so you can test and iterate without restarting the application. If you're updating a production deployment, test your changes in a staging environment first to avoid disrupting client workflows.
Does the skill keep running when I close my laptop?
It depends on where OpenClaw is running. If you're running it locally, the skill stops when your computer shuts down, or OpenClaw is no longer running. Hosting OpenClaw on a VPS keeps your skills available even when your development machine is offline.
Is OpenClaw free to use?
OpenClaw itself is open source and free to use. Running it in production requires hosting and, because skills rely on external AI models, ongoing token costs that scale with usage. If you're ready to deploy OpenClaw in a production environment, explore GoDaddy VPS Hosting for OpenClaw.