An online store gives you a way to build a business that works on your terms. It can start as a side project, grow into a full-time income stream, or support an existing brand that is ready to sell beyond a physical location.
In this guide, we’ll walk you through the entire process of how to start an online store for your website, from product ideation to planning, building, launching, and promoting your online store.
Let’s jump right in.
TL;DR: How to start an online store
This article walks through the real, practical steps to getting an online store up and running. It starts with understanding who you want to sell to and which products make sense for that audience, then moves on to sourcing those products and registering your business so you can start selling.
From there, it discusses how to use an online store builder to design your store, add products, and set up payments without getting stuck in technical details. You will also learn how to test everything before launch, go live, and start promoting your store so customers can find you.
Define your target customers
Even if you don’t have a product in mind yet, without a properly defined target market, your sales and promotional efforts will suffer. When starting an online shop, consider the following to classify your target audience and find the ideal product to sell online.
- Identify key demographics: Start by gathering statistical data related to your audience: age, gender, marital status, education level, household income, and geographic location.
- Spot customers’ professional interests: If you’re selling a business-related product, profile your customers’ professional details, such as the types of jobs they do and the markets they serve.
- Gather customer psychographics: Learn about your prospective customers’ lifestyles, goals, interests, and hobbies. Understanding these qualities helps you effectively target your products to their needs.
- Map out consumer buying behaviors and key influences: Do your customers research on mobile or desktop? Do their friends’ recommendations on social media sway their purchase decisions? Examine how your target consumers interact across all possible sales channels and touchpoints, including mobile apps, messaging platforms, and email.
An online survey tool can be helpful in gathering this data, along with free market research from organizations like eMarketer, Comscore, Pew Research, Nielsen IQ, and Think With Google Research Tools.
The more you learn about what makes your audience unique and ideal, the more targeted and effective your content will be.
Research and choose products to sell
Selling a unique product that stands out is important for building a successful online store. But how do you know if people actually need or want to buy it? Start by asking people you know, such as family and friends. Here’s what to ask when gathering insights from them:
- Do they love your idea? If so, find out what features would be most appealing to them.
- Is there anything about your product idea that they would change?
- Ask about their ideal customer experience. What services would make it shine?
- Would they be willing to pay full price for your product? What do they think it’s actually worth?
- Have they bought similar products elsewhere? What did they like or dislike about both the product and the buying experience?
Gathering this level of feedback is an excellent way to refine your product before selling it online.
You can conduct casual research by speaking with friends and family in person to gather qualitative insights or by setting up a quick online survey.
SurveyMonkey offers a monthly subscription service that you can use to survey friends, family, and visitors to your website to better understand who would or is buying your products.
Google Docs also enables you to set up survey forms.
Get the products for your online store
Once you’ve narrowed down the products you’ll be selling, you need to determine how you’re going to source and physically store them. There are many options when first starting an ecommerce website.
Sell existing inventory online
If you already own a retail brick-and-mortar shop, use it as a place to store inventory from the moment you create your online store until your ecommerce business grows.
An online store complements existing brick-and-mortar retail businesses by increasing brand reach, brand awareness, and customer trust.
Use dropshipping to start an online store without inventory
Many first-time ecommerce entrepreneurs start with no physical inventory. If you're wondering what is dropshipping, it involves acting as a wholesaler of products that you curate on your store website, then purchasing directly from the manufacturer to ship to your customers.
Create and ship your unique products on demand
If you currently sell crafts, custom t-shirts, or artwork on sites like Etsy, consider creating an online store and driving those customers to your own website after their first sale. Include a business card or coupon in their parcel that promotes your site’s URL and offers a discount on their next purchase.
This way, you keep 100% of the future profits from repeat buyers and build a stronger relationship with them.
The beauty of these businesses is that you only need to create and ship what you sell in advance. Be sure to indicate how long a customer can expect to wait for the product before they make their purchase decision.
Offer a monthly subscription service
Another way to manage your product inventory as a new ecommerce business is to sell a subscription-based service.
You only need to store and ship the units you’ve already sold in advance each month or quarter, depending on your business model.
If you’re still unsure about what kind of products you want to sell, check out our list of trending products to sell online.
Register your business
The first step is to make your business official. Registering your online store with the appropriate state authority helps establish credibility, protects you legally, and sets clear boundaries between your personal and business finances. It also makes it easier to handle taxes, apply for funding, and scale as your store grows. If you need help getting started, read this how to register a business guide.
Before launching your online store, select the type of legal entity for your company. Establishing your business from the outset as a legal entity will save you trouble in the long run, as it’ll help you with the following:
- Protect your personal assets.
- Lower your potential taxes.
- More easily secure business loans or funding.
- Keep your business and personal credit scores separate.
Not sure what type of business structure fits your needs? Here are some common options.
Sole proprietorship
A sole proprietorship is an unincorporated business with a single owner who pays personal income tax on profits earned from the business.
This is where most small businesses start, as the start-up costs are relatively low and it’s easy to change your legal structure later.
The owner can also keep all of the profits. Some disadvantages include being fully (personally) liable for your business debts, making it more difficult to get business credit or financing, and challenges in selling your business.
Partnership
There are several sub-categories to this legal entity type, including general partnership, limited partnership, and limited liability partnership. Partnerships are beneficial for new businesses as they help spread the costs and pool skills and resources.
However, partners are liable for both the profits and the debts of the business.
It’s also easy for business partnerships to fall apart, so ensure that you’ve prepared for this possibility before opting for this option.
Limited liability company (LLC)
A limited liability company (LLC) is a type of private limited company. It’s a business structure that combines the pass-through taxation of a partnership or sole proprietorship with the limited liability of a corporation.
The advantage of an LLC is that it limits your personal liability, protecting your personal assets from business-related debts. It also allows the business to be taxed as a pass-through entity, avoiding corporate-level taxes.
If you’re interested in forming an LLC, the process and requirements can differ depending on your location. When you’re ready to take the next step, you can register an LLC for free with GoDaddy. For specific, step-by-step instructions, explore these state-by-state examples:
- How to start an LLC in Arizona
- How to start an LLC in California
- How to start an LLC in Florida
- How to start an LLC in Georgia
- How to start an LLC in Illinois
- How to start an LLC in Maryland
- How to start an LLC in Missouri
- How to start an LLC in Nevada
- How to start an LLC in New York
- How to start an LLC in Pennsylvania
- How to start an LLC in South Dakota
- How to start an LLC in Texas
- How to start an LLC in Virginia
If you don’t see your state in the list above, you can always check out our guide on How to Start an LLC for a comprehensive overview.
Build your online store
With GoDaddy’s online store builder, you can turn your ideas into a real, working store without needing technical experience. The builder gives you the tools to design your site, add products, set up payments, and manage your store from one place, making it easier to move from planning to selling. You can start for free, experiment with the features, and create an actual online store as you work through each step below.
- Select a business name and purchase a domain
- Choose an online store builder and a design template
- Develop your pricing profile
- Create categories for your products
- Craft compelling product titles and descriptions
- Upload enticing product photos
- Select products to feature
- Incorporate customer reviews and testimonials
- Leverage user-generated content
- Endorsements from reputable sources
- Maintain a clear visual hierarchy
- Define your refund and return policy
- Create your privacy policy and terms of service (TOS)
- Cement your security policy
- Connect a payment provider
- Set up payment options for customers
- Collecting sales tax
- Set up shipping or pickup
1. Select a business name and purchase a domain
When choosing your ecommerce business name, consider something that is short, memorable, and marketable. Our domain name generator can also help you find the right name for your ecommerce store.
Consider using .shop or .store for general ecommerce, or get more specific with .jewelry, .clothing, .coffee, and more
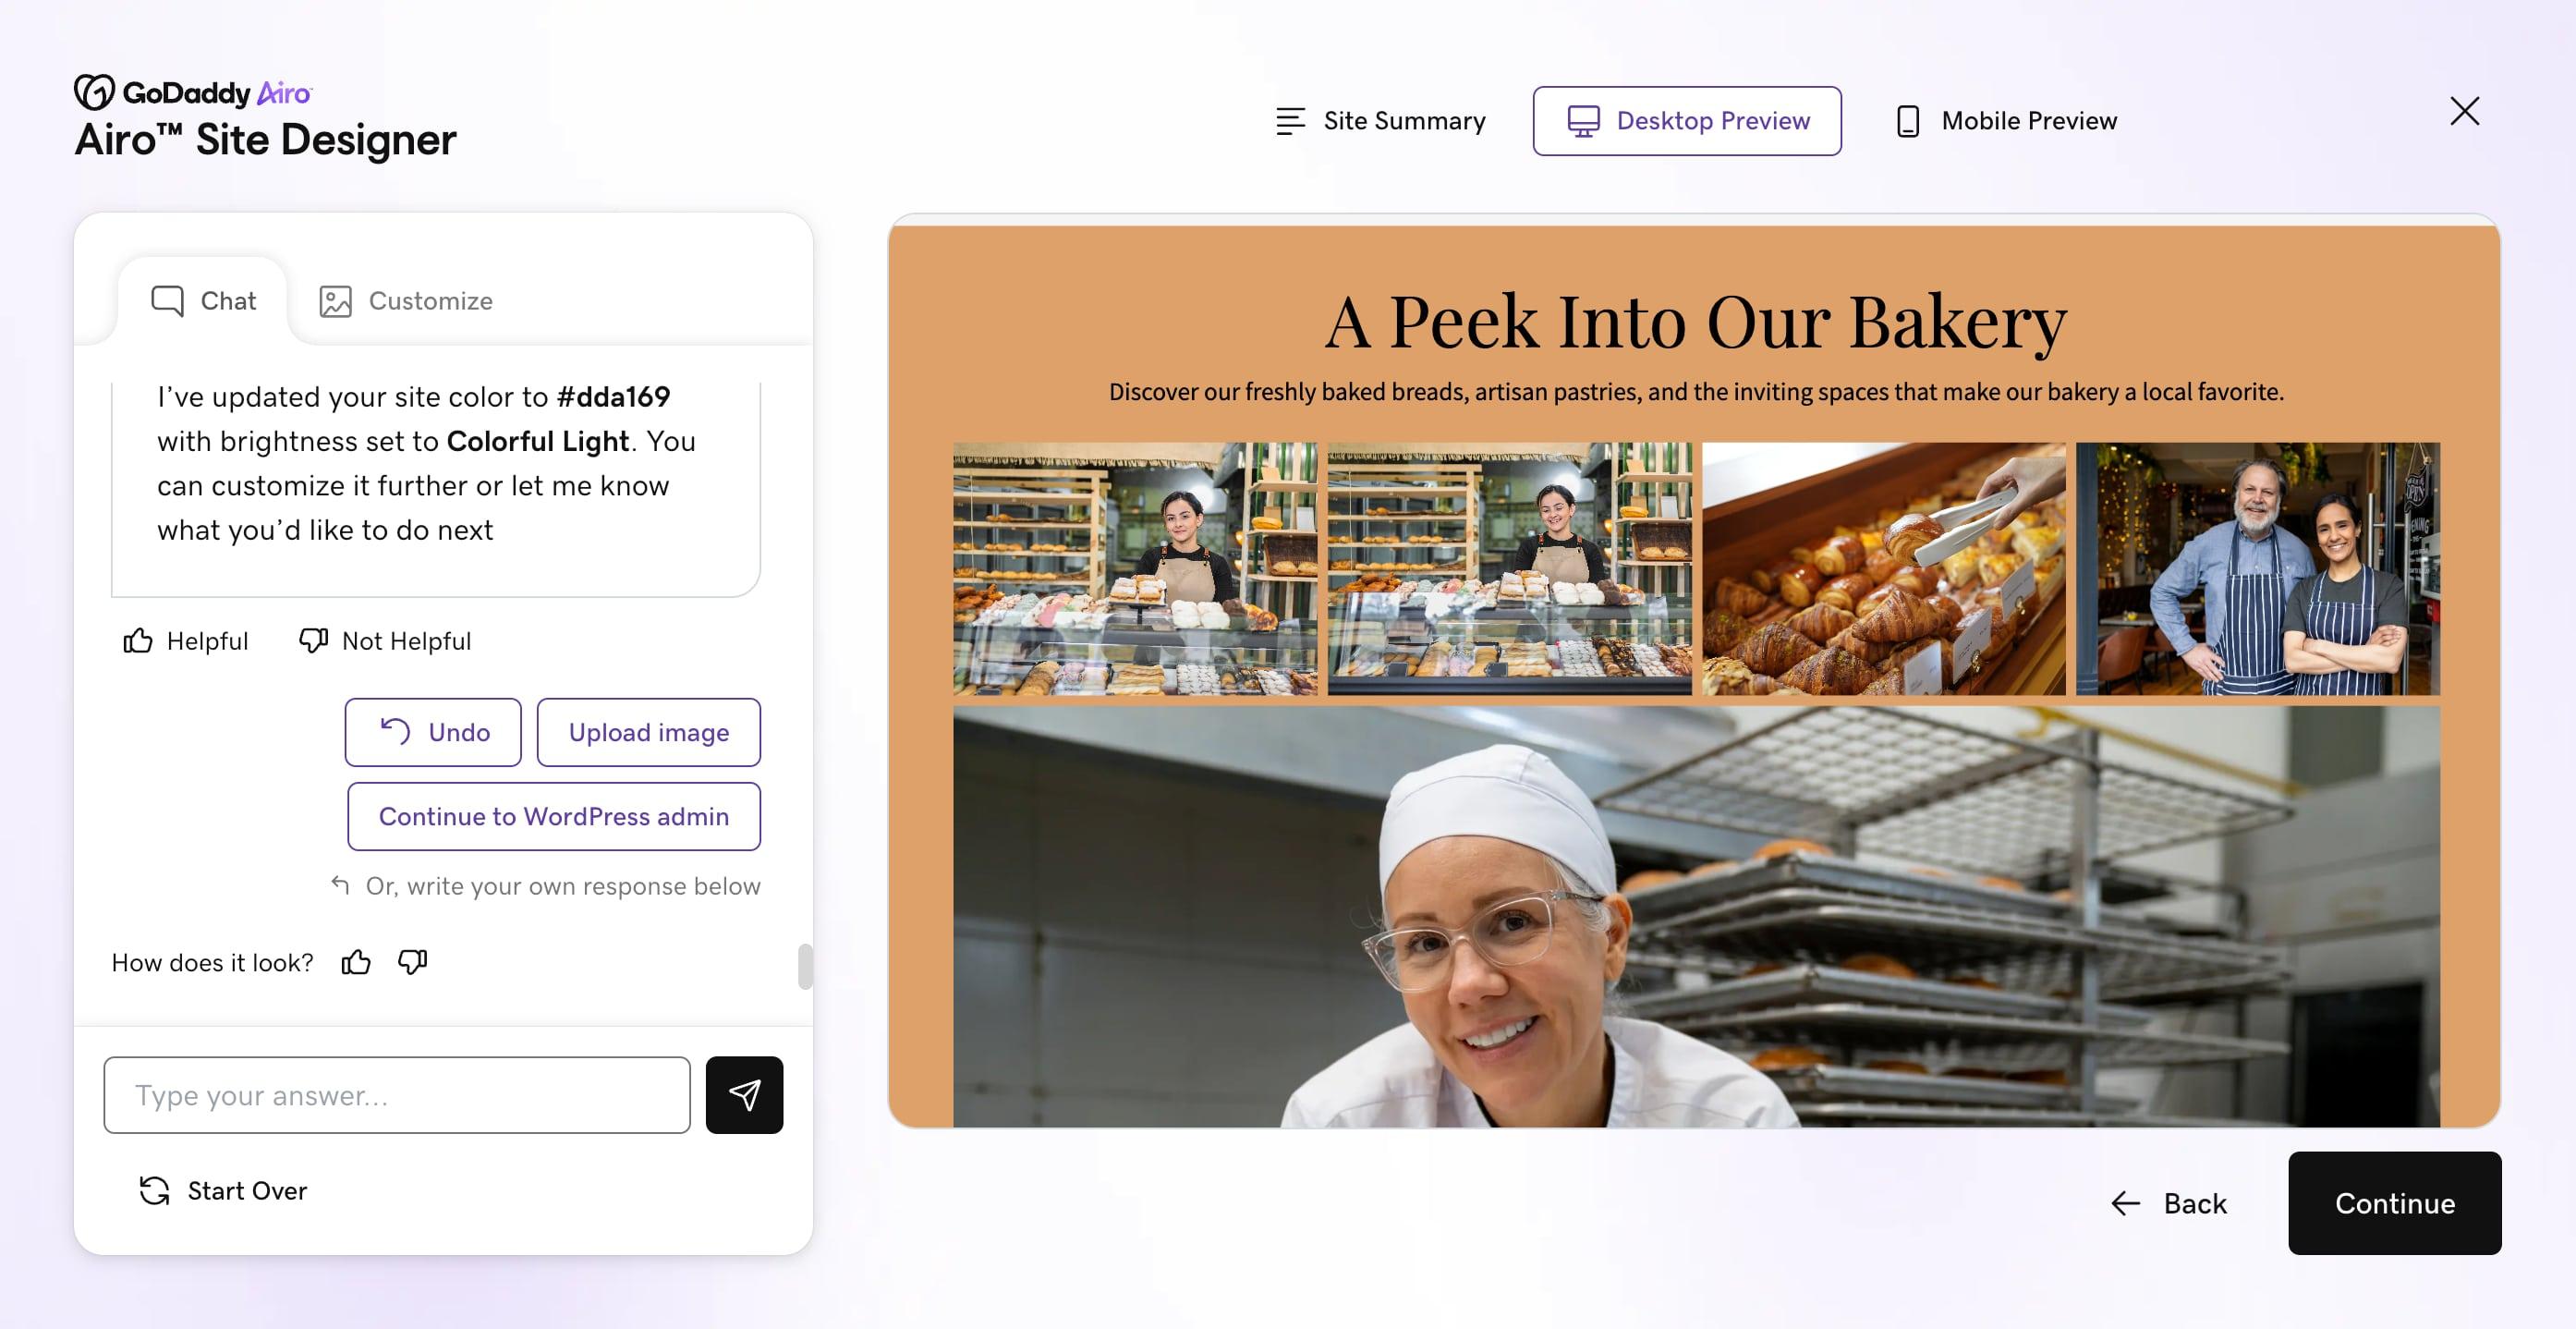
2. Choose an online store builder and a design template
Most online store building platforms that host your website offer a variety of design templates that you can access for free or for a monthly fee.
A templated ecommerce website package typically includes a website template/theme, product pages, shopping cart, payment processing feature, and hosting for your site.
Interested in seeing how easy GoDaddy’s Online Store is to set up and launch? Take a look at this quick walkthrough for more information.
3. Develop your pricing profile
When budgeting for the launch of your site, include all costs to reach your bottom line, then set your product pricing accordingly. Your costs will include:
- Securing your site for payments (a secure sockets layer protocol or SSL)
- Hosting and platform fees
- Domain registration
- Business email account
- Themes, plugins, extensions, and modules add-ons
- Payment gateways and credit card processing fees
- Advertising
- Inventory management
- Shipping fees
- Packaging supplies
Customers want to see what your products look like and their benefits before adding them to their cart. To better inform your customers, include detailed website copy, product descriptions, and product photos on your website.
It’s important that your site looks professional, so if you’re not confident in your writing or photo-taking skills, consider hiring a copywriter or photographer to help you out.
4. Create categories for your products
Start by planning your product listing pages. Group your products into easily navigable categories.
Organizing your online store’s inventory for an optimal user experience is crucial, especially if you have a large catalog of items for sale. Effective product catalog management is key to streamlining this process.
Build an intuitive map of your product categories for easy and quick navigation, similar to how items are arranged in a physical store. Don’t forget to create and add SKU numbers to your products to get them organized.
Visit larger brand sites, along with your own store, to learn what works well. Then, replicate or iterate on what you like best about those product categories.
Once that process is complete, use product descriptions to convince customers to click on an item, add the product to their cart, and check out.
5. Craft compelling product titles and descriptions
Create descriptive product titles that clearly indicate what the product is. Effective titles help customers locate exactly what they’re looking for.
Write detailed product descriptions to inform customers about the product’s features and benefits. Think about the questions customers might ask in-store and address them in your descriptions.
Here’s a quick checklist for writing compelling product descriptions:
- Who is your audience? Knowing your audience helps you describe the product effectively.
- Is your product description easy to read? Keep it simple and user-friendly.
- What are the specific product features for this item? Clear descriptions lead to better customer experiences.
- Is there a call-to-action to encourage buyers to purchase? Include prompts to add products to their cart.
- Are there any incentives? Mention current sales, bundles, etc.
- Did you include SEO keywords in your description? Including relevant keywords helps customers find your products.
To enhance your SEO performance, leverage built-in AI features and customizable templates designed for high-converting product pages.
These tools help optimize your content for search engines, improving your store’s visibility and driving more organic traffic.
6. Upload enticing product photos
Quality photos are essential to convert browsing customers into buyers. If possible, invest in a professional photographer.
Provide customers with beautiful shots of your products and help them envision the product in their lives.
Urban Outfitters creates beautiful settings for its lifestyle products to spark its customers’ imaginations.
Additionally, utilize high-resolution images and optimize them for fast loading times to improve both user experience and SEO rankings. Use alt text with relevant keywords for each image to enhance search engine visibility.
7. Select products to feature
Promote your best products on your homepage and elsewhere on your site. Common product categories for featured items are “Bestsellers” and “New Arrivals.” Showcasing these items can help increase sales and draw attention to new products for returning customers.
Be sure to:
- Start with items that have a large profit margin or need to move excess inventory.
- Gather ratings and reviews, then highlight those with the highest ratings or feedback.
- Use site analytics to identify the most popular search terms in your store.
- Featuring these items on the homepage can help close sales opportunities faster.
- Check your Google AdWords account to identify the most common and best-converting product search terms.
To keep your site fresh for repeat shoppers, change your featured products regularly.
If you’ve already built a GoDaddy Online Store, managing your featured products is easy.
Feature your great products prominently on your homepage, as it’s often the first place new and returning shoppers will land. This drives traffic directly to those items without the need to search for them.
You can feature products vertically, horizontally, or in a slideshow. Ensure the placement is highly visible.
Additionally, place featured products on category and product pages to up-sell and cross-sell. For example, feature a few pairs of jeans on a sweater product page or thumbnails of more expensive handbags on the product page of a mid-priced bag to encourage upselling.
Leverage your “thank you” page, which appears after a customer completes a purchase, to feature additional products.
Experiment with different tactics to discover the most effective ways to encourage customers to click “add to cart” and complete their purchases.
8. Incorporate customer reviews and testimonials
Building trust and credibility with your customers is essential for the success of your online store. Incorporate customer reviews and testimonials to influence purchasing decisions and establish your brand’s reliability.
Here are some ways to effectively integrate customer feedback:
- Highlight testimonials from satisfied customers to provide social proof and reassure potential buyers of the quality of your products.
- Feature reviews on product pages to help customers make informed decisions.
9. Leverage user-generated content
- Encourage customers to share their own photos and experiences with your products. Displaying real-life usage enhances authenticity and appeal.
- Create a dedicated section on your website for user-generated content to foster community and engagement.
10. Endorsements from reputable sources
- Include endorsements or testimonials from industry experts or well-known figures to add authority to your store.
- Use badges or certifications from trusted organizations to further build credibility.
11. Maintain a clear visual hierarchy
Implement psychological design principles and maintain a clear visual hierarchy to guide customer behavior and highlight key products effectively.
Organize your storefront to naturally lead customers to the most important sections and products, enhancing the overall shopping experience.
12. Define your refund and return policy
Clearly post a refund and returns policy on your website and prompt users to read it before making a purchase. This showcases your brand’s transparency and helps avoid costly consumer conflicts in the future.
Customers should easily understand the steps for returning an item and know the criteria for accepting returns.
13. Create your privacy policy and terms of service (TOS)
Consult with a lawyer to develop your privacy policy and terms of service. These documents outline the terms and conditions for customers using your products or services and protect you in case of legal issues.
Your privacy policy and TOS must be visibly posted on your site and should explain how you manage, distribute, and use customer information to build trust.
14. Cement your security policy
Your security policy should detail how you protect customer payment information. Choose a secure ecommerce building platform that uses SSL and explain to customers why it’s necessary.
Ensure the platform is verified by a third-party security service to provide greater assurance to your customers about the safety of their sensitive data.
15. Connect a payment provider
Providing an intuitive and seamless checkout and payment experience is key to closing online sales. Some platforms offer built-in checkout and payment processing tools.
For example, GoDaddy Payments enables you to securely accept payments online within the Online Store — but not all service providers do. When evaluating options, consider:
- Does the platform’s merchant account accept all currencies and offer SSL certificates?
- What forms of payment can you accept through your account? Credit cards, personal checks, wire transfers, or money orders?
- How about PayPal or Stripe?
- Does your platform offer a payment gateway to verify, approve, and process charges in real time?
- Does it integrate with your website’s existing platform?
- Do other merchants like or complain about the platform’s checkout and payment experience?
Learn more about credit card processing, how it works, and the average processing fees in the industry before reaching out to the platform providers.
GoDaddy Payments offers competitive transaction fees compared to other leading providers. View our product page for more information.
16. Set up payment options for customers
Set up your payment options to provide a smooth checkout process and use the right payment gateways to set your store apart from competitors.
Studies show 30% of shoppers will drop the purchase if they have to fill out their credit card information again, while 25% will do so by having to re-enter shipping info.
Many prefer sites that offer 1-click payment solutions that save their purchase information for faster checkout.
Research to ensure your platform offers a robust set of tools. Reading ecommerce product reviews can help you find the right platform for your business.
Here’s a handy guide to assist you with your payment processing setup.
17. Collecting sales tax
Online sales tax laws are constantly evolving. Staying updated with the latest requirements for your online store is crucial to avoid unexpected fees. Learn more about businesses and states that require a seller’s permit here.
18. Set up shipping or pickup
Next, set up your shipping options. Consider your shipping needs as you develop your online store’s shipping solution:
- What carriers will you offer and what are the handling fees?
- Will you be shipping based on weight and location or use a flat rate?
- Is your shipping formula based on the type of product you sell?
- Will you be shipping locally, nationally, or both?
Ensure your shipping costs are reasonable or offer free shipping if possible.
If you have a local presence, consider local delivery options or pickup,, depending on your products.
For more information on setting up shipping options in GoDaddy’s Online Store, check out our help guide.
Test your online store before launching
After writing compelling product descriptions, adding clear product photos, and setting up your preferred payment provider, test your features before going live.
Here are recommendations on how to test your ecommerce website before launching:
- Functionality testing: Ensure that all website features are working as intended, including forms, buttons, links, images, and videos.
- Cross-browser testing: Test your website on different web browsers to ensure it looks and functions correctly.
- Mobile responsiveness: Verify that your online store works properly on various mobile devices.
- Usability testing: Have others test your website to ensure it is user-friendly.
- Content testing: Review your website content for accuracy, readability, and relevance.
Once you’ve completed your pre-launch checks, you’re ready to go live.
Launch your online store
Before launching your online store, build a strategy for keeping your customers happy and their data safe and secure.
Be prepared to handle potential website pitfalls after launch. Allocate time for answering customer emails and phone inquiries, updating order statuses, and entering shipping details.
Consider the following:
- How will you send shipping confirmations to customers?
- How will you handle phone and email inquiries?
- Will you have a separate business phone line?
- When and how will you respond to social media questions and comments?
- How will you track your website performance?
- Would it save time to include an FAQ section on your site, along with templated email responses?
Promote your online store
With your site live, it’s time to attract customers. Here are tools to help drive traffic to your store.
Social media
If your brand targets Gen Z or Millennials, having a strong social media presence is critical to drive traffic to your website and boost sales.
Use social media content to personally connect with customers and build buzz about your latest products.
A strong social profile allows customers to engage and share feedback about your products, providing valuable insights into what you’re doing right and what needs improvement.
Advertise your website using paid marketing tools
Create seasonal or feature product promos, contests, and discounts, then drive traffic to them through online advertising.
Here are some of the biggest paid marketing channels small business owners use:
- Facebook and Instagram ads: These platforms offer various image-based and video-based ad placements that you can target based on your customers’ demographics, geo-location, and psychographic interests.
Ads can be purchased on a pay-per-click or cost-per-thousand (CPM) basis. Visit the advertising solutions pages for Facebook and Instagram to get started. - Google Ads, Network, and YouTube: Google Ads is a pay-per-click platform that targets people searching on Google. Specify the search terms you want your ad to appear for and write ads for those search engine results pages (SERPs).
Ads on Google’s ad network and YouTube can be targeted similarly. You can also place display (image) or video ads on these sites. - Install an Ad Pixel on Your Ecommerce Website: To track your ad campaigns in your website analytics tool and via advertising platforms like Google, Facebook, or Instagram, install an ad pixel on your ecommerce website.
An ad pixel is a small snippet of code added to your site to track customer sales conversions, optimize advertising efforts, and re-target customers after they’ve seen your ads on specific sites or social media platforms.
Here’s an overview from Facebook to guide you through the process.
Search Engine Optimization (SEO)
Search engines remain one of the leading sources of traffic for any ecommerce website. Optimizing your site for search is therefore critical.
Ensure your online store is easily found in search engines by following our comprehensive SEO beginner’s guide.
Email marketing
Email marketing is another powerful tool to connect with both potential and current customers.
A Forbes study found that customers are three times more likely to complete a purchase from an email marketing campaign than from social media.
Marketplaces
In addition to social media marketing, selling on social marketplaces shouldn’t be overlooked.
If you’re using GoDaddy’s Online Store, Marketplaces allows you to seamlessly integrate your store with social marketplaces.
Related: How to sell on Facebook Marketplace
Implement customer loyalty programs
Encouraging repeat purchases and building brand loyalty is essential for the sustained success of your online store. Implementing customer loyalty programs can significantly enhance customer retention and increase lifetime value.
Offering digital gift cards is an effective way to attract new shoppers and increase the average order value.
Gift cards serve as both a purchase incentive and a means for customers to share your brand with others.
Incorporate a gift card system into your online store to provide customers with flexible gifting options, encouraging them to return and make future purchases.
Summing it all up
Once you’ve planned everything from customer targeting to finding the right hosting and online store-building platform, along with your marketing strategies and customer privacy and security policies, you can launch your online store with confidence.
Be sure to stay on top of sales tax collection laws wherever your products are sold and shipped.
Regularly update your homepage and product pages with seasonal or hot new products to keep your site fresh for returning shoppers.
Engage with customers on social media and product review pages by being helpful and respectful of their product complaints and needs.
FAQs about starting an online store
How much does it cost to start an online store?
The cost of starting an online store depends on how simple or advanced you want to go. Many stores can get started with a domain, a basic website, and a few products, keeping upfront costs relatively low. Tools like GoDaddy’s online store builder help reduce expenses by bundling hosting, design, and ecommerce features into one platform.
What is the least expensive way of selling online?
The least expensive way to sell online is to use an all-in-one ecommerce platform that lets you build and manage your store without custom development. Starting with a free or low-cost plan allows you to test products, pricing, and demand before investing more heavily.
Is creating an online store worth it?
Creating an online store can be worth it for businesses looking to reach customers beyond a physical location or traditional sales channels. An online store gives you flexibility, control over your brand, and the ability to sell around the clock. With the right setup and promotion, it can become a scalable, profitable part of your business.
What is the average ecommerce store profit?
Ecommerce profits vary widely depending on products, pricing, and operating costs. Some online stores operate on slim margins, while others achieve higher profitability through strong branding, efficient operations, and repeat customers. Focusing on pricing strategy, cost control, and marketing can have a significant impact on long-term profit.
Do I need an LLC for an online store?
You do not need an LLC to start an online store, but many business owners choose one for added protection and flexibility. An LLC can help separate personal and business assets and may offer tax benefits, depending on your situation. For more information, read this blog on how to start an LLC.
Do you need a license to start an online store?
License requirements depend on what you sell and where your business is located. Some products require specific permits, and many states or local governments require a general business license. It’s important to research local regulations before launching so your online store is compliant from the start.
Disclaimer: This content should not be construed as legal or financial advice. Always consult an attorney or financial advisor regarding your specific legal or financial situation. All trademark rights belong to their respective owners. Third-party trademarks are used here for demonstrative and educational purposes only, use does not represent affiliation or endorsement.